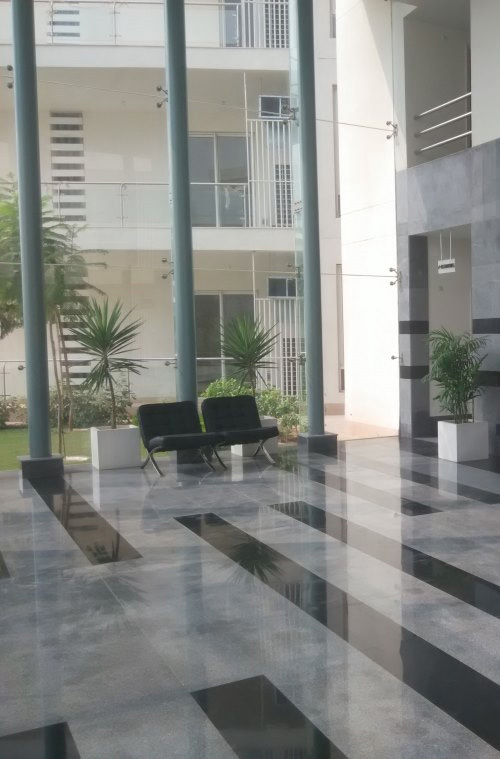
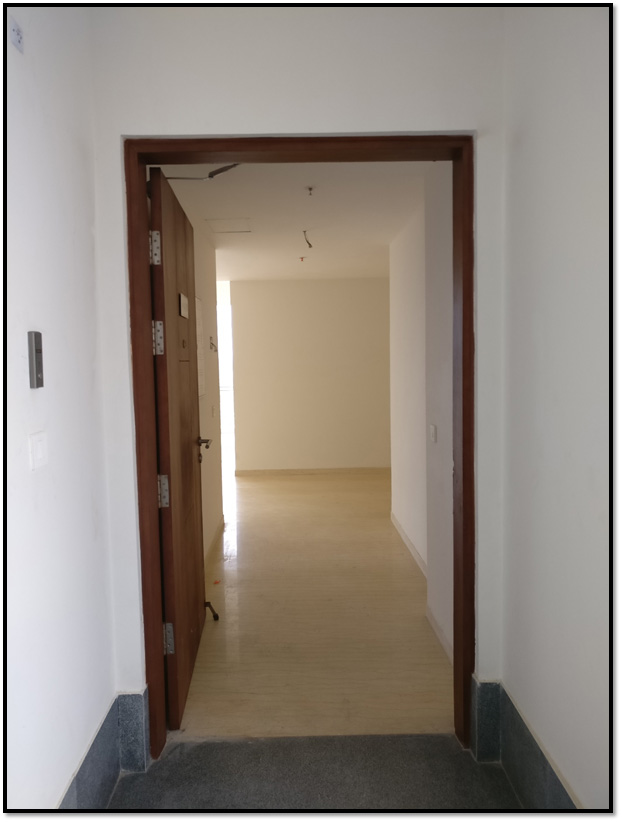
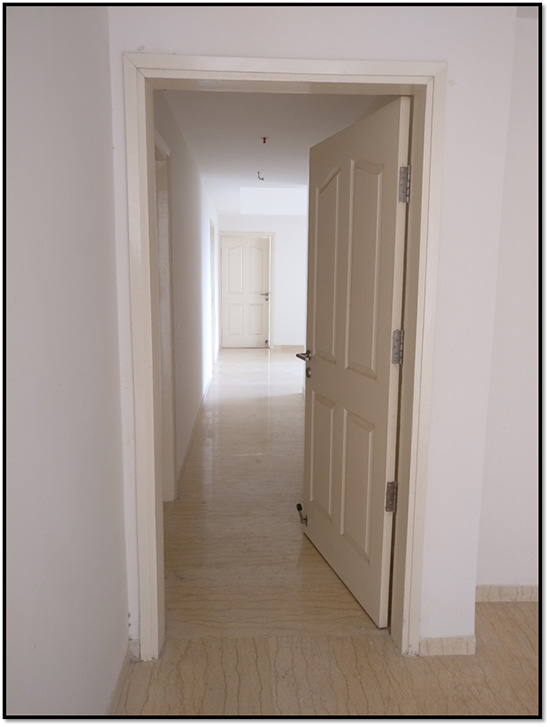
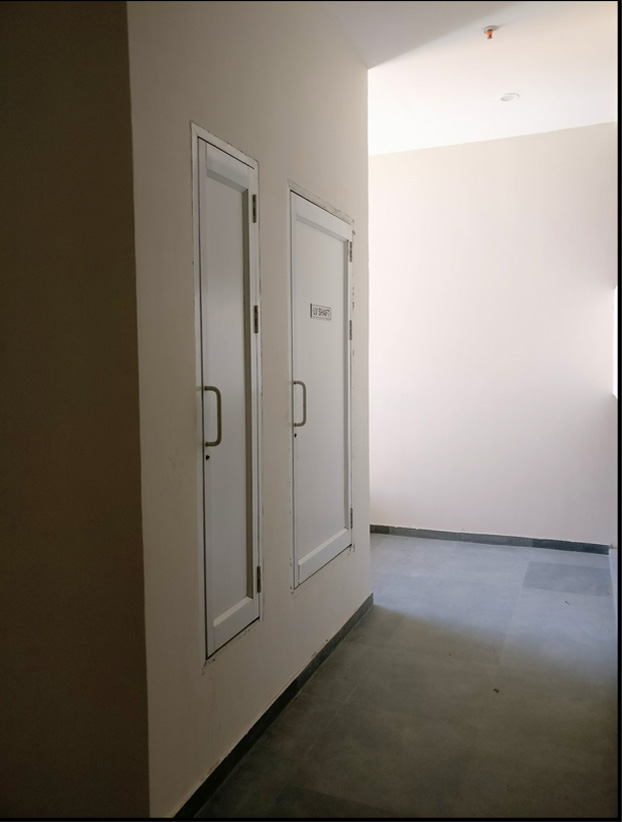
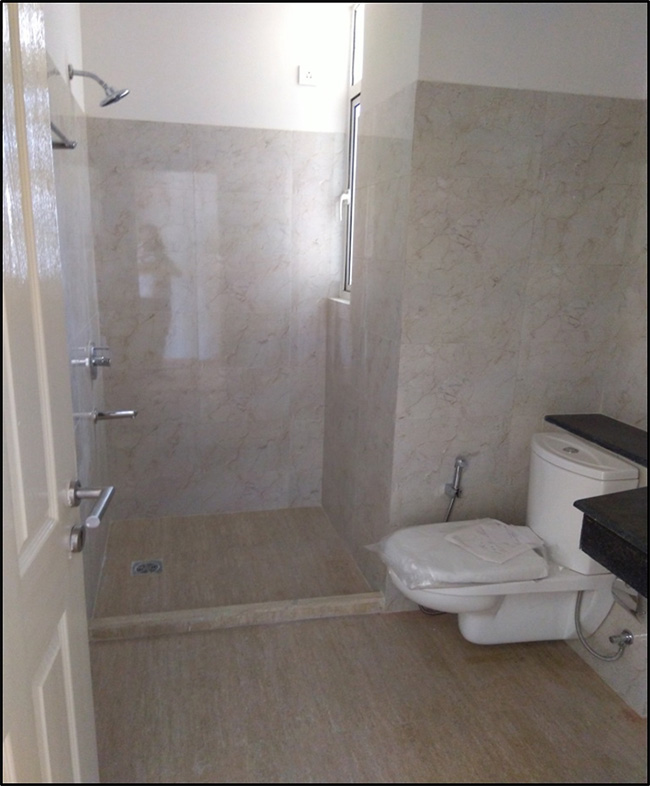
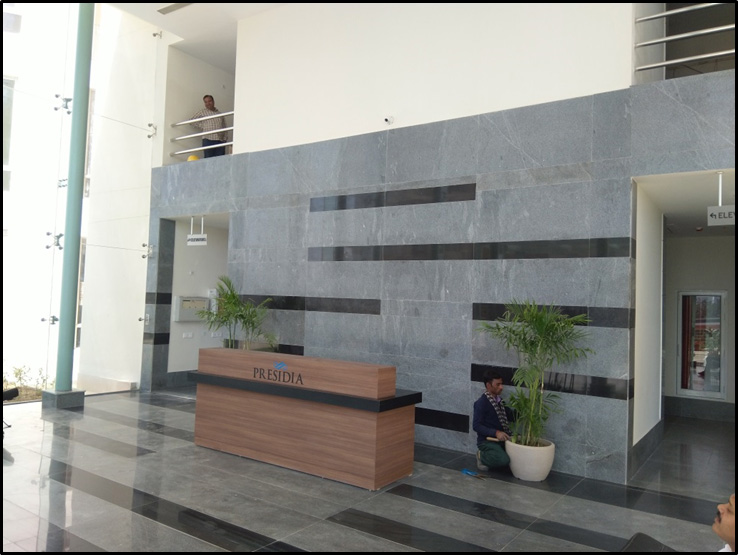
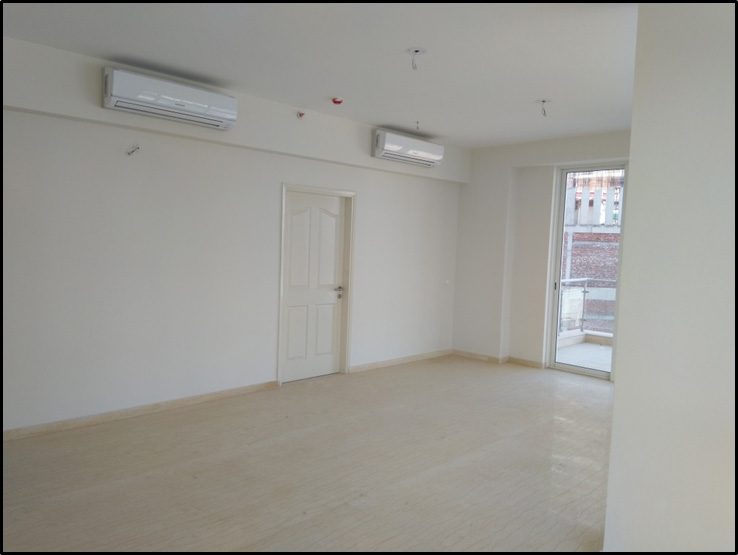
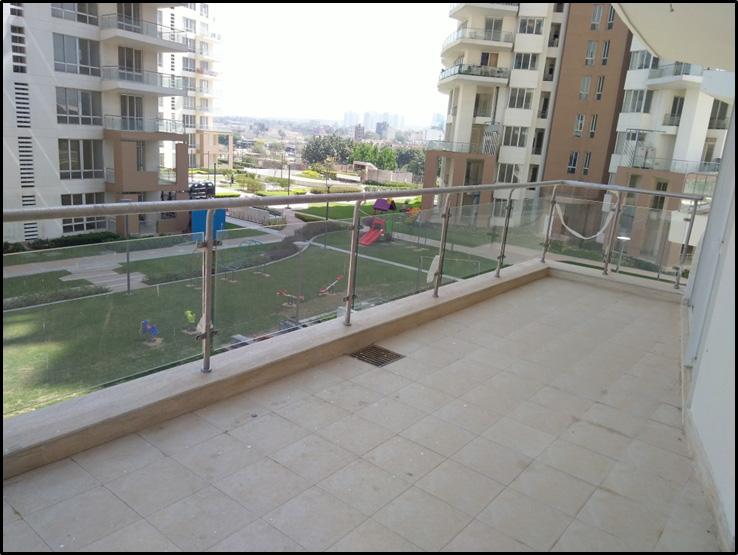
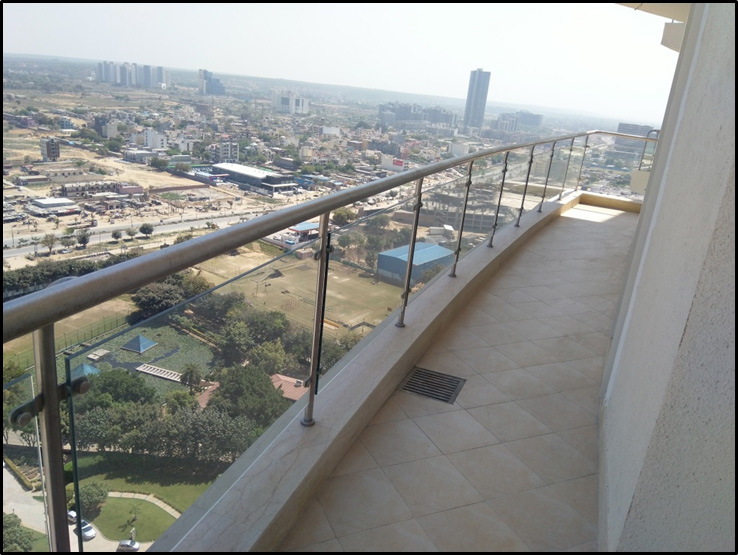
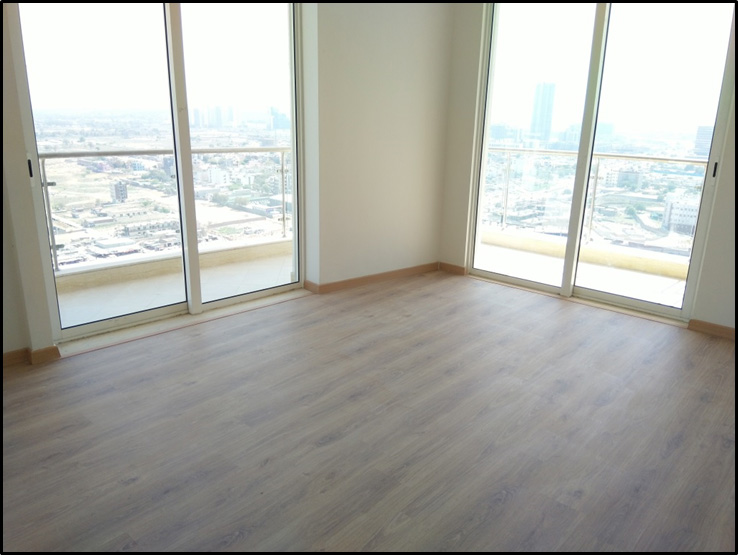
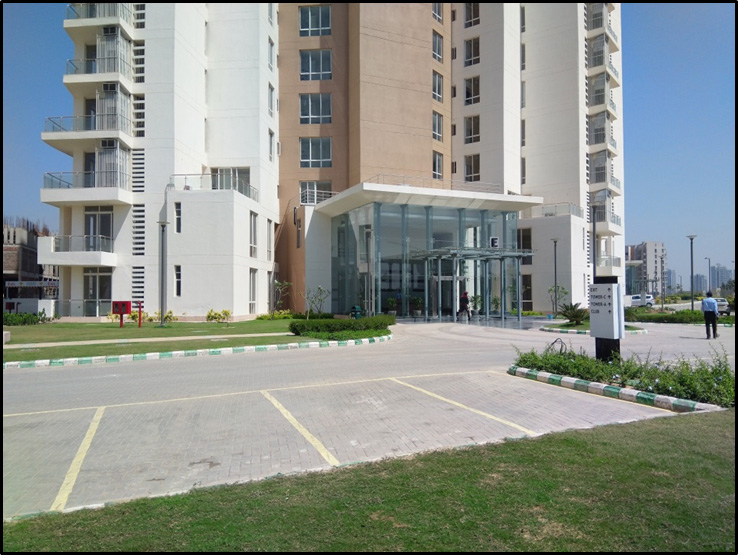
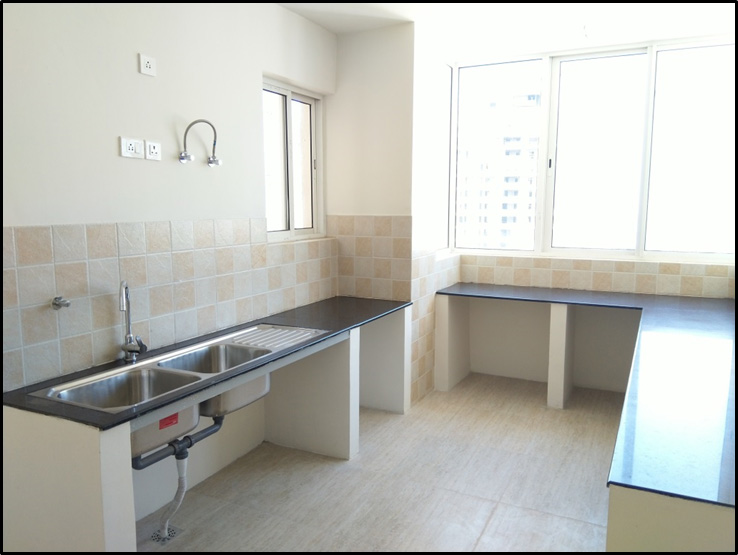
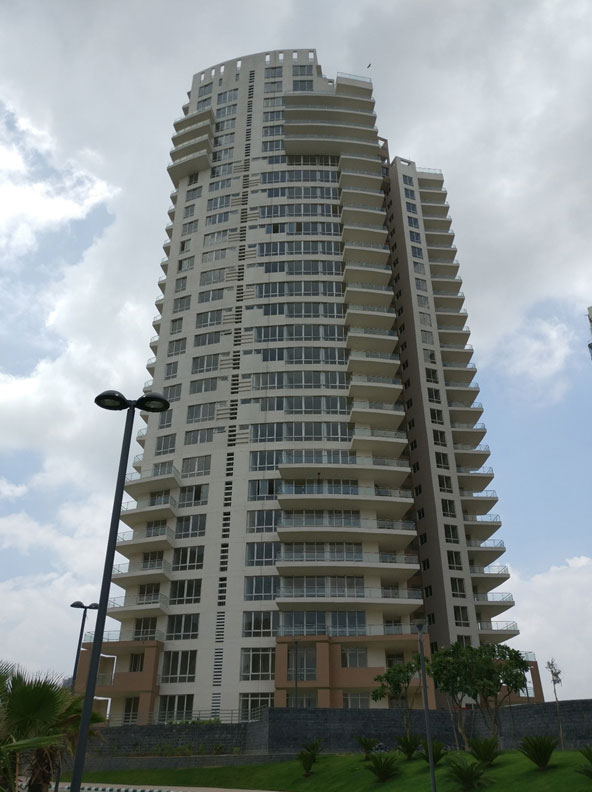
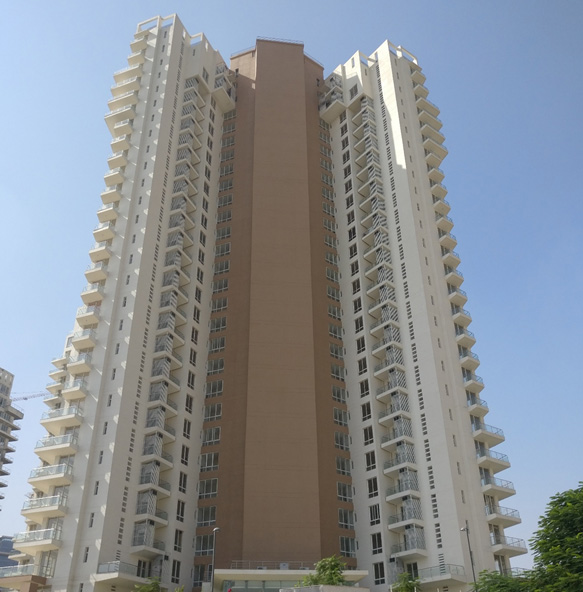
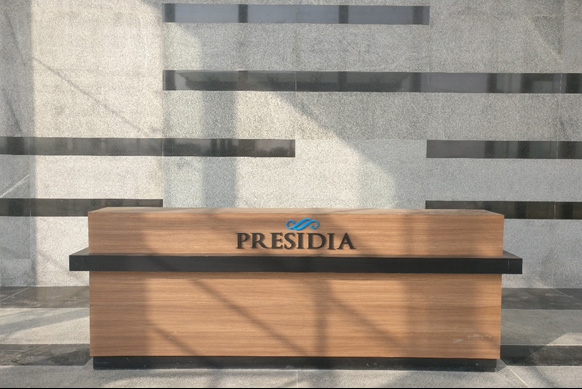
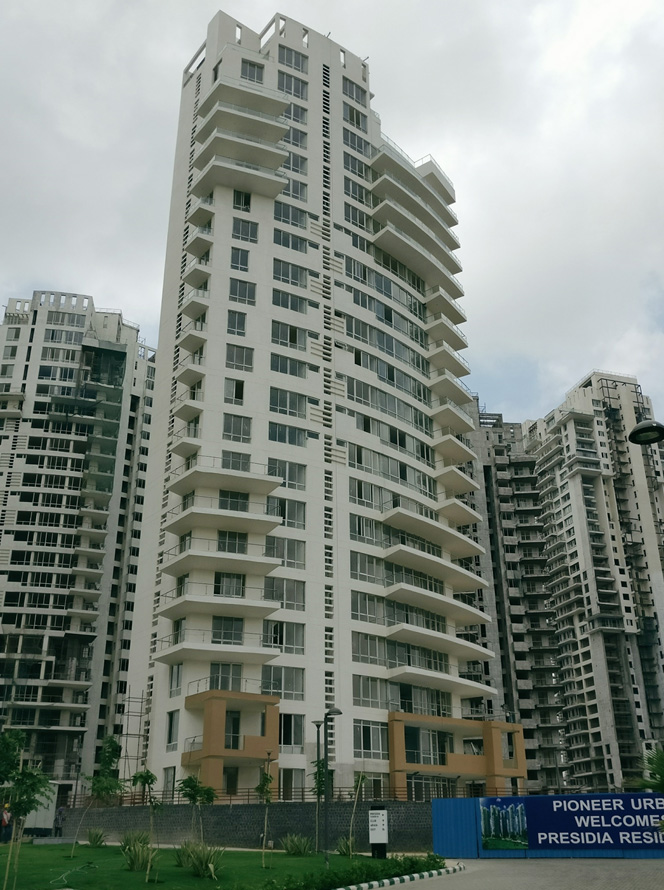
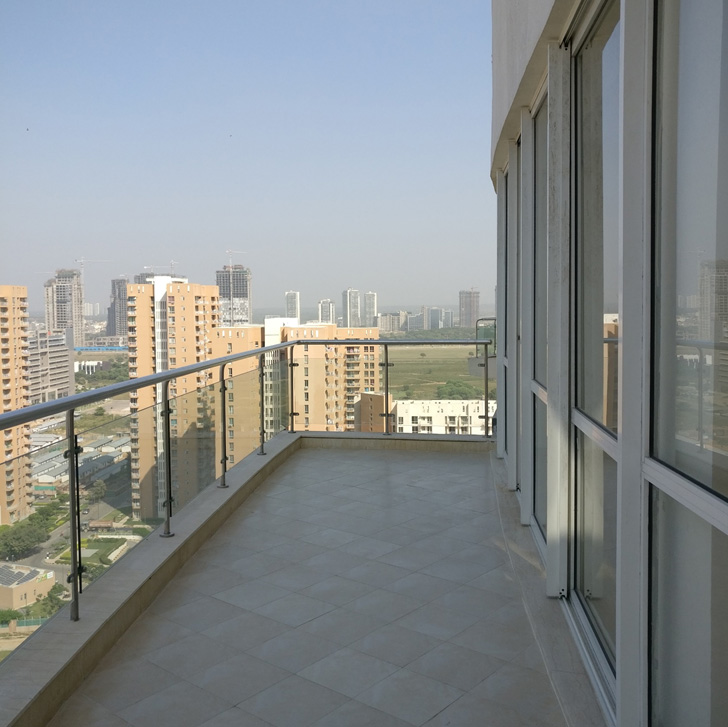
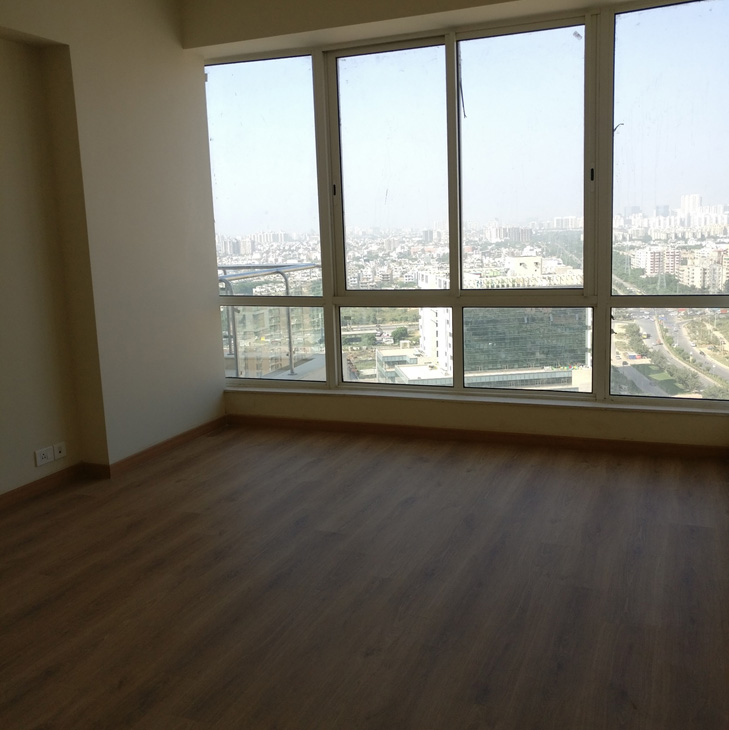
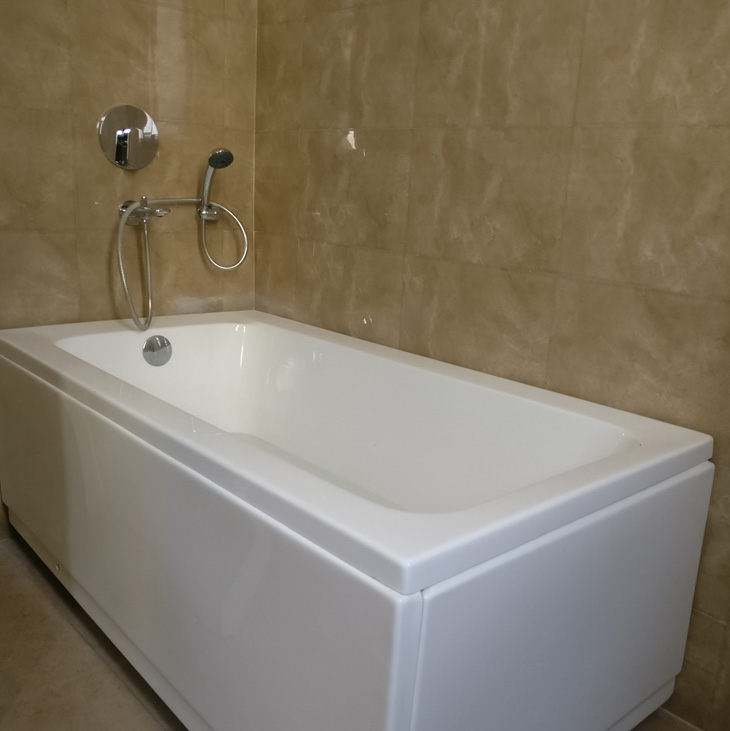
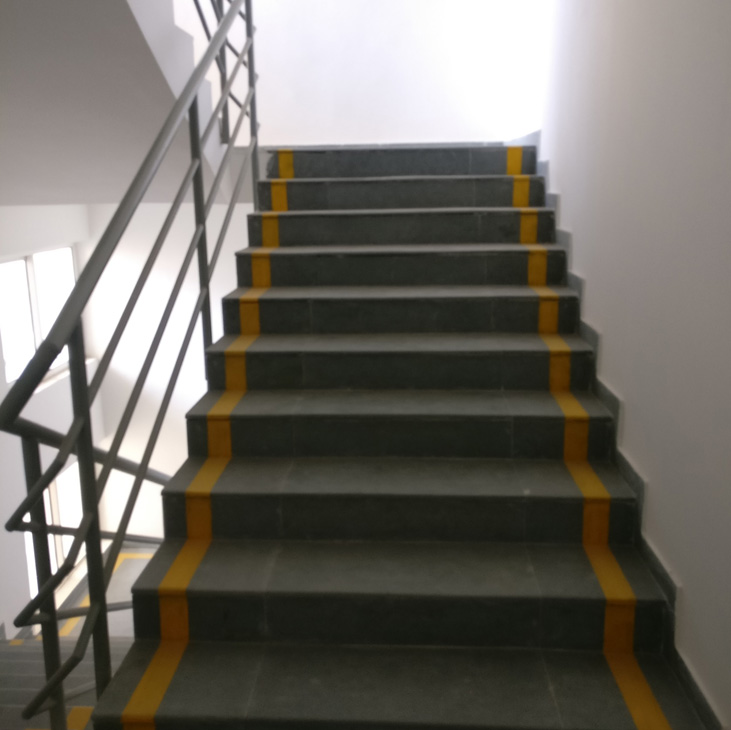
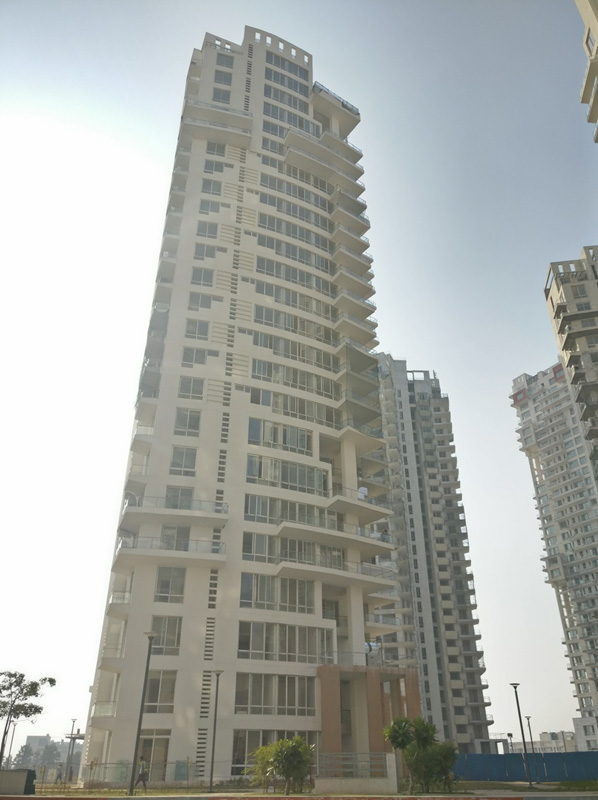
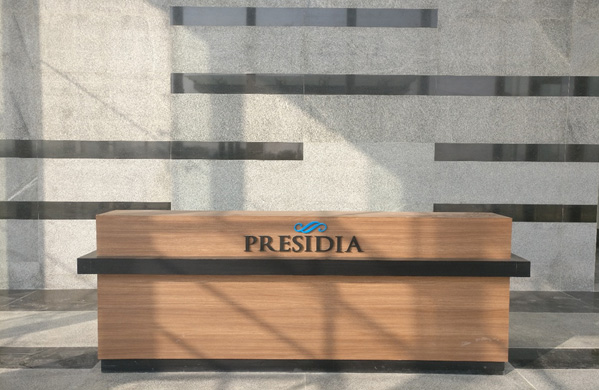
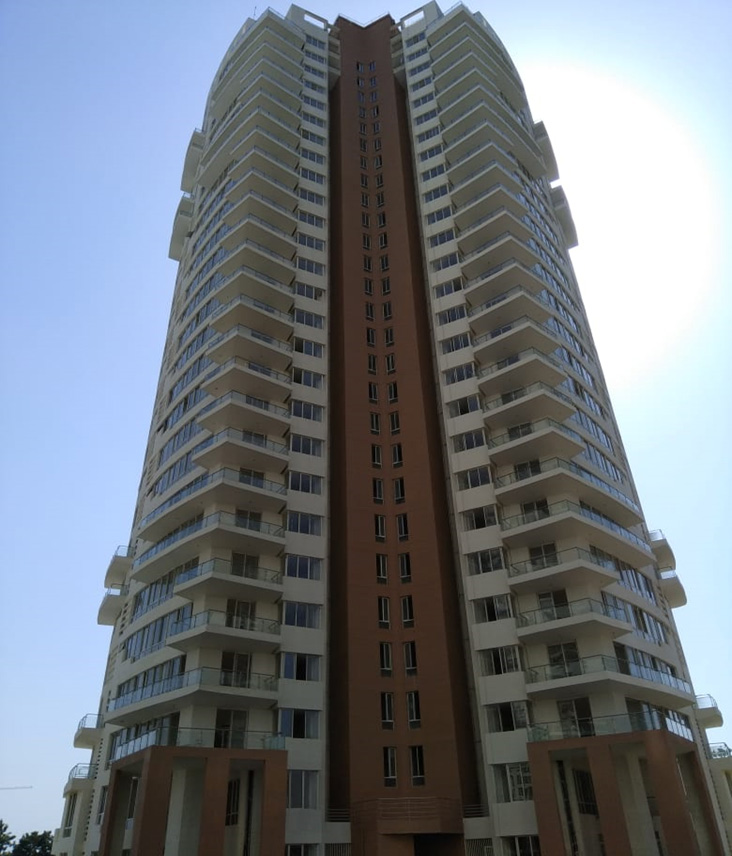
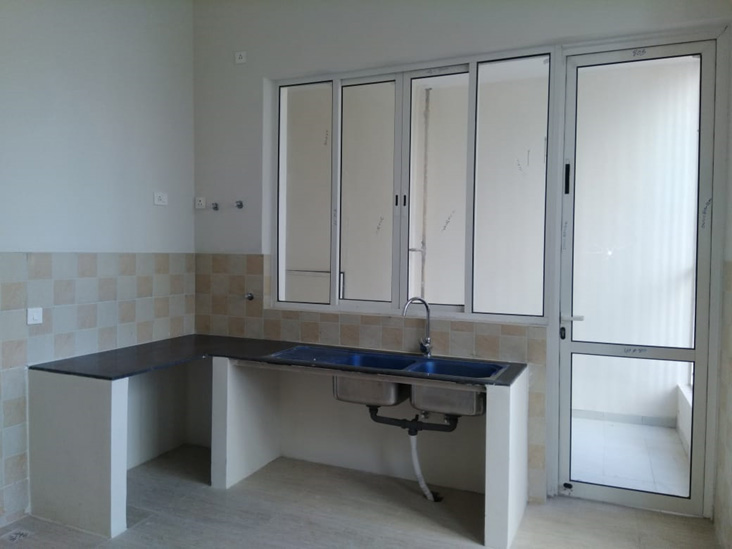
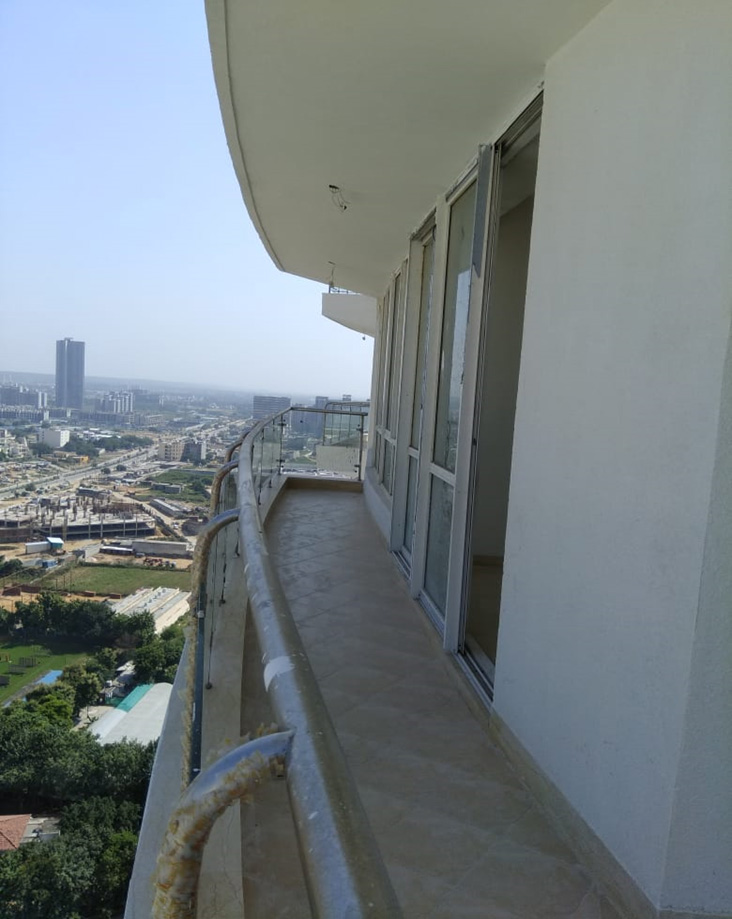
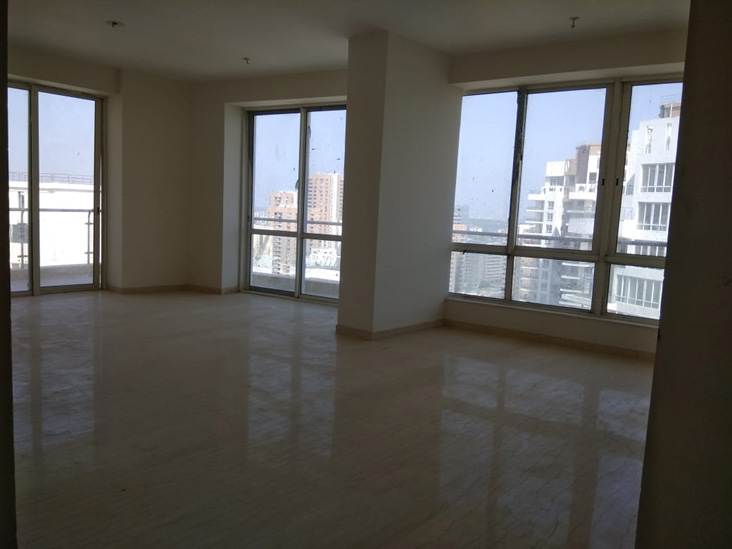
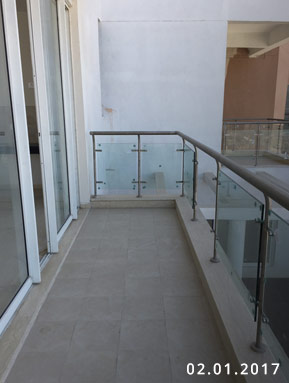
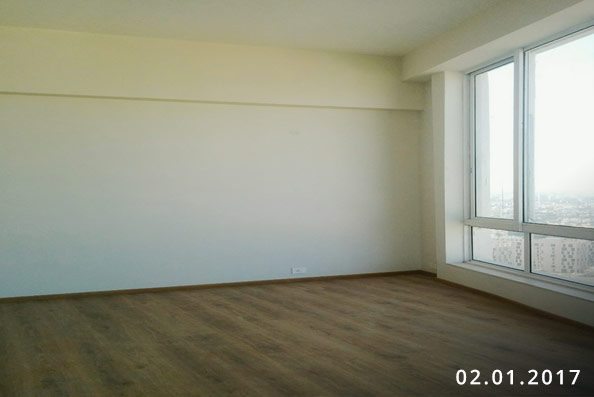
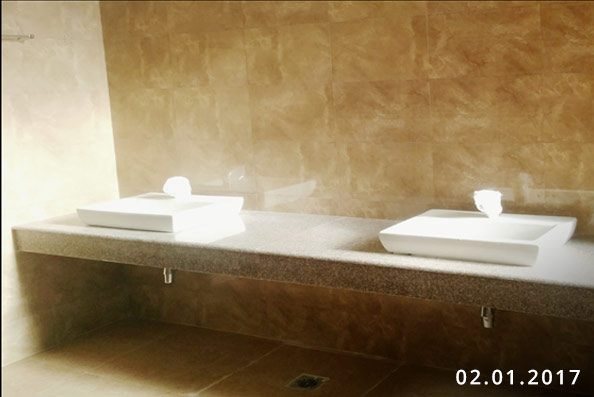
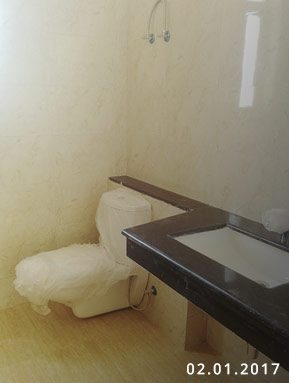
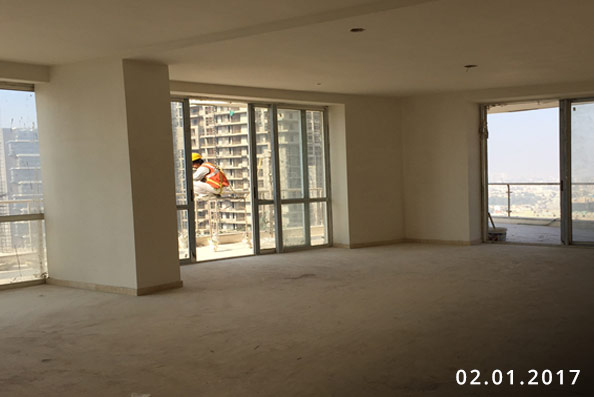
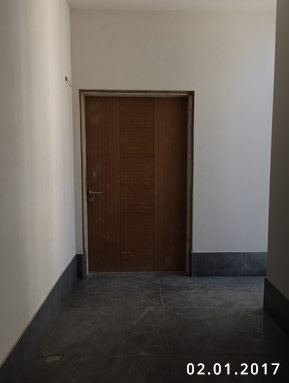
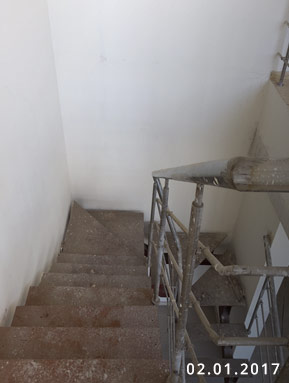
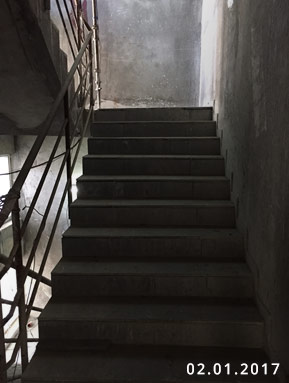
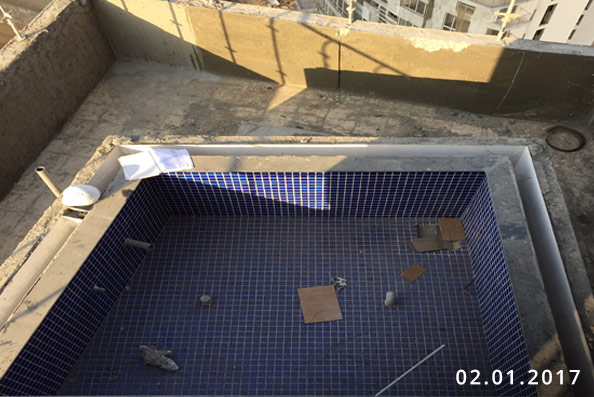
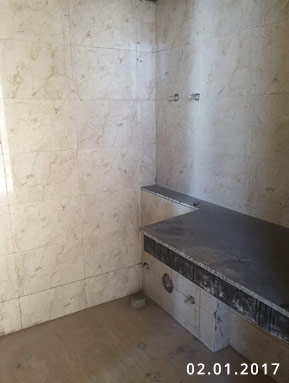
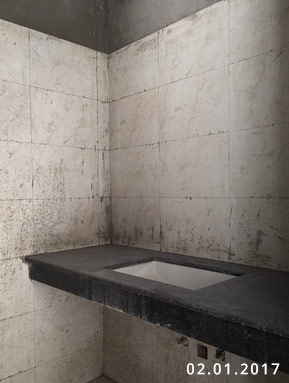
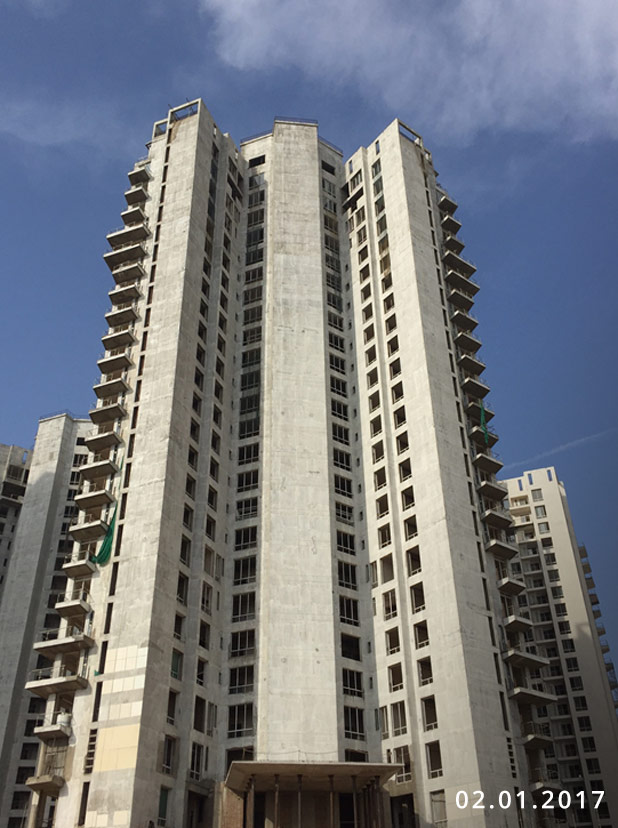
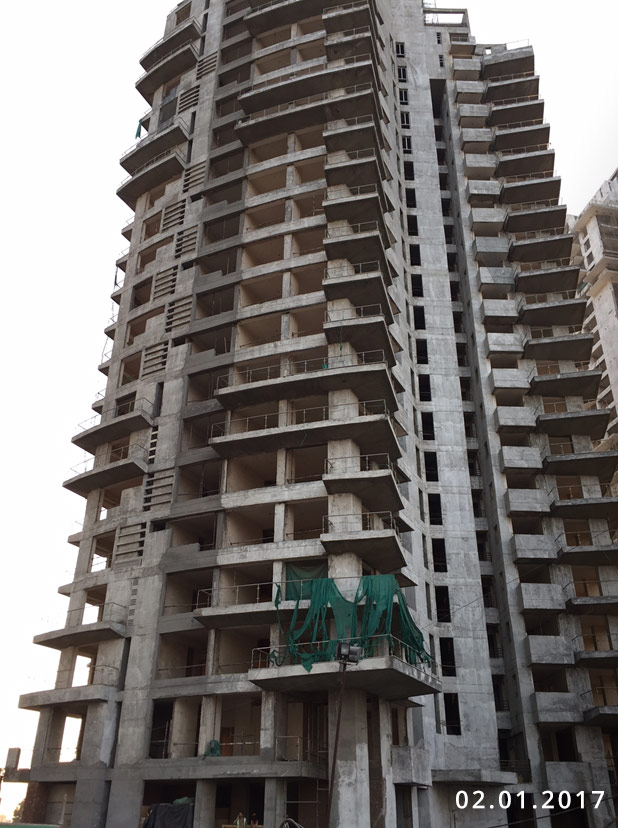
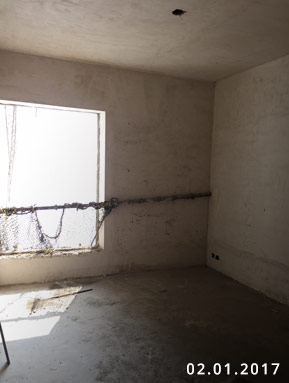
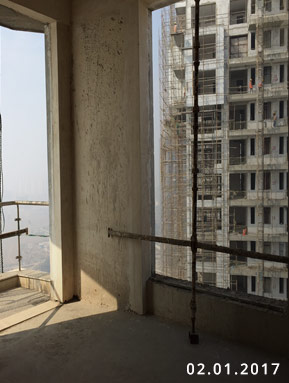
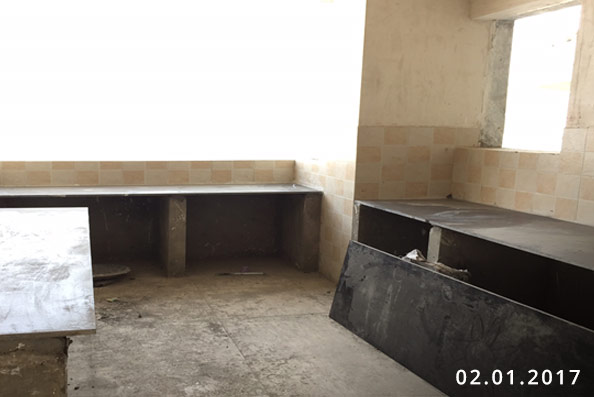
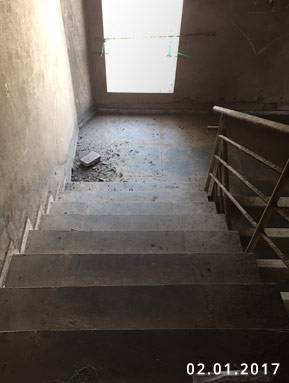
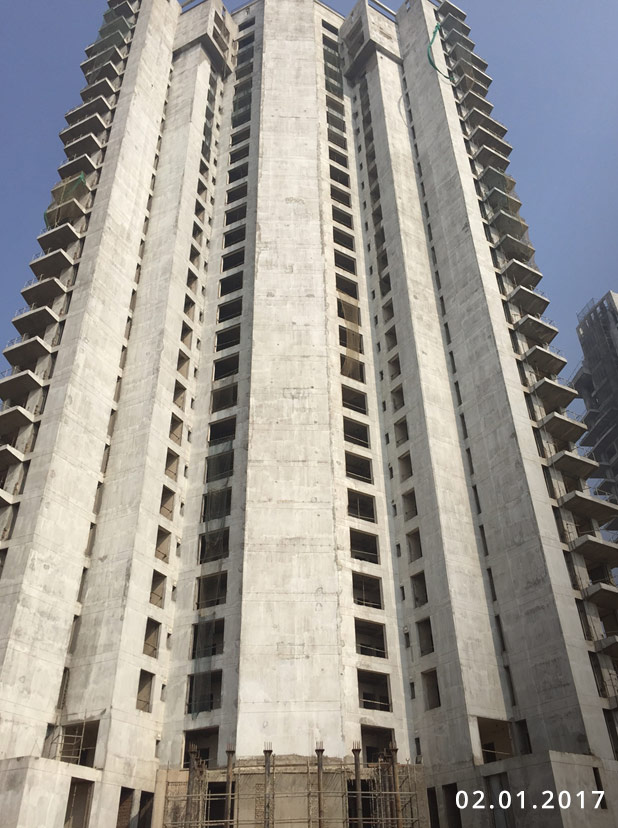
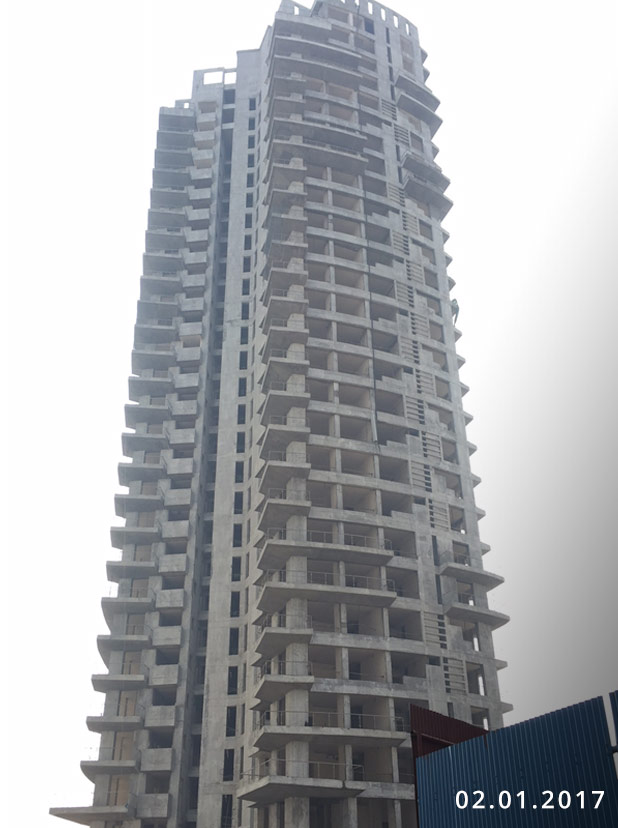
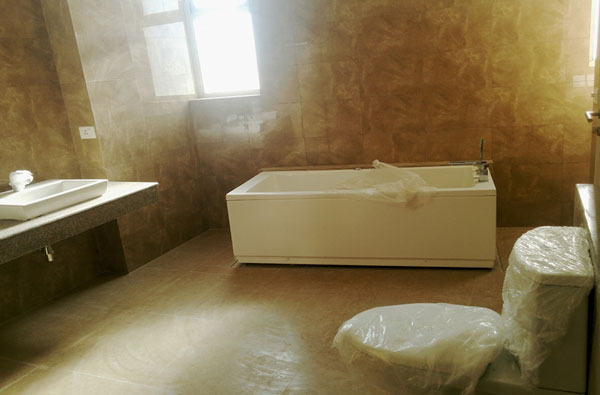
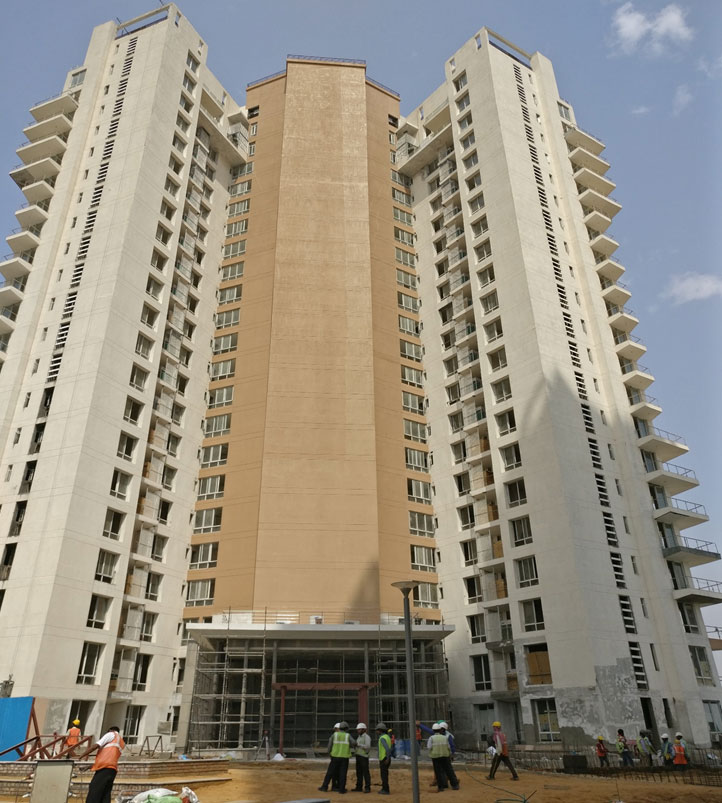
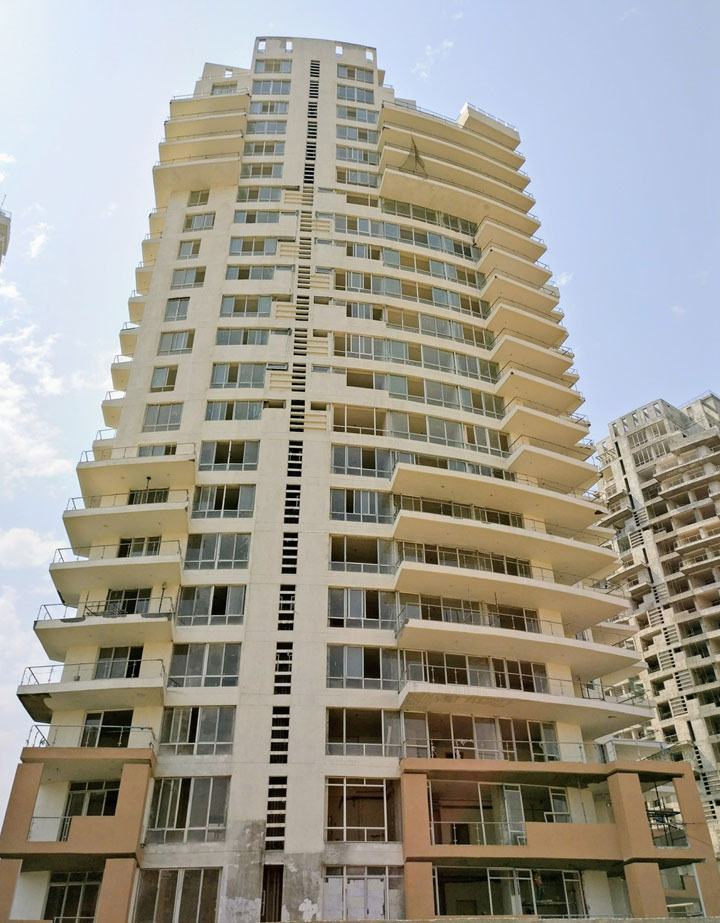
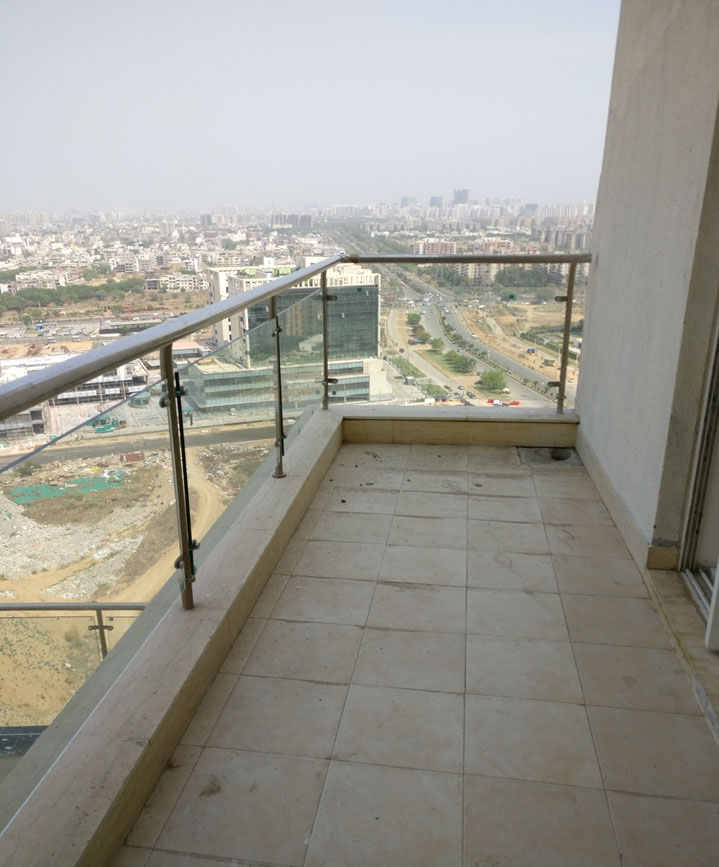
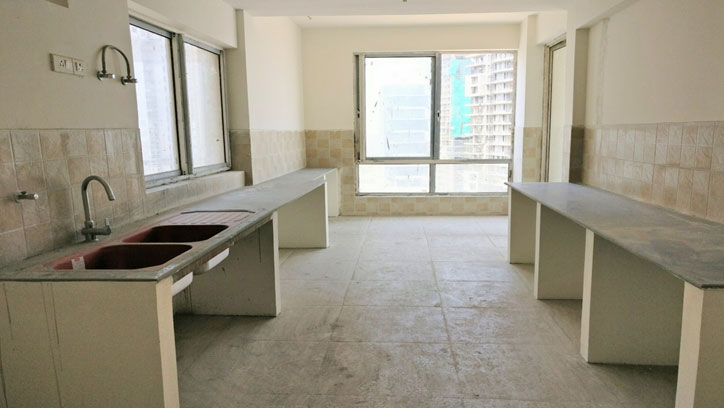
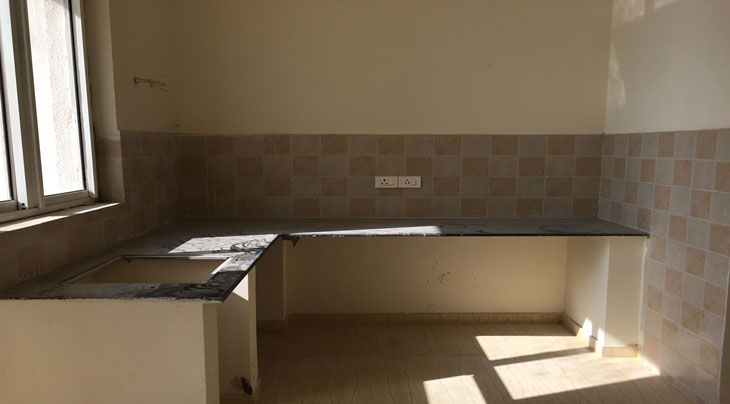
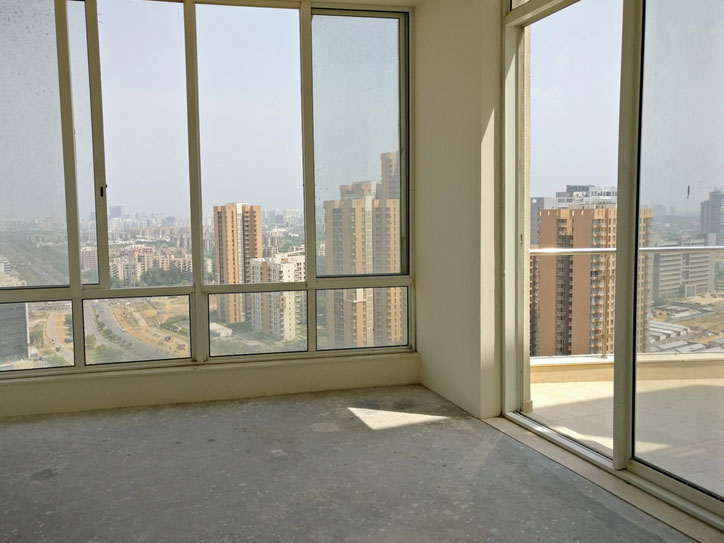
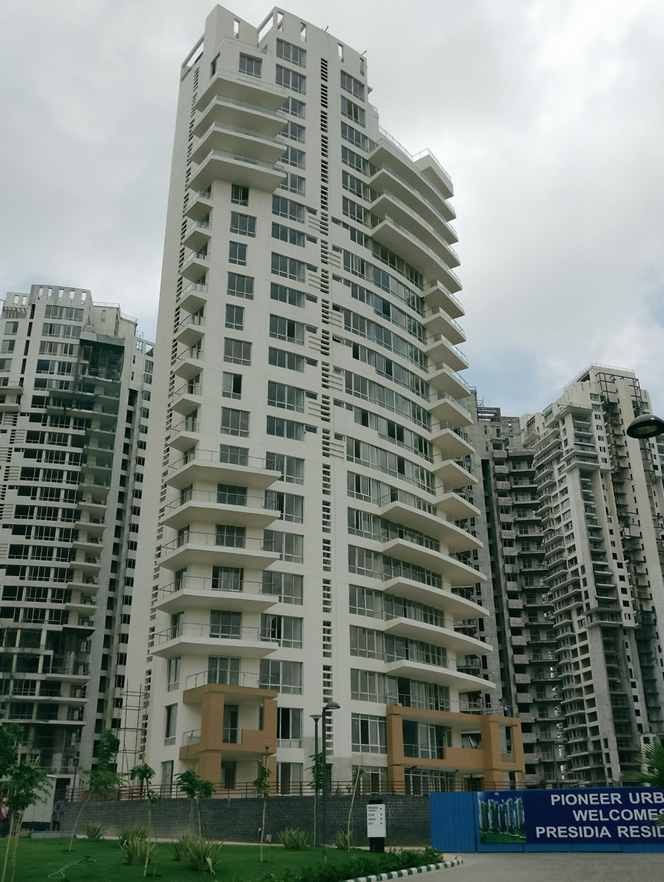
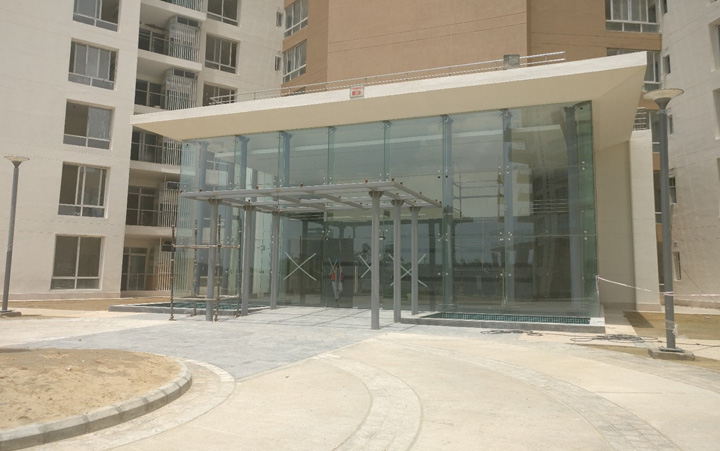
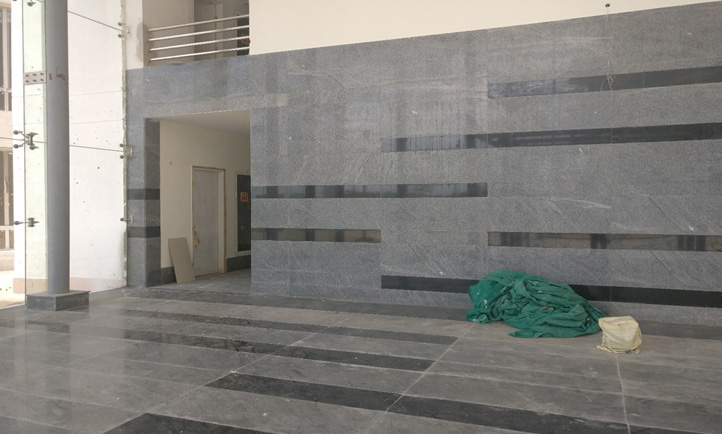
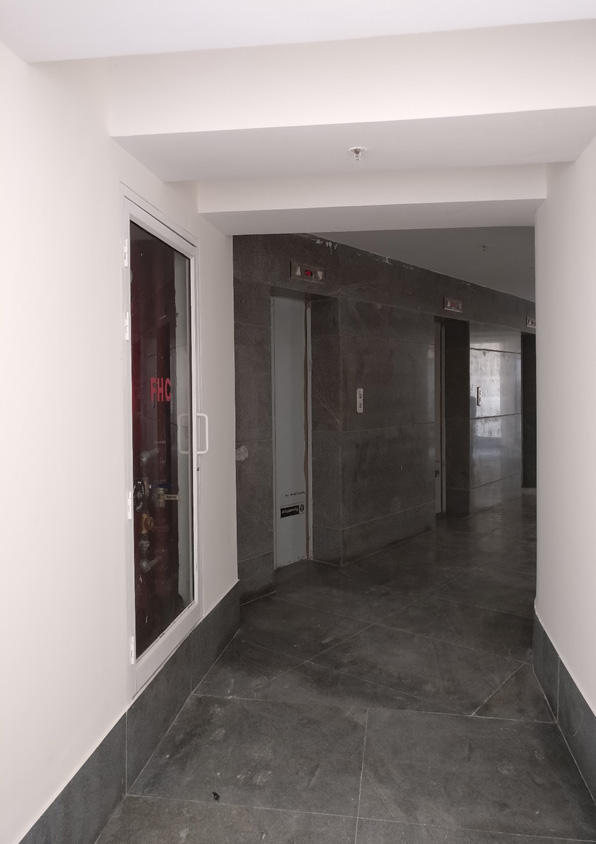
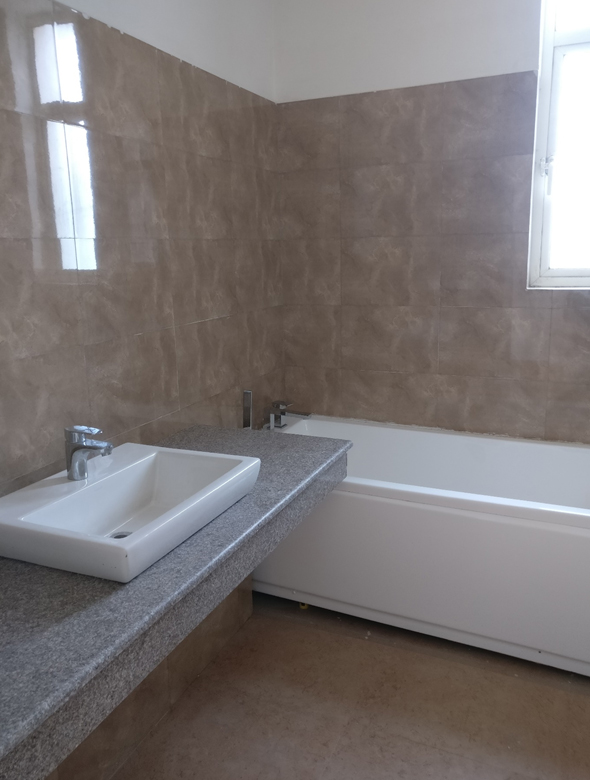
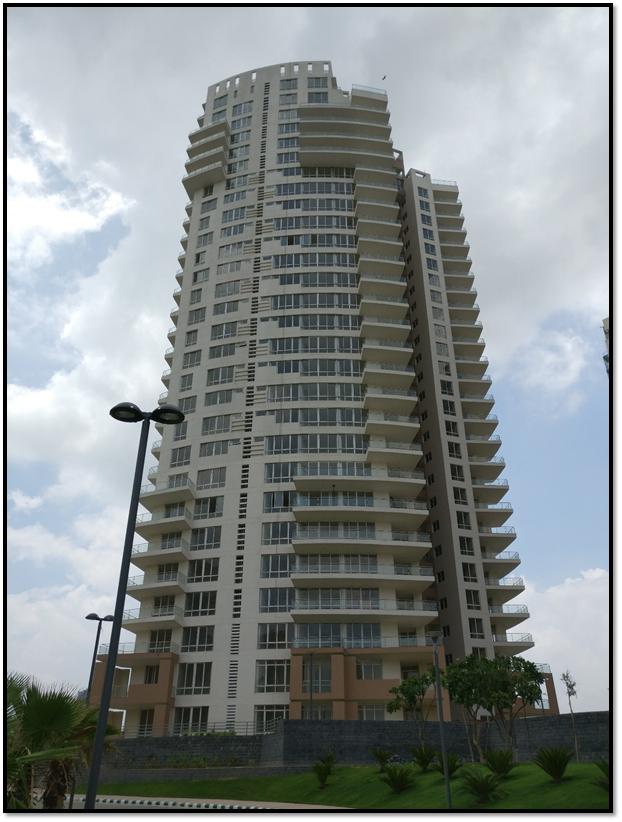
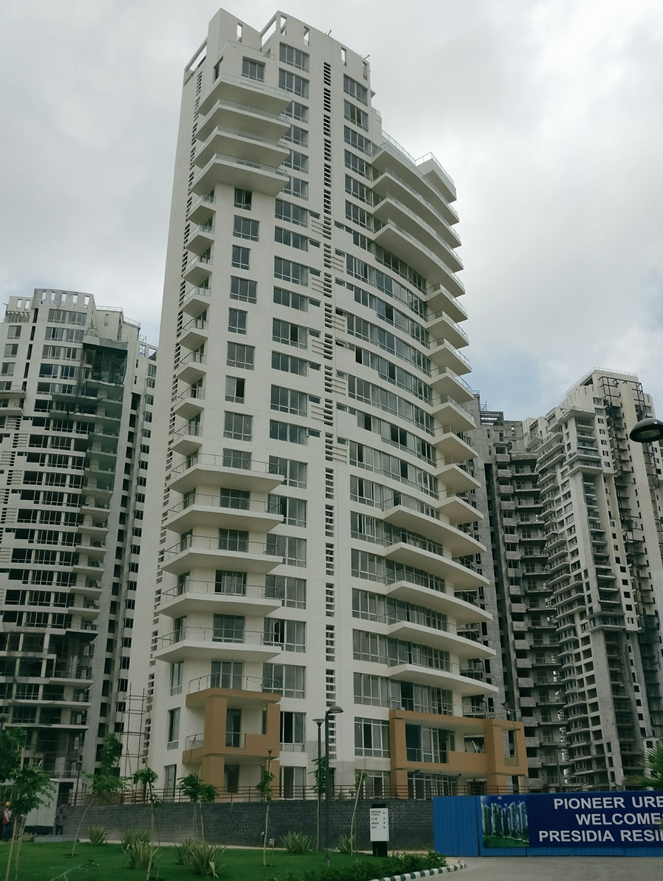
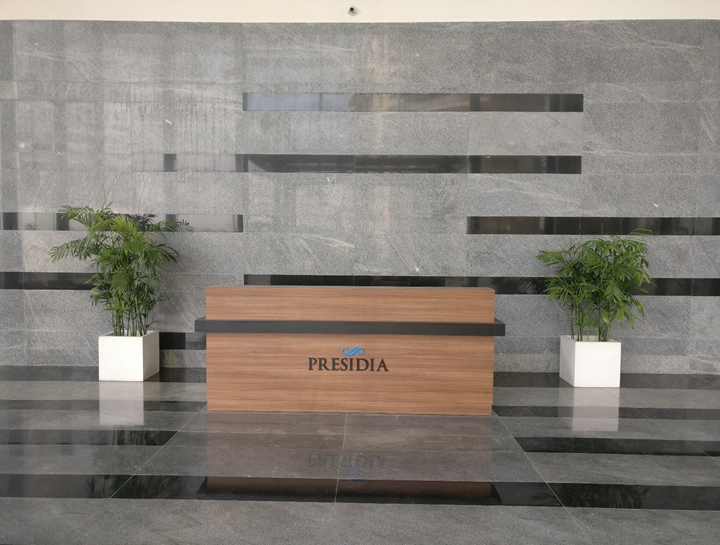
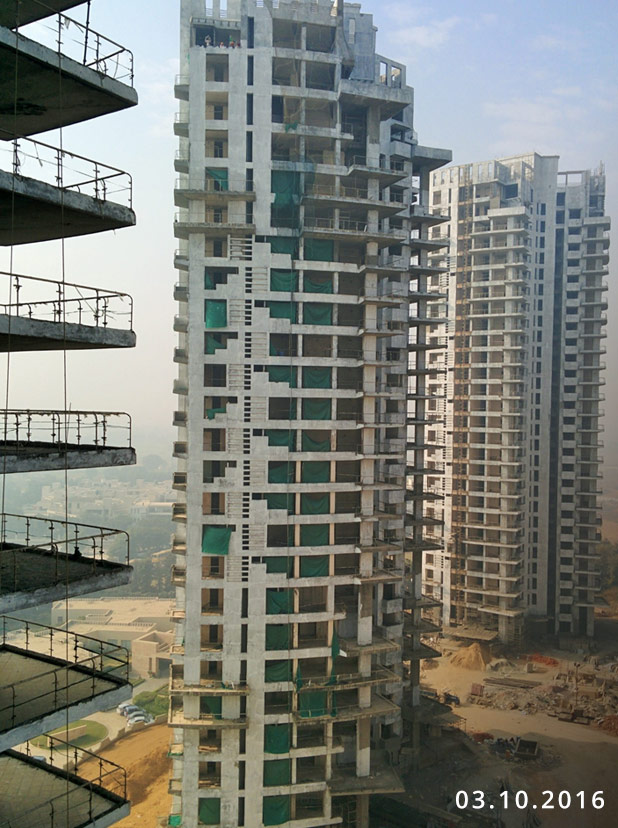
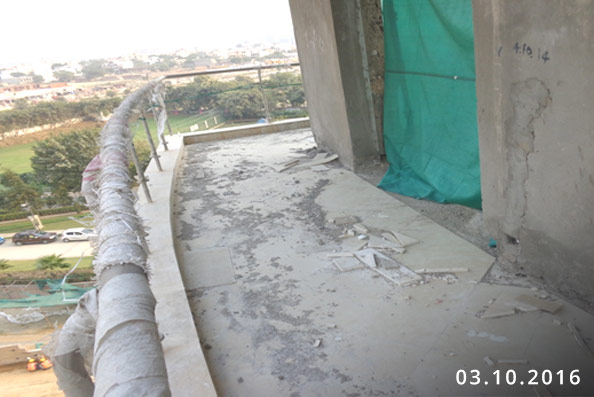
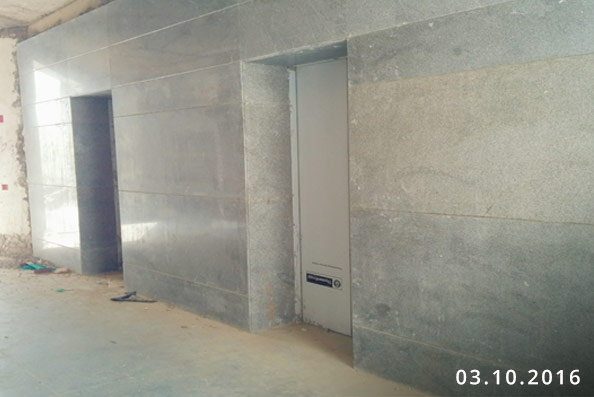
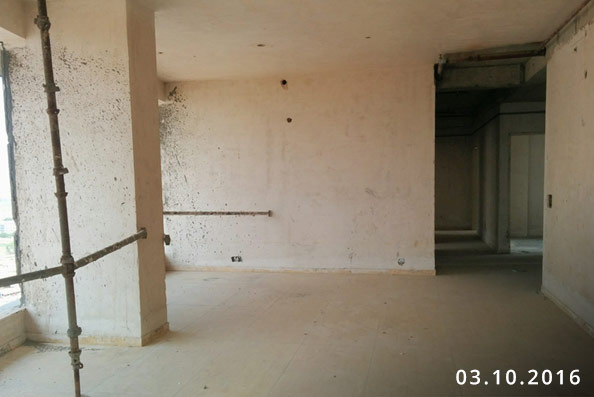
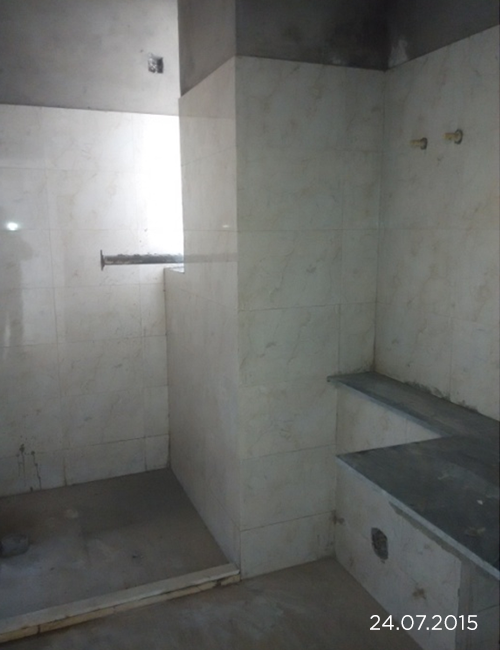
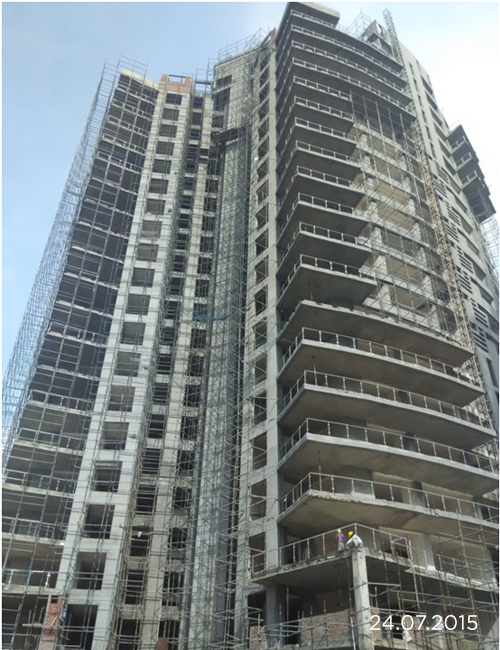
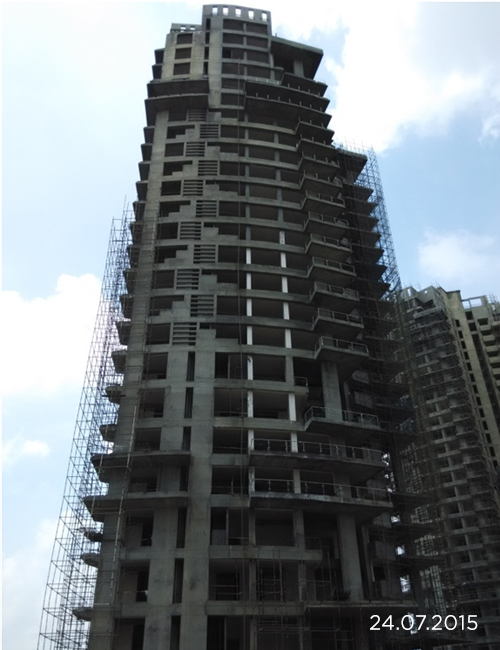
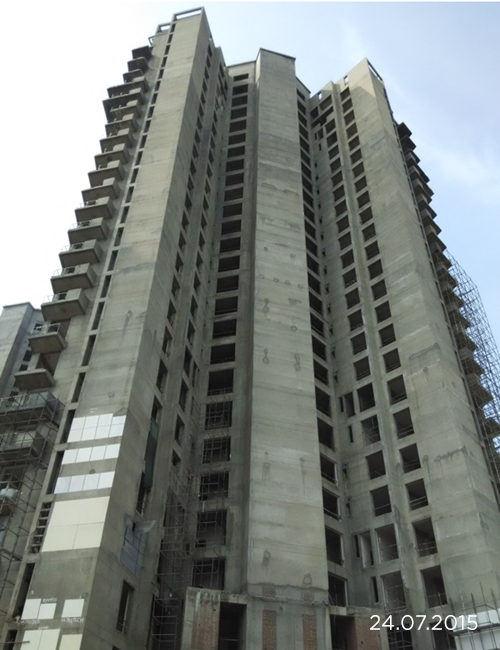
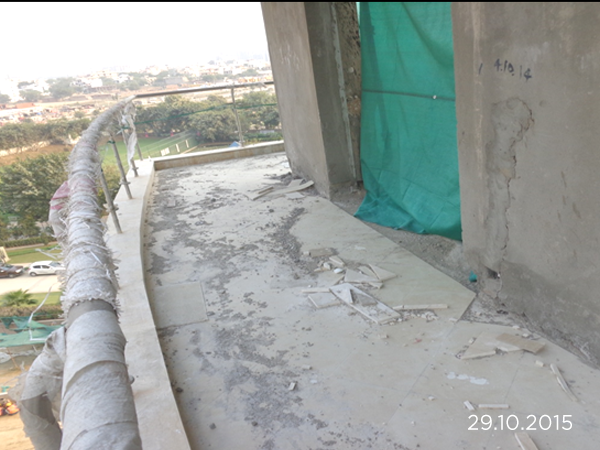
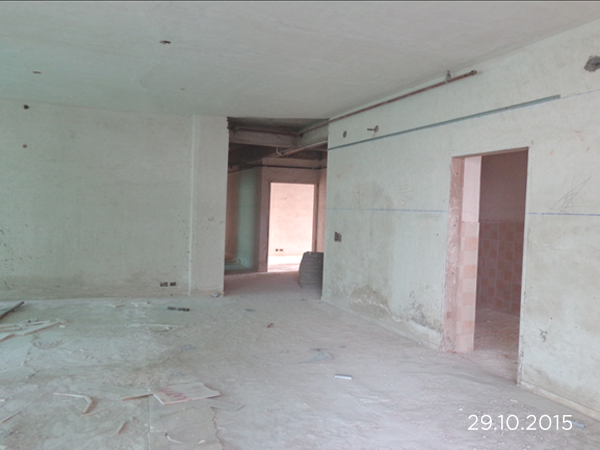
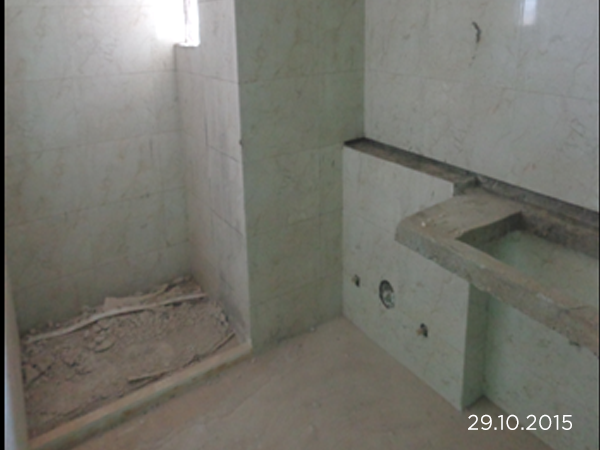
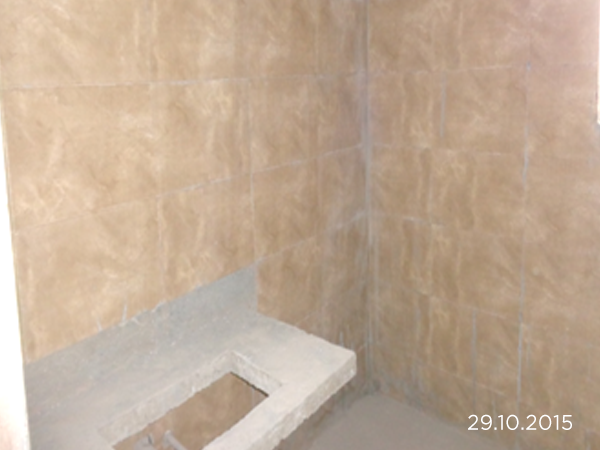
PRESIDIA CONSTRUCTION UPDATE
- January to March
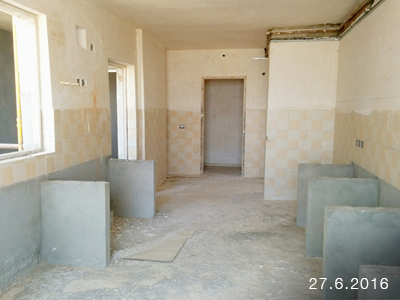
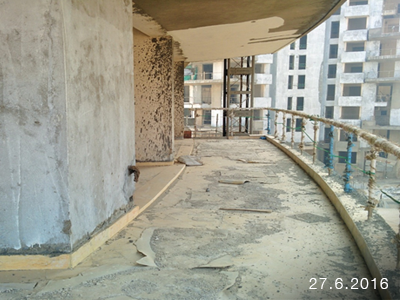
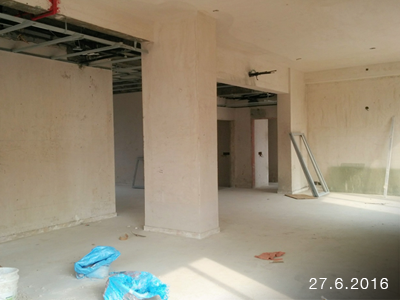
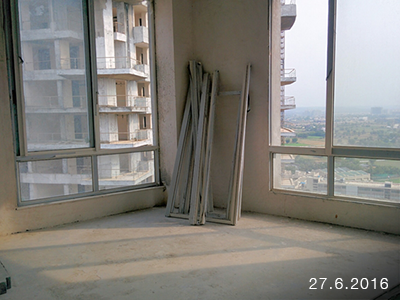
- April to June
- July to September
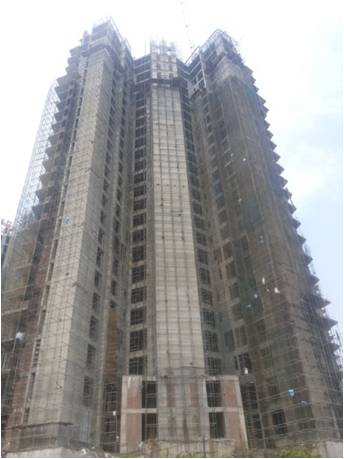
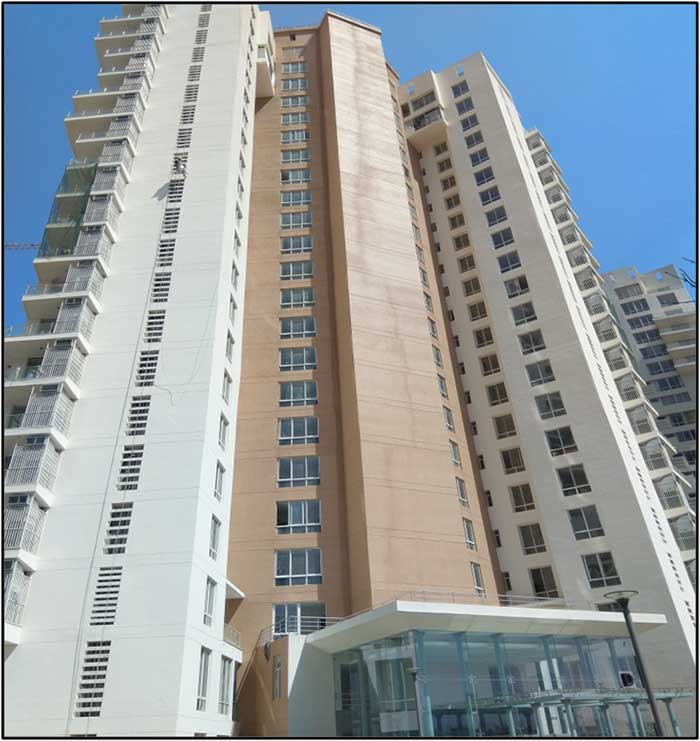
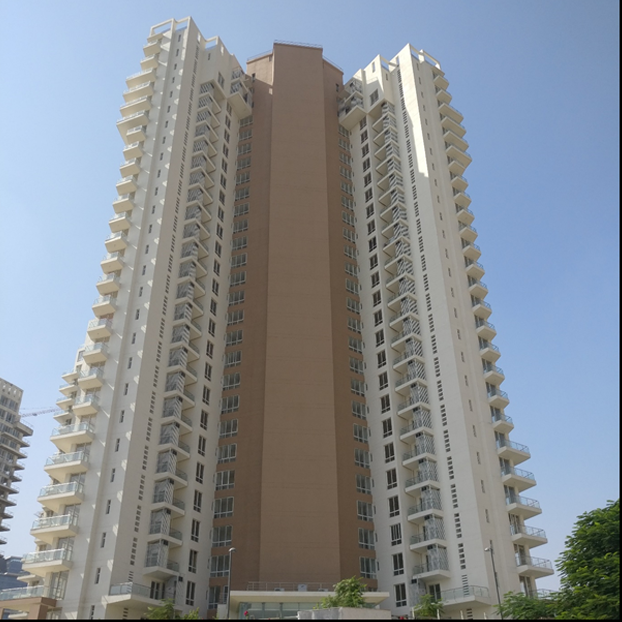
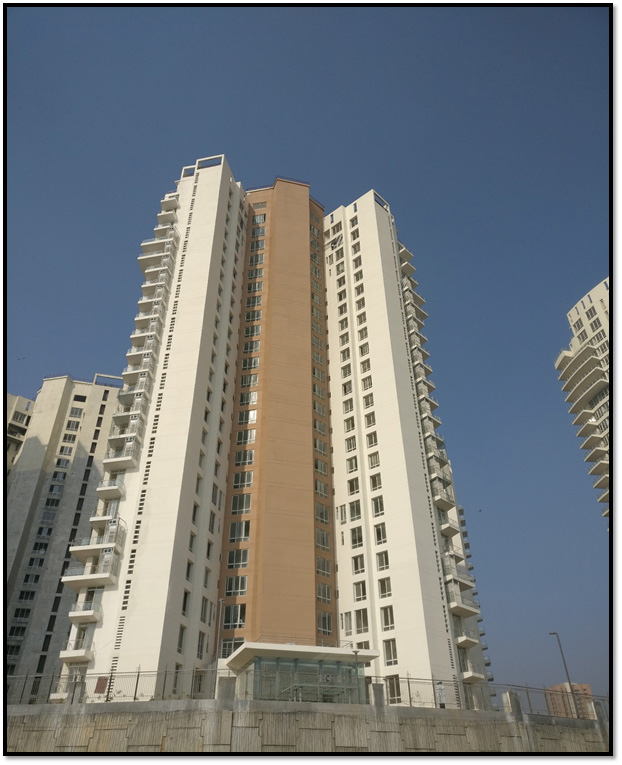
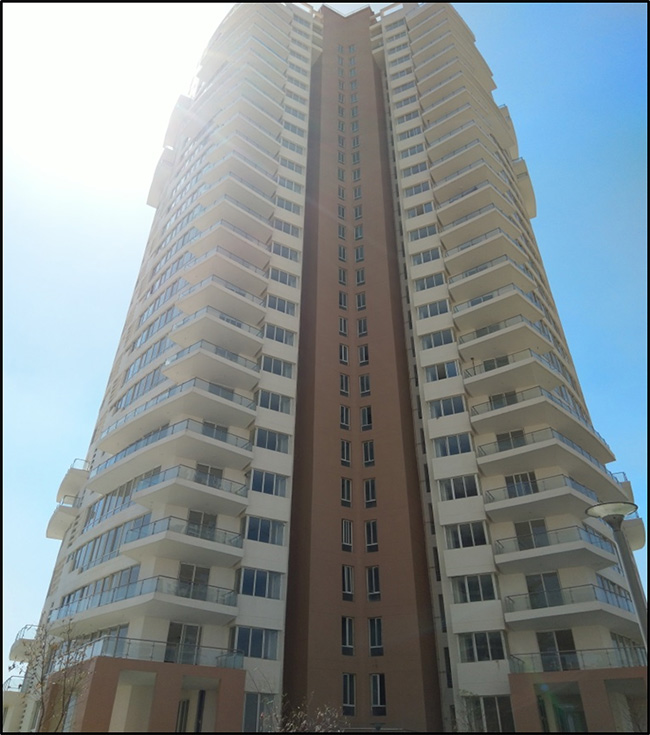
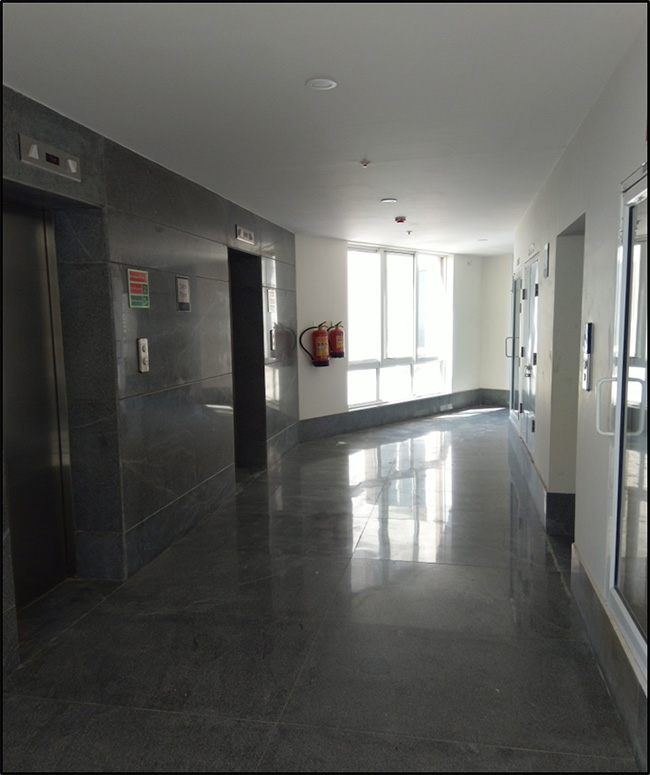
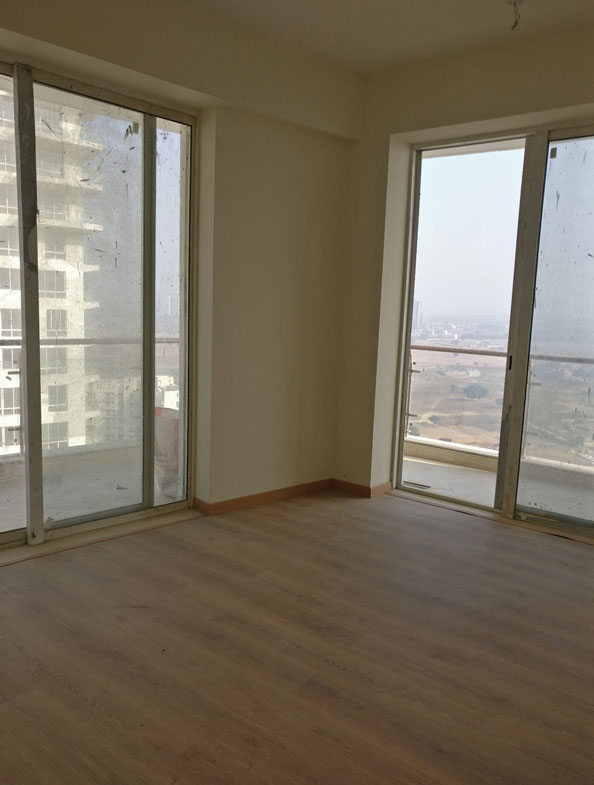
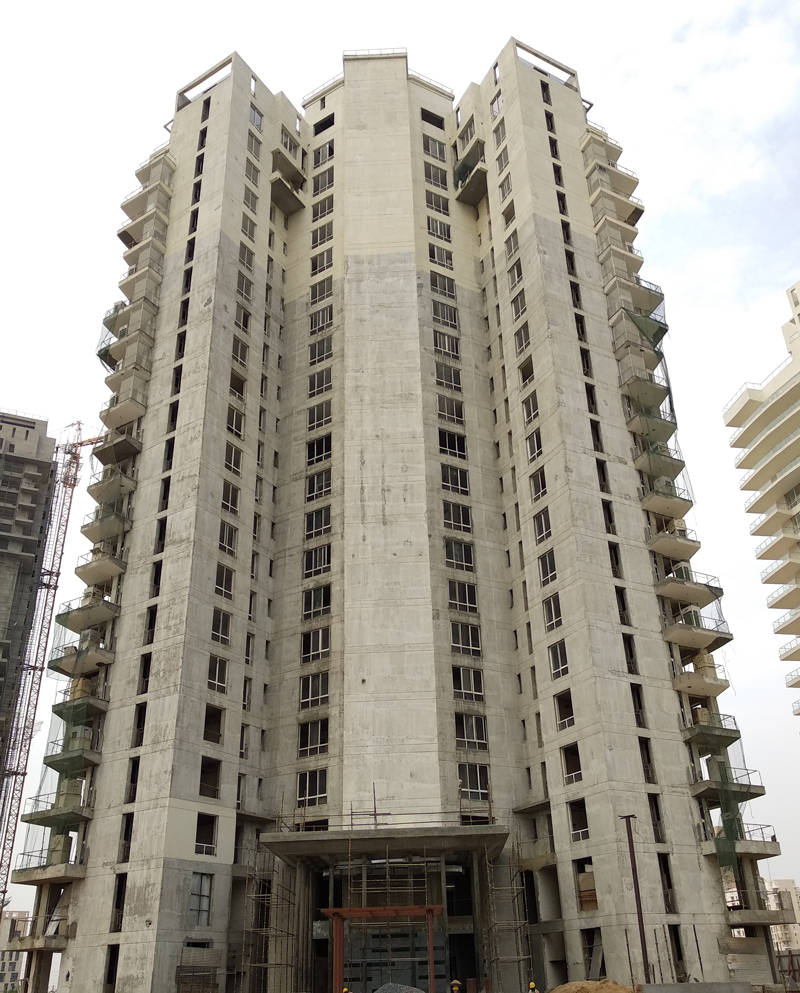
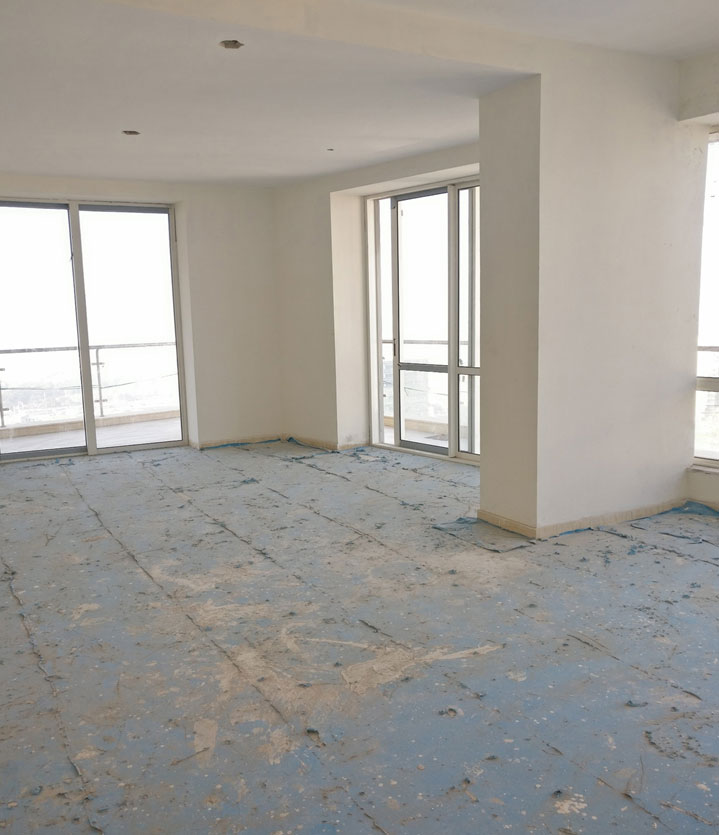
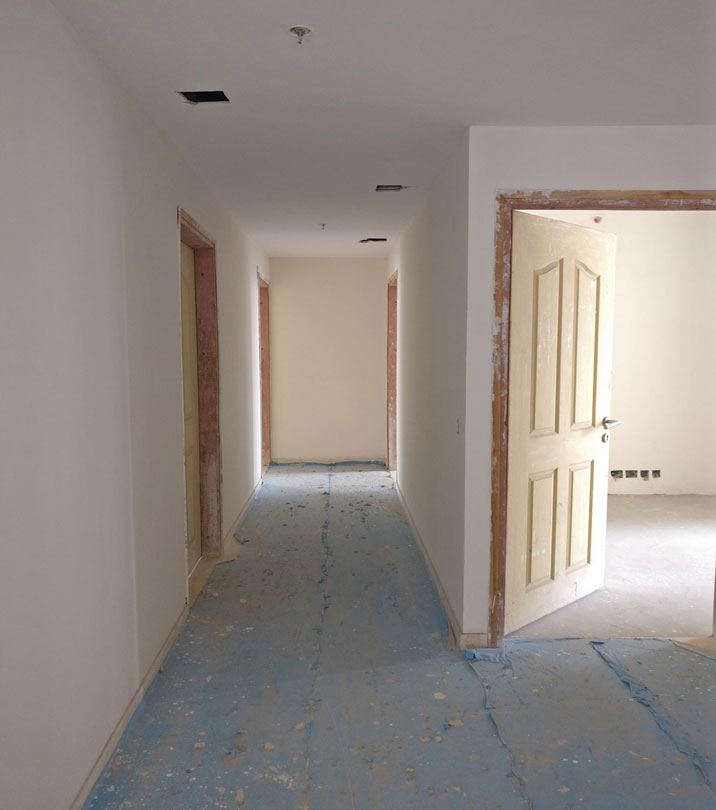
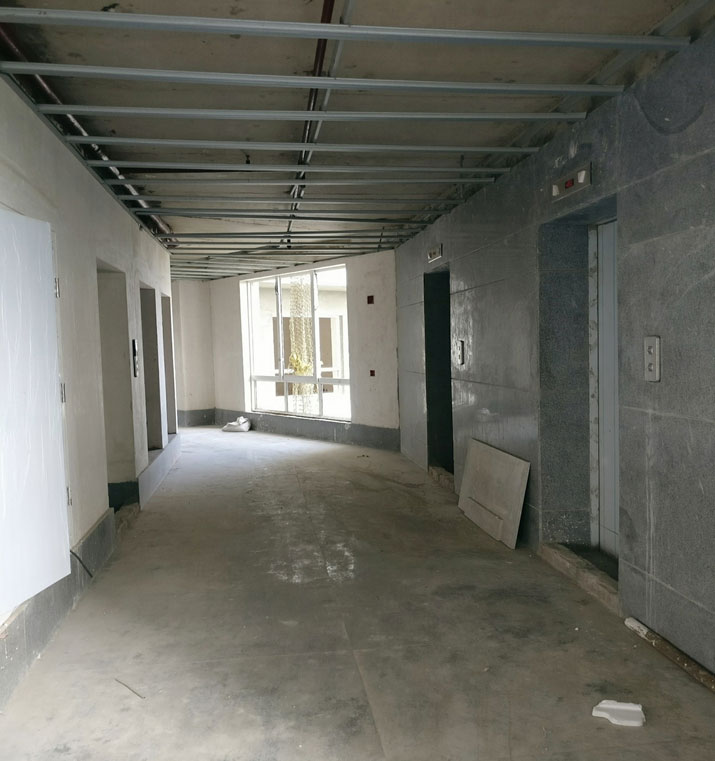
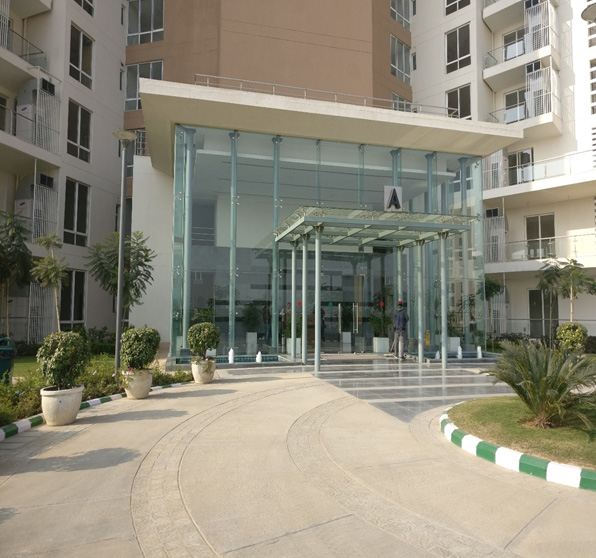
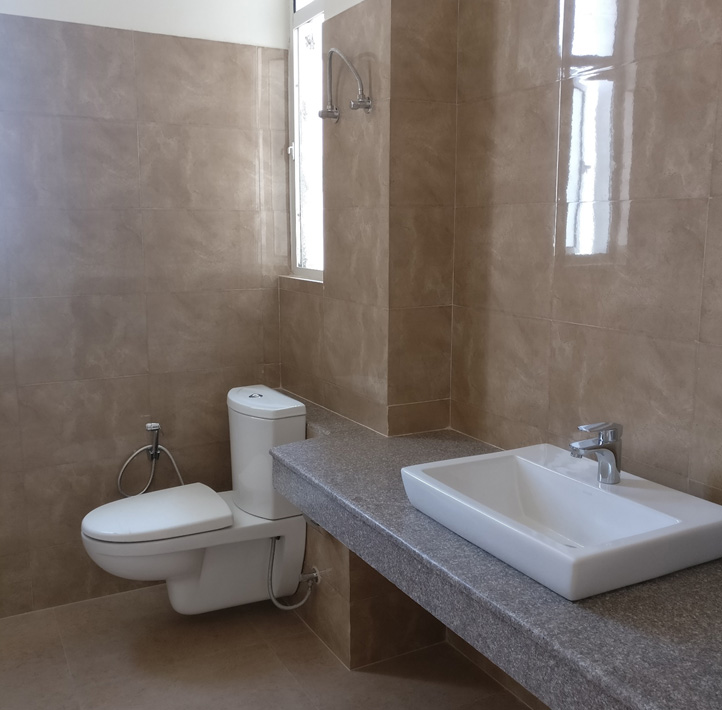
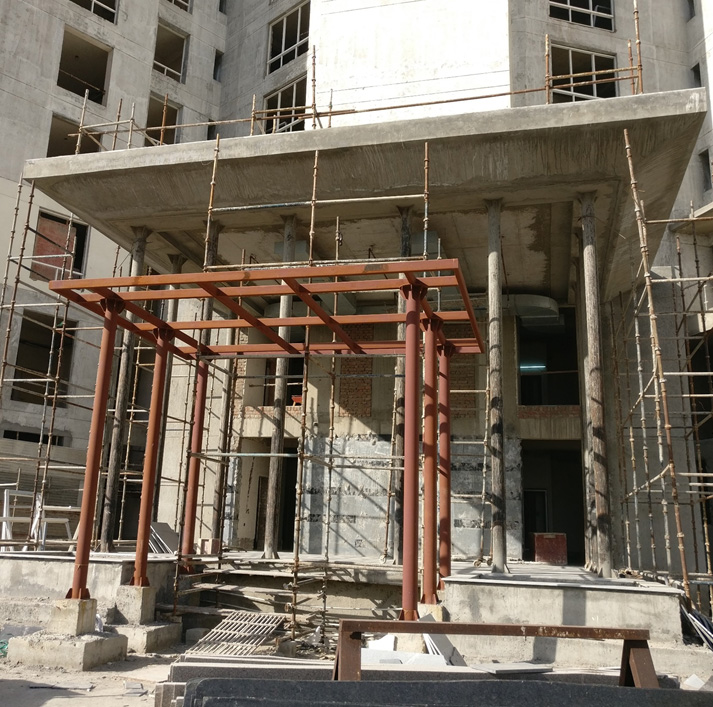
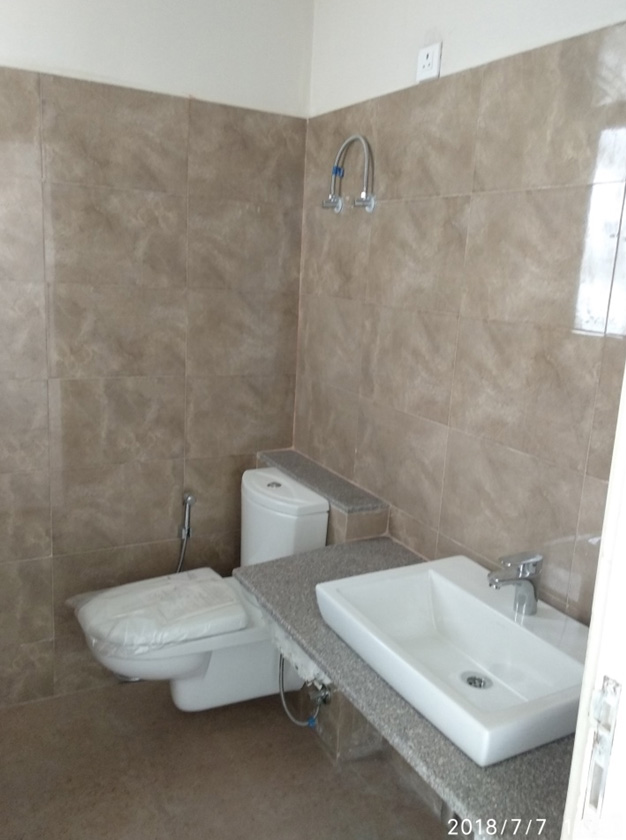
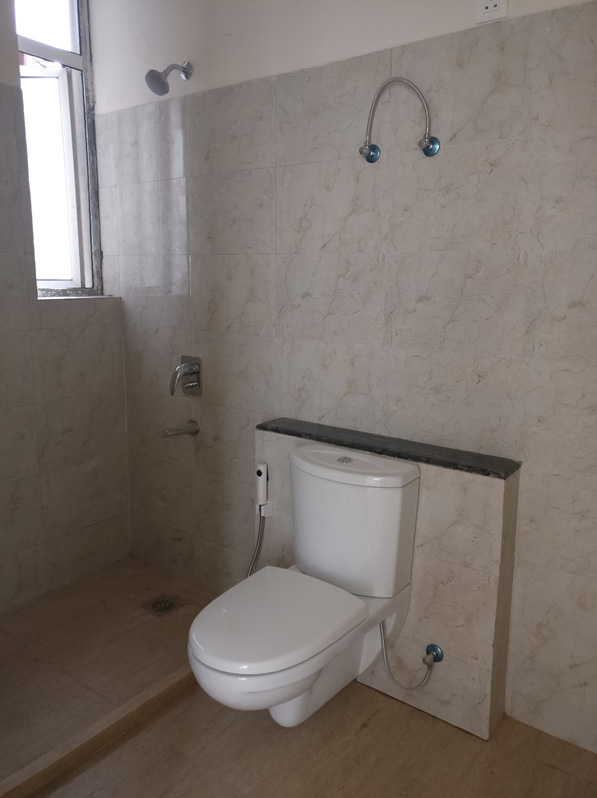
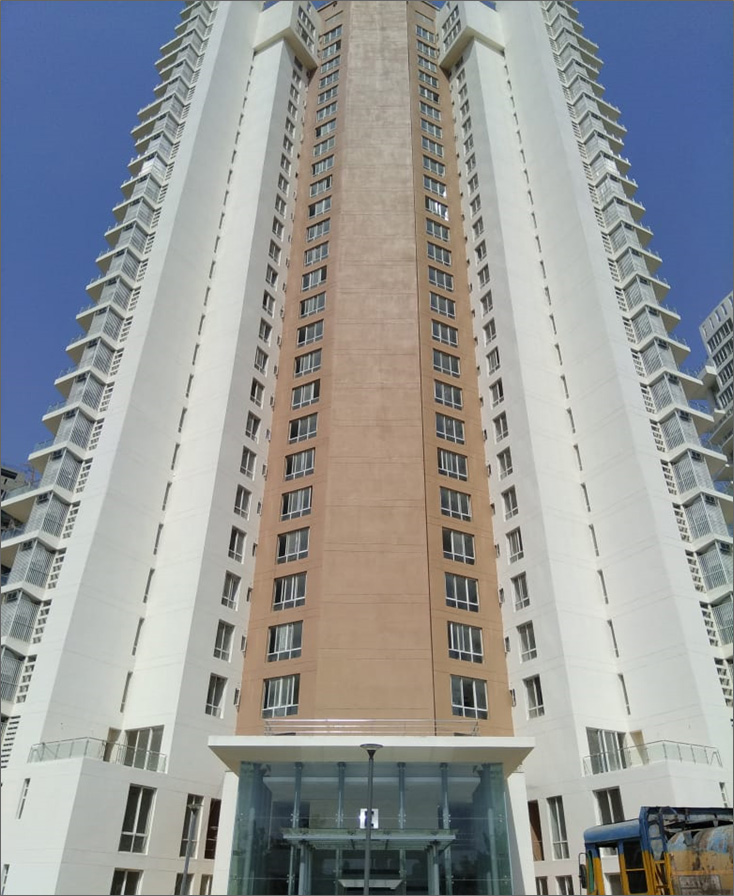
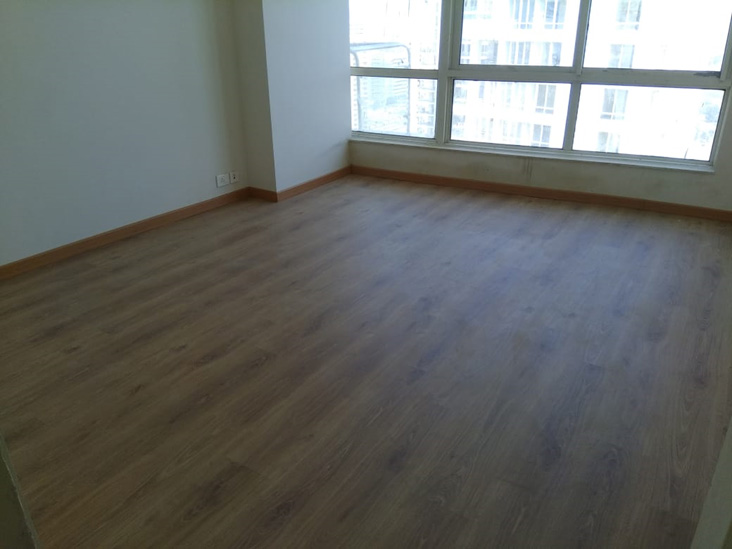
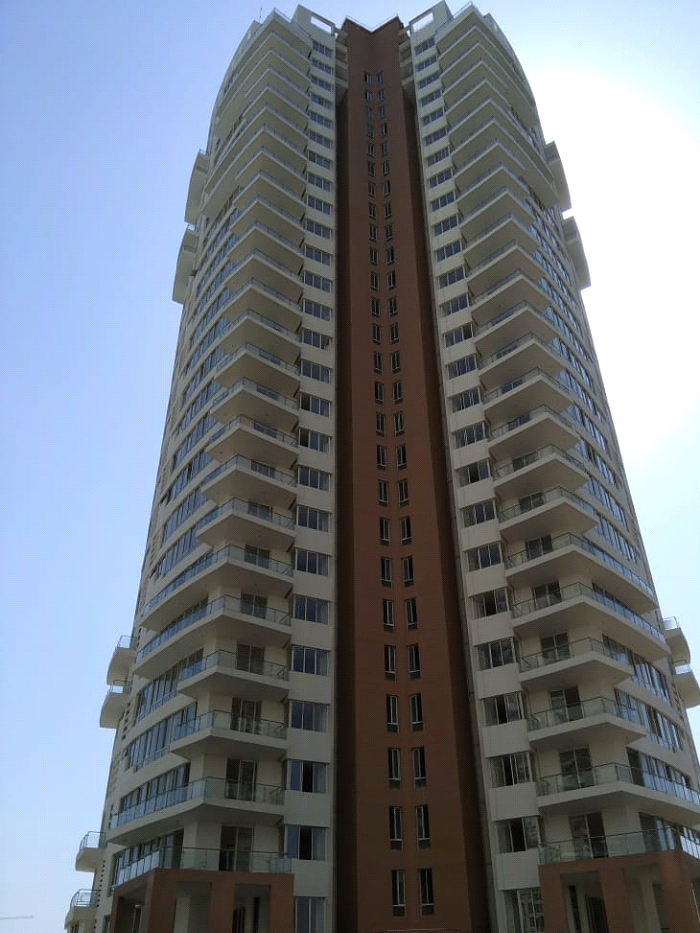
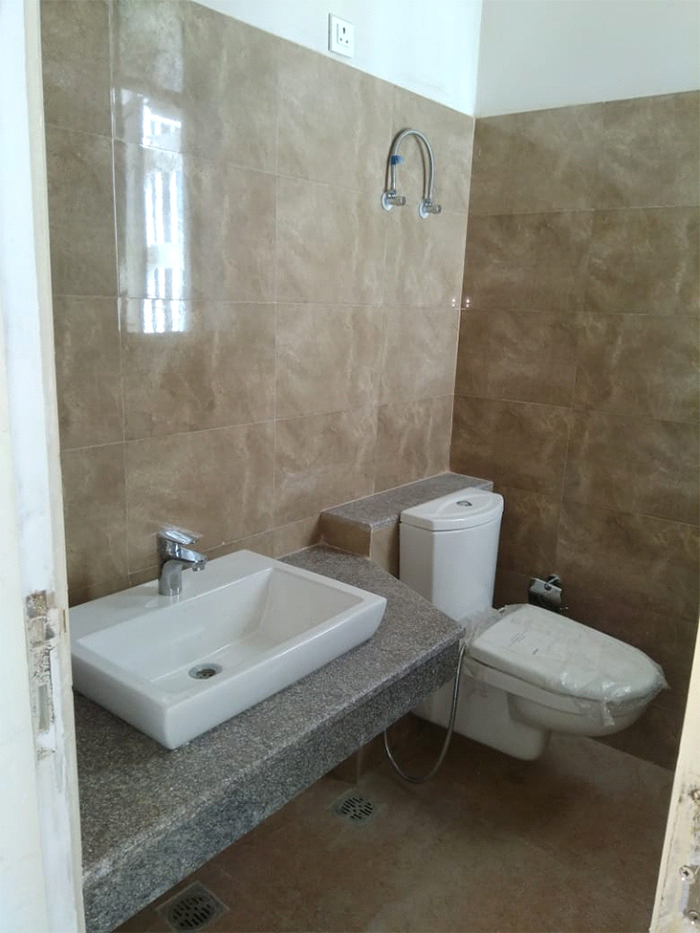
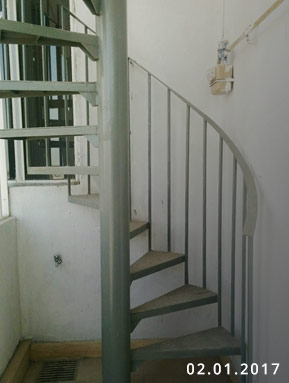
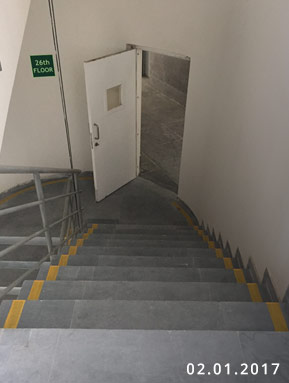
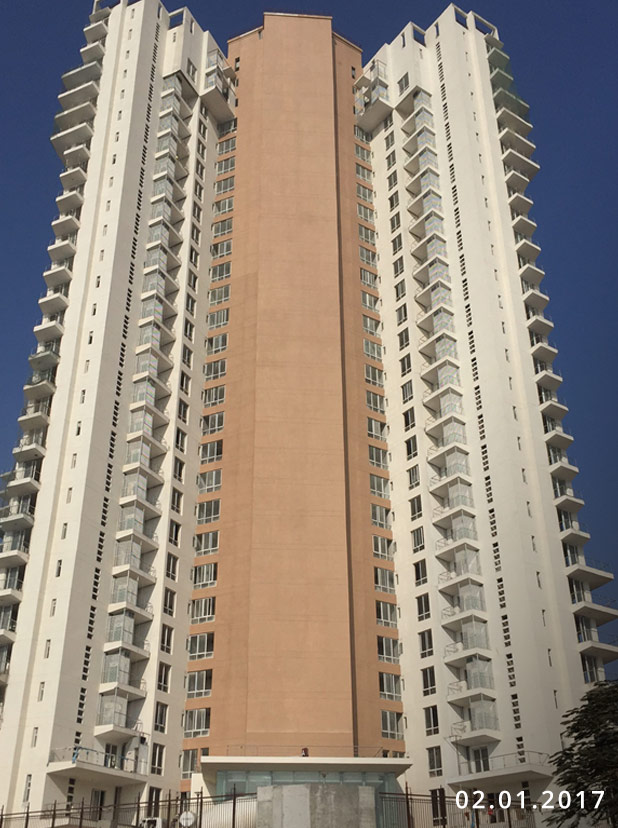
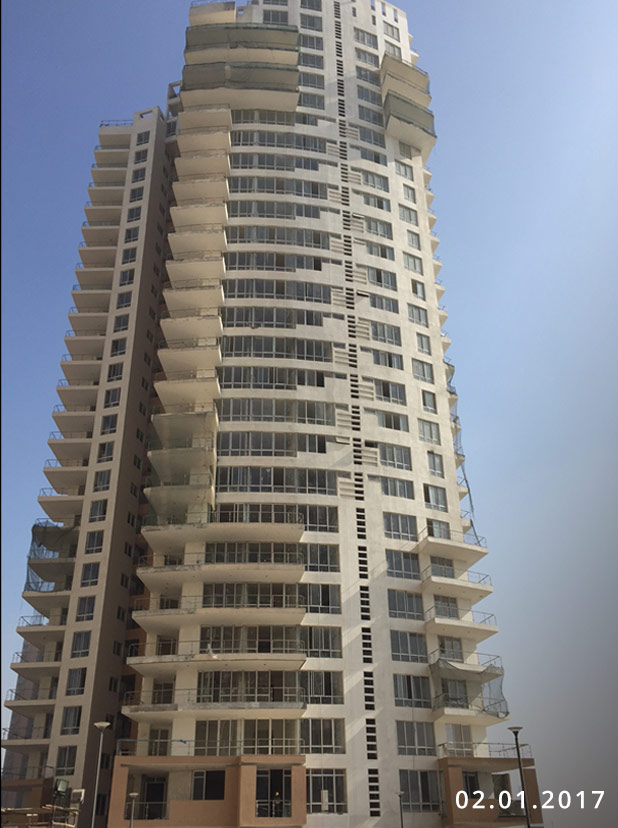
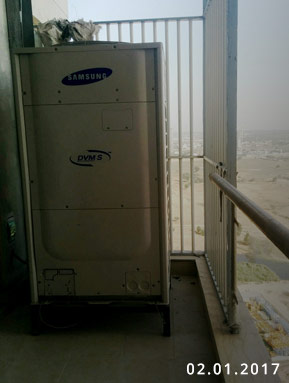
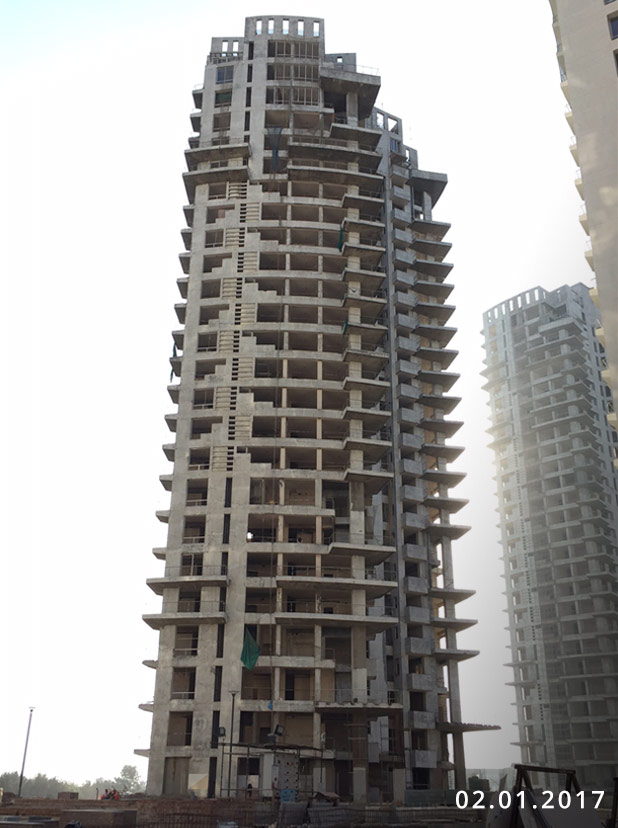
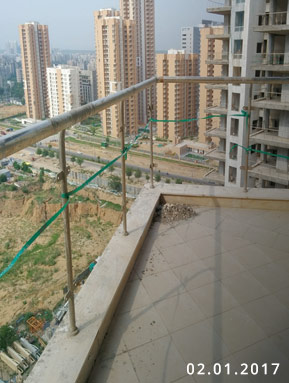
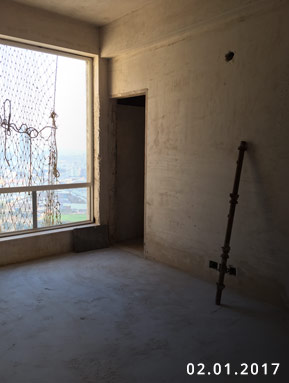
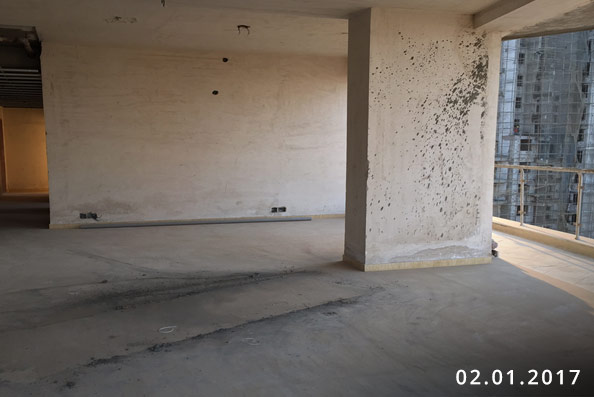
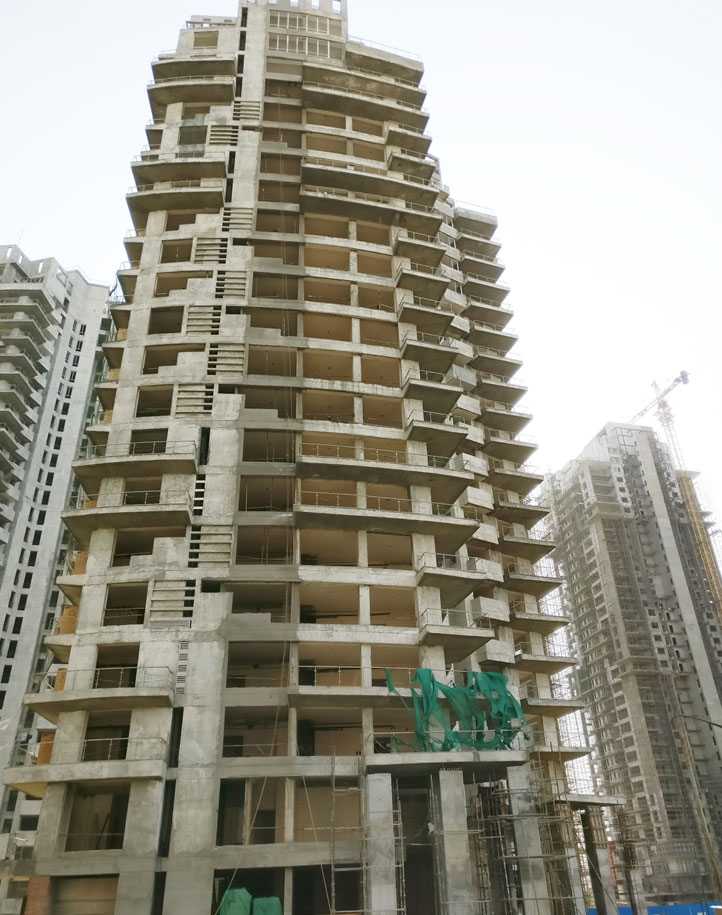
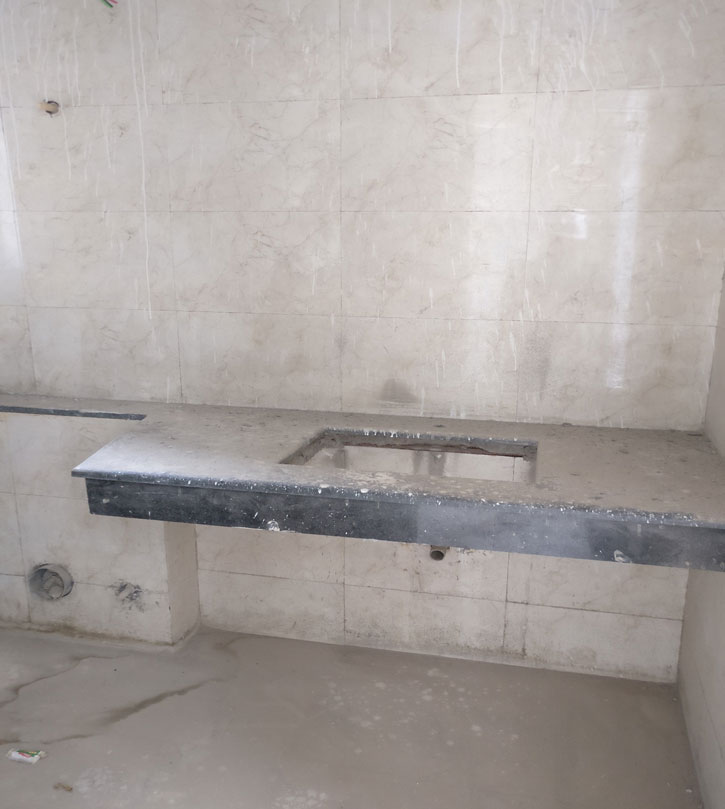
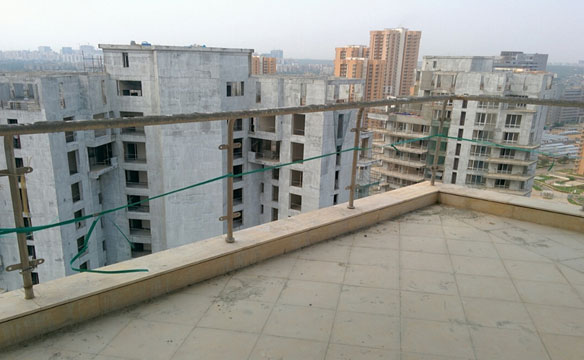
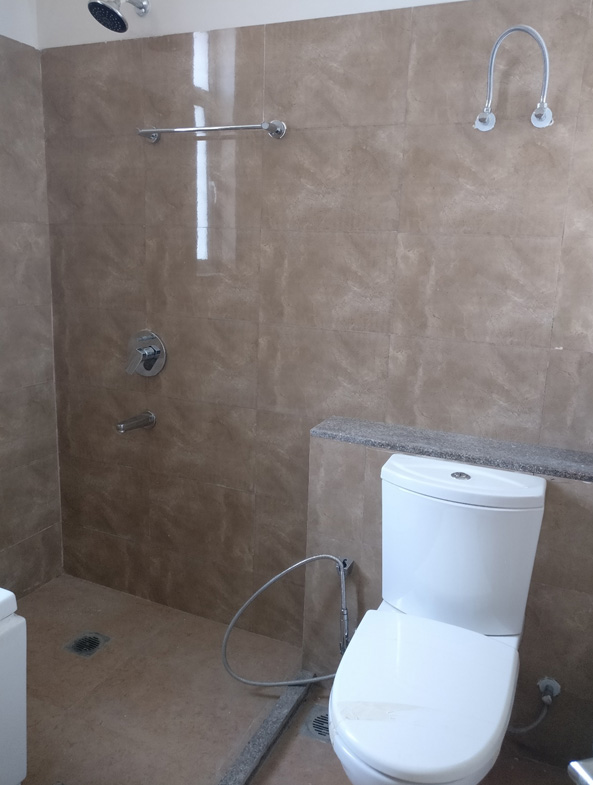
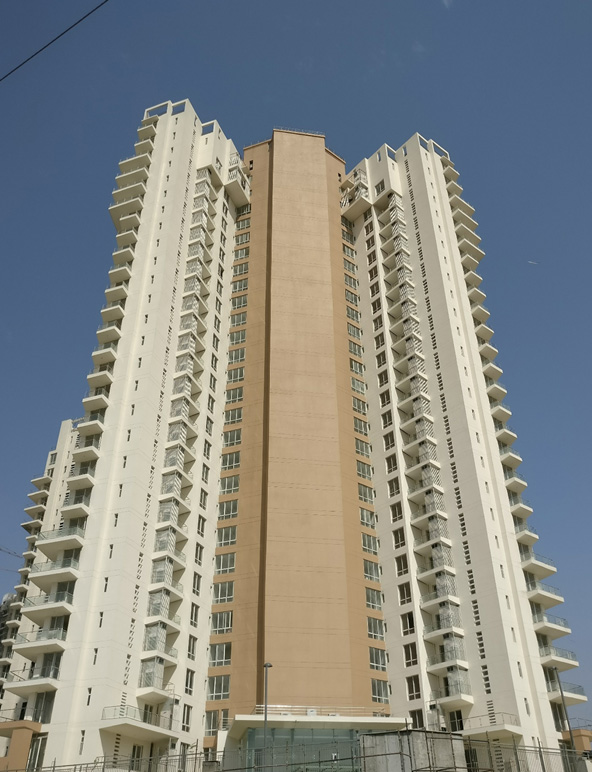
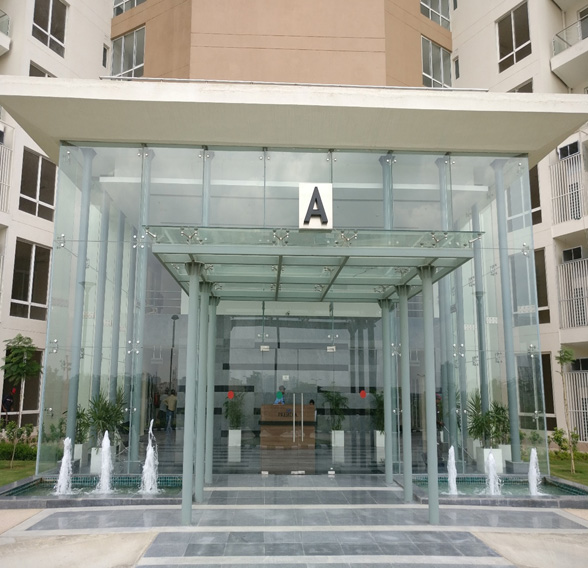
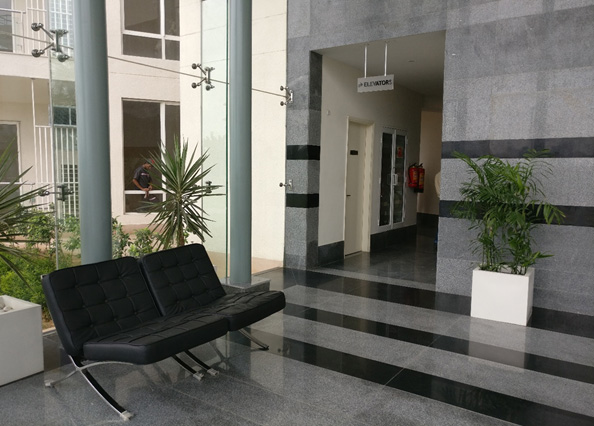
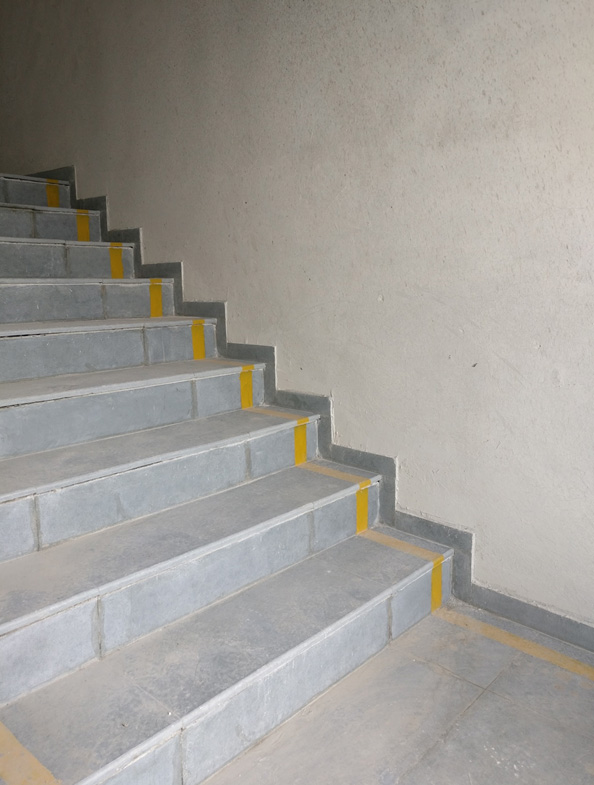
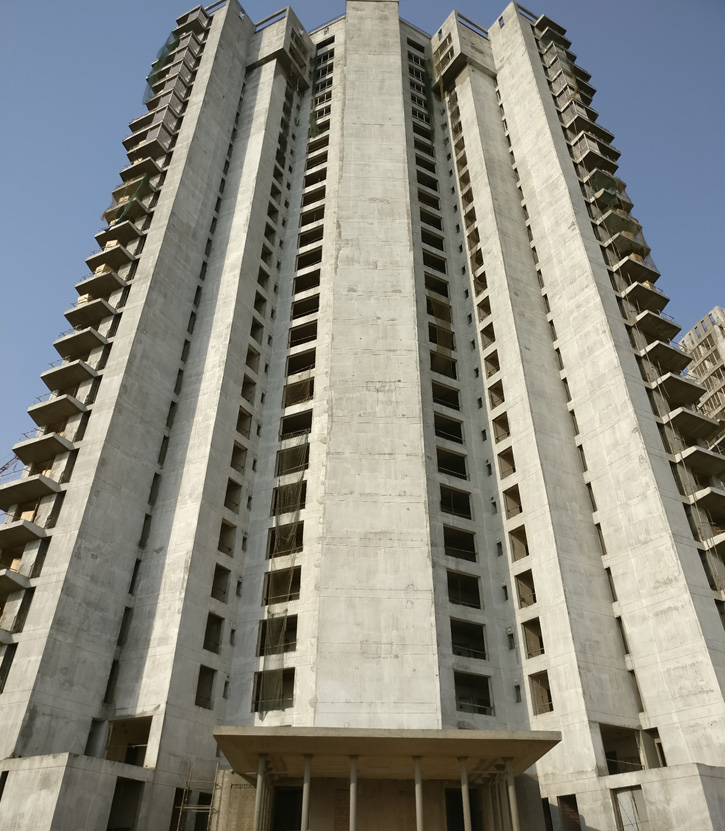
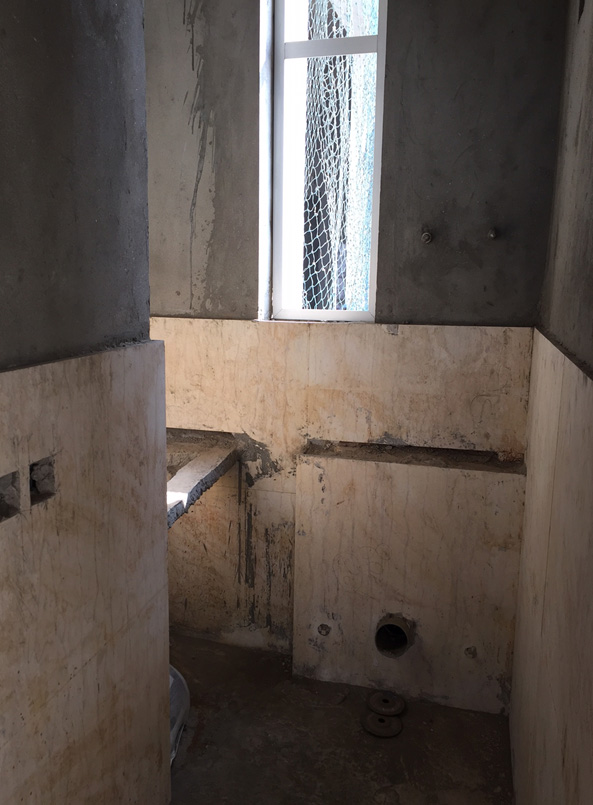
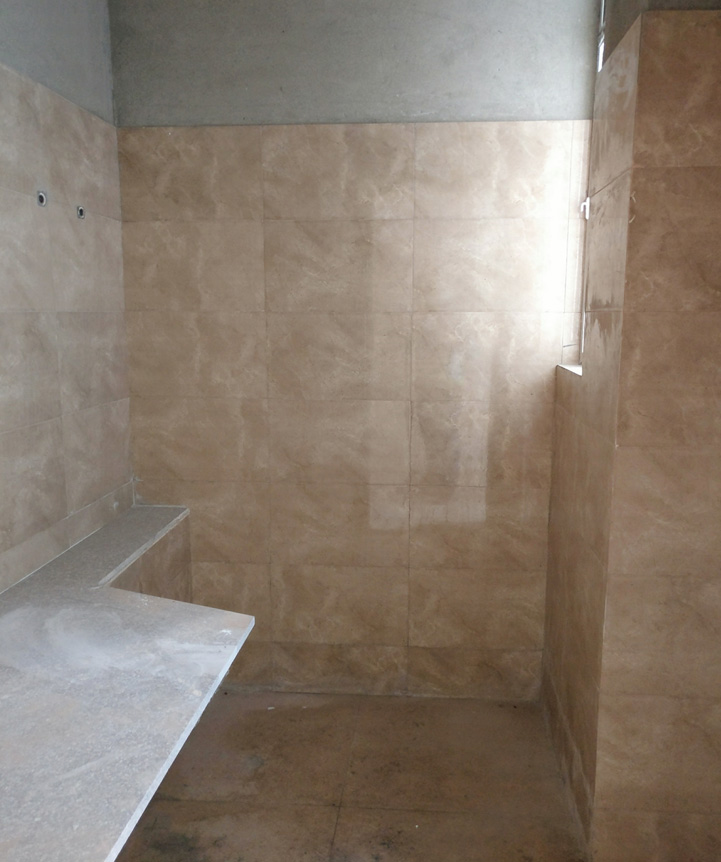
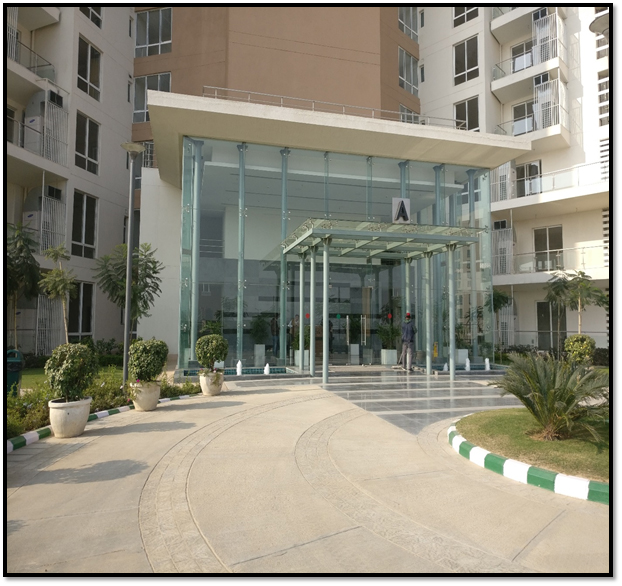
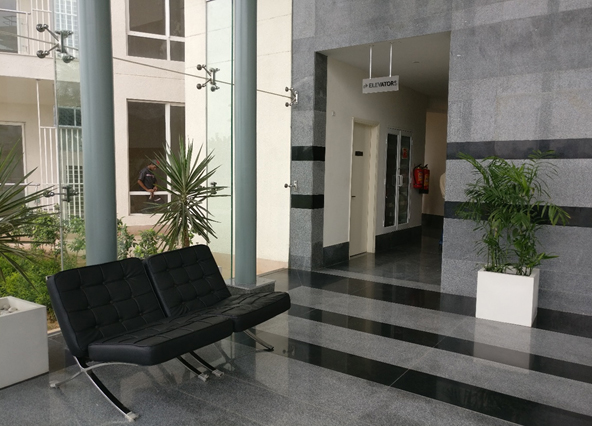
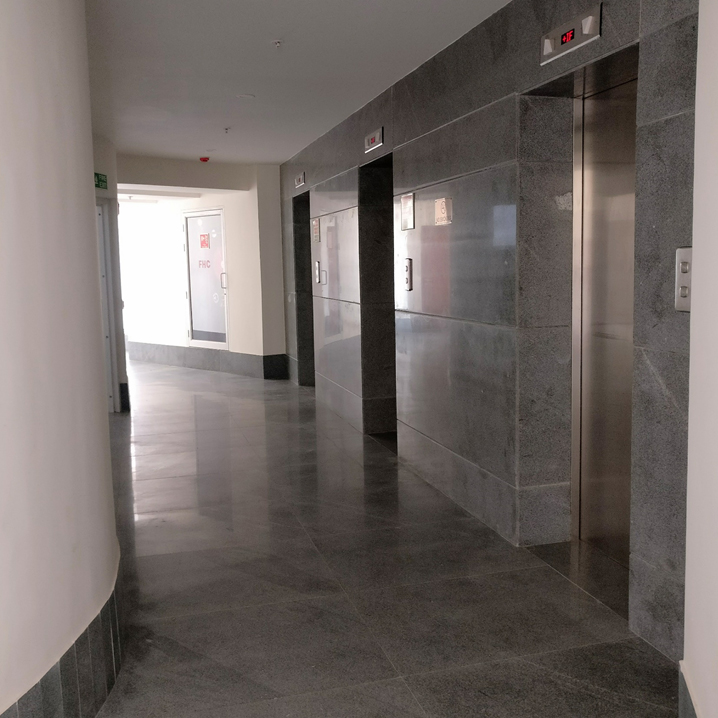
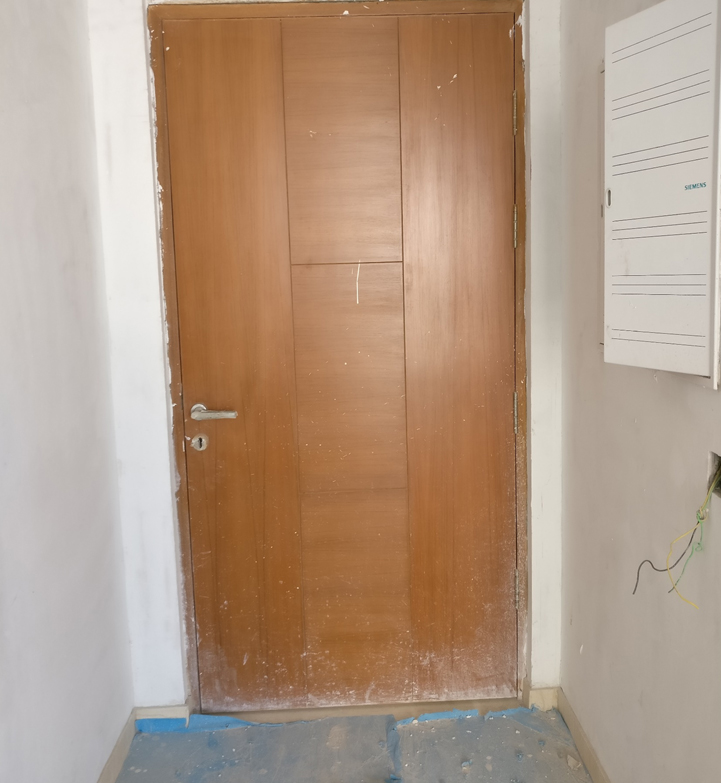
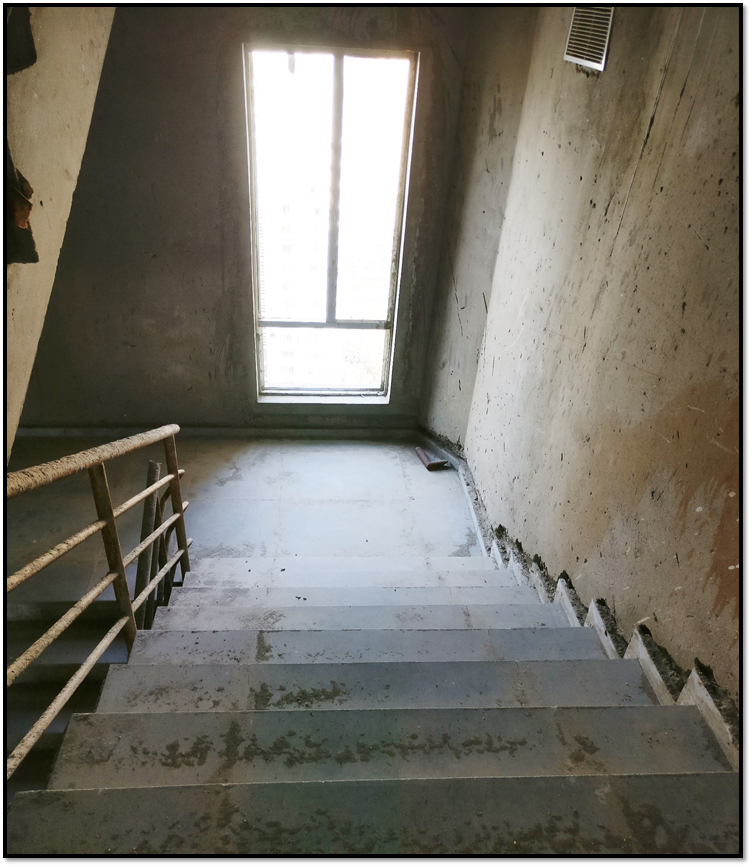
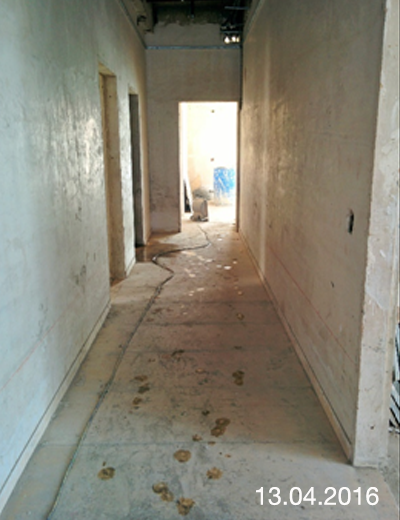
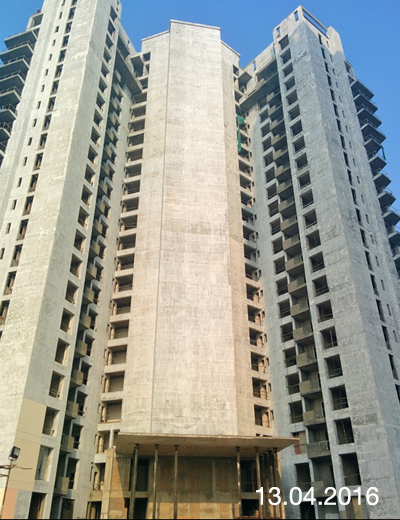
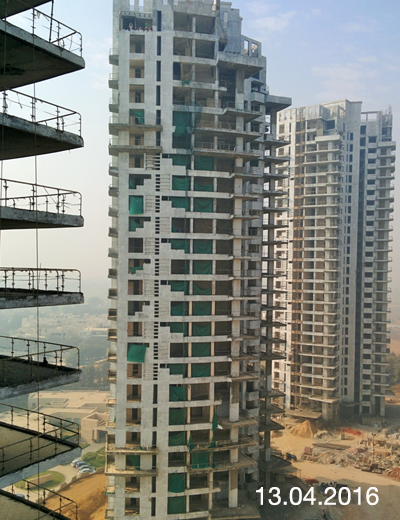
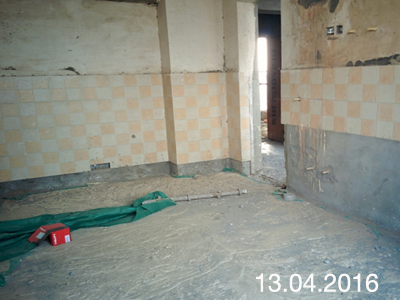
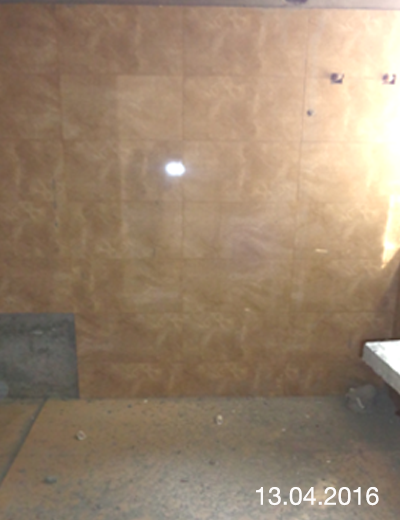
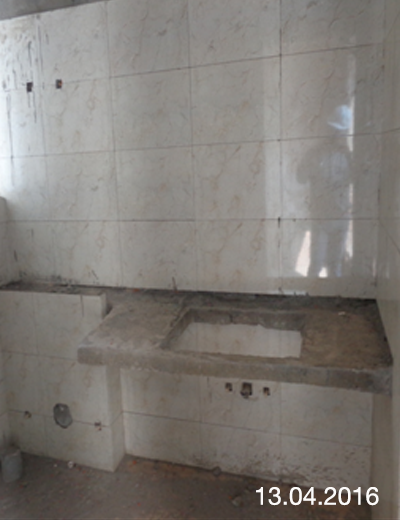
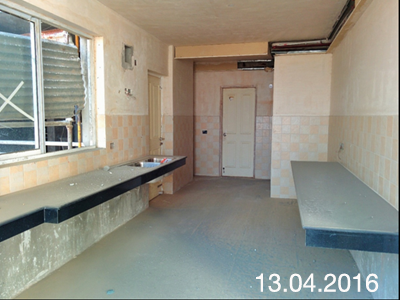
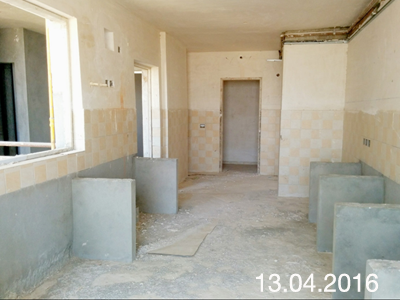
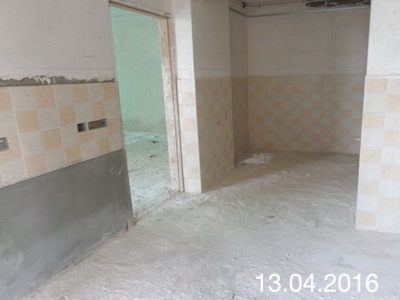
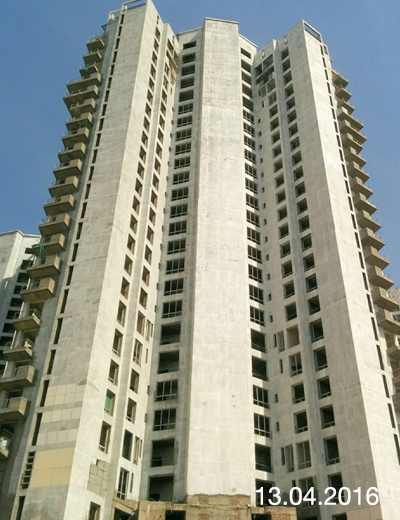
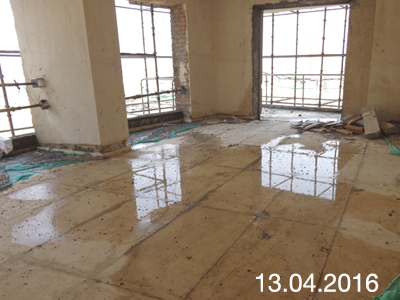
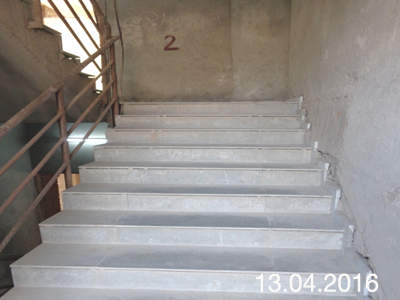
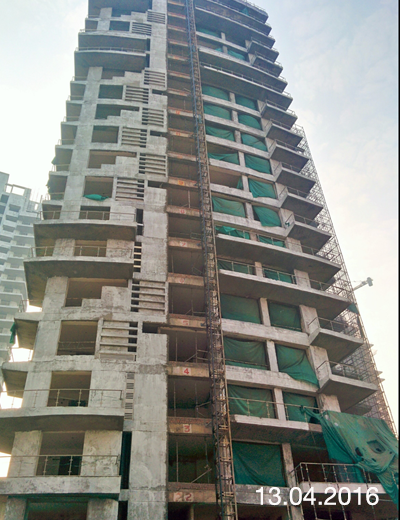
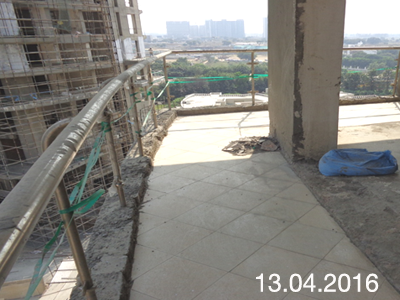
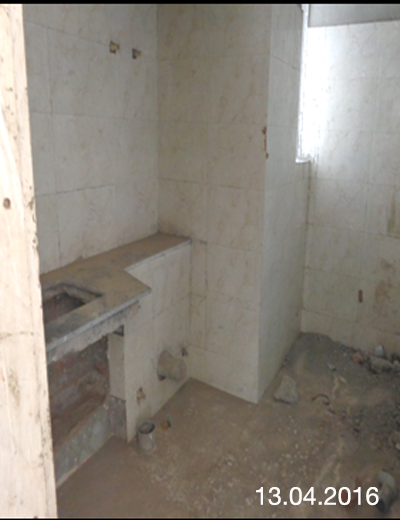
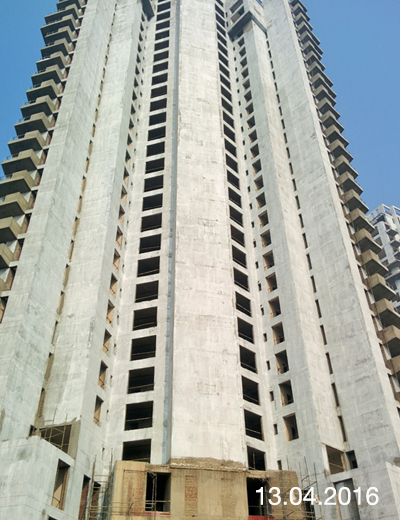
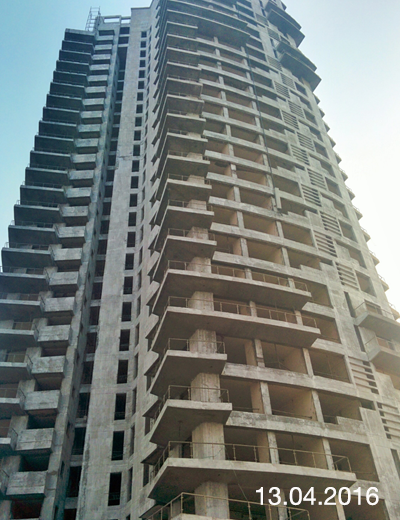
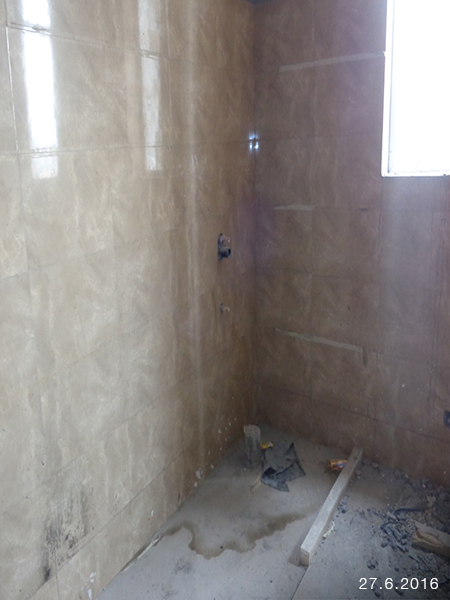
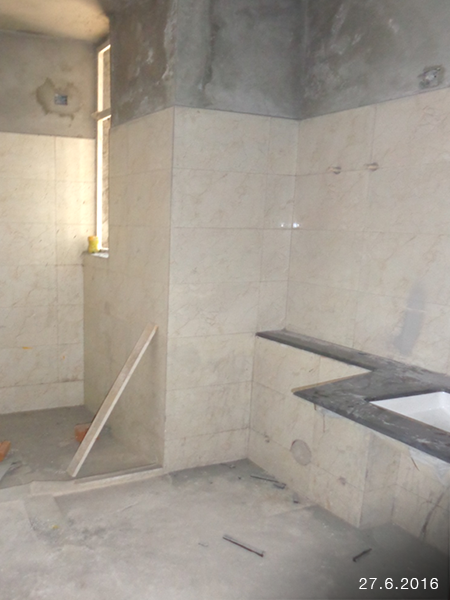
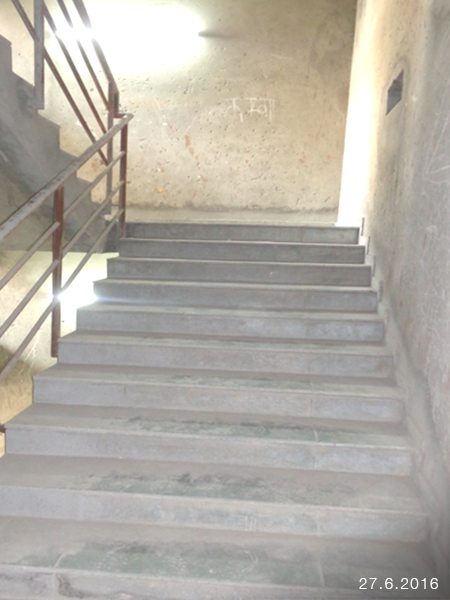
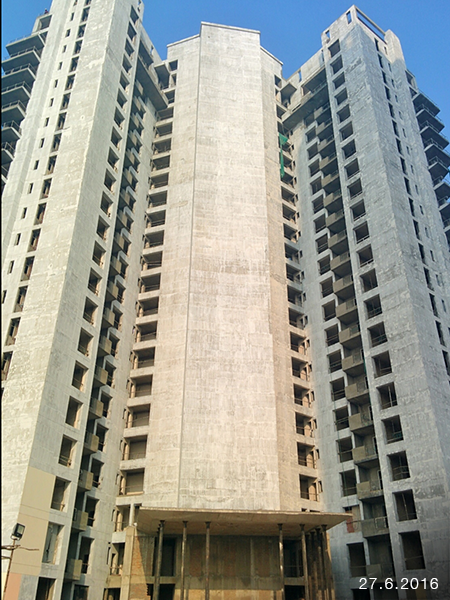
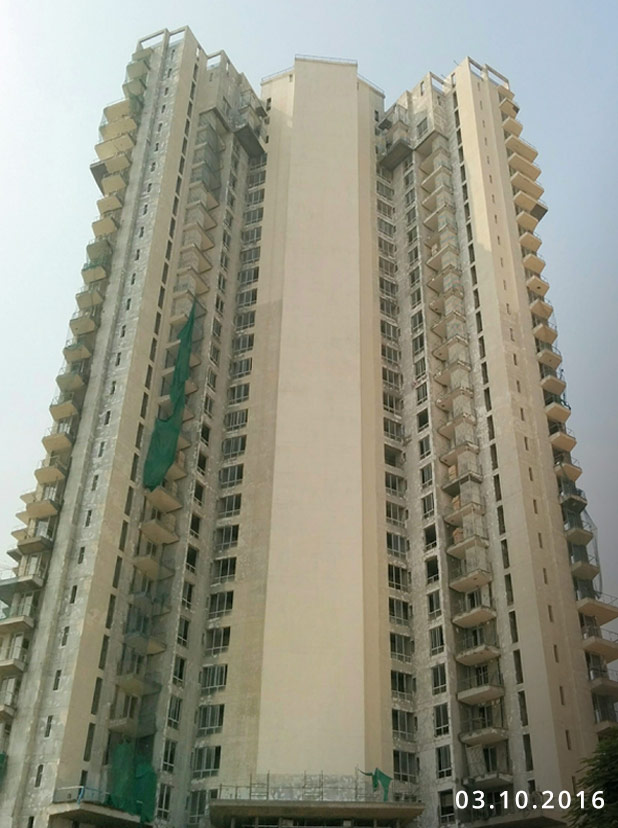
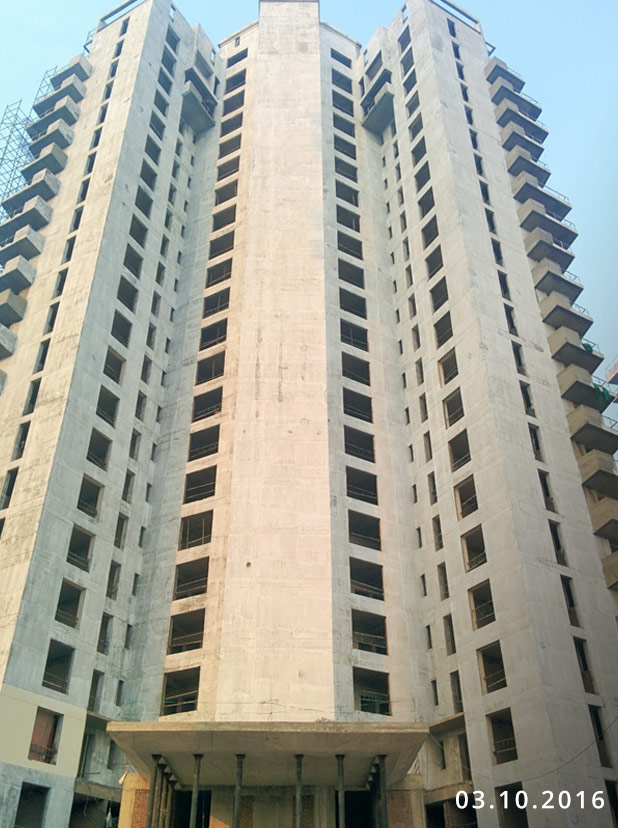
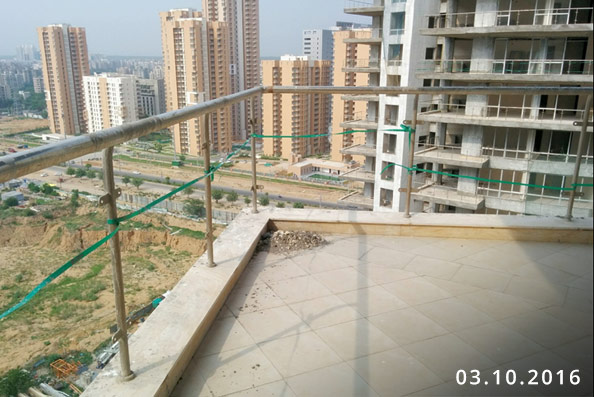
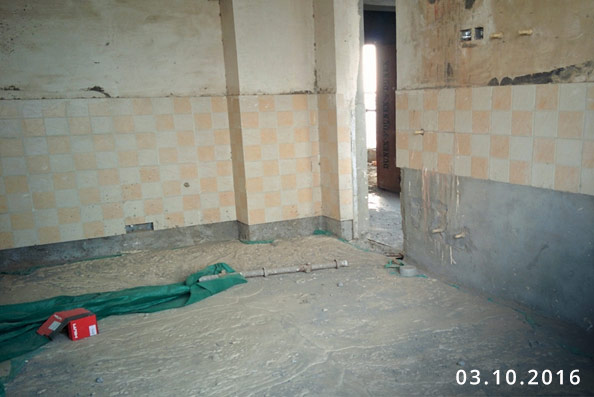
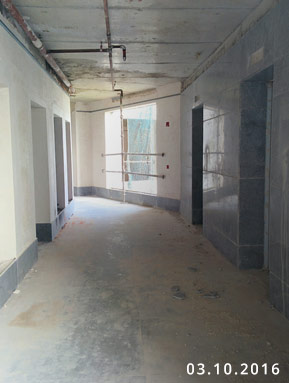
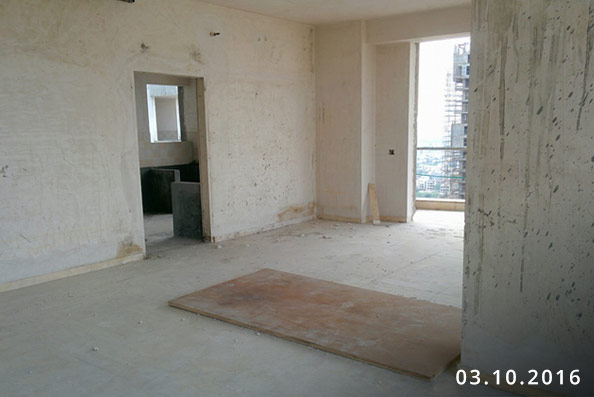
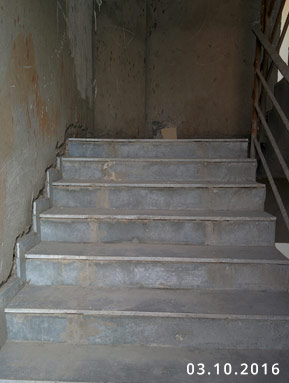
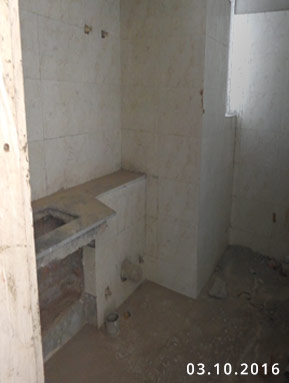
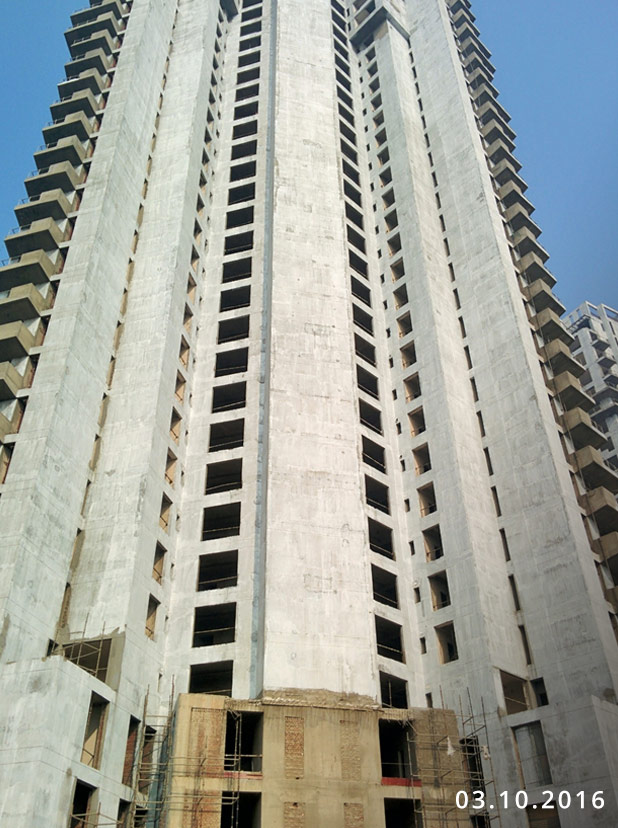
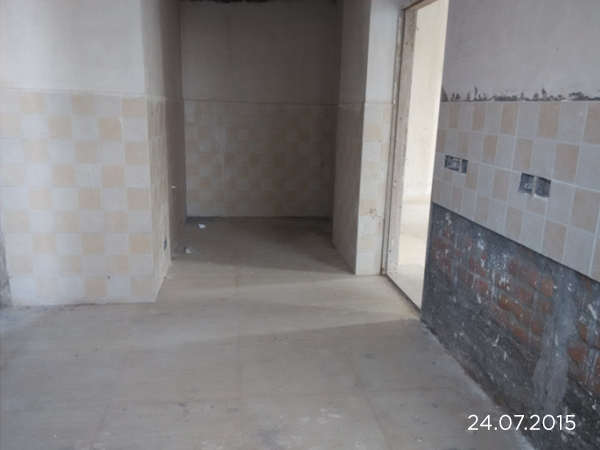
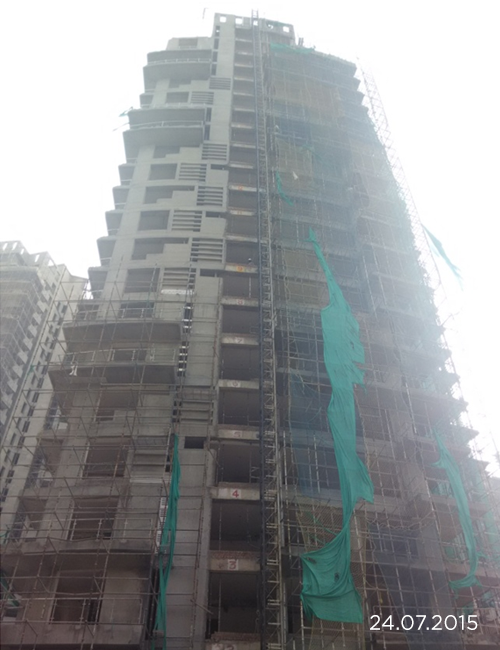
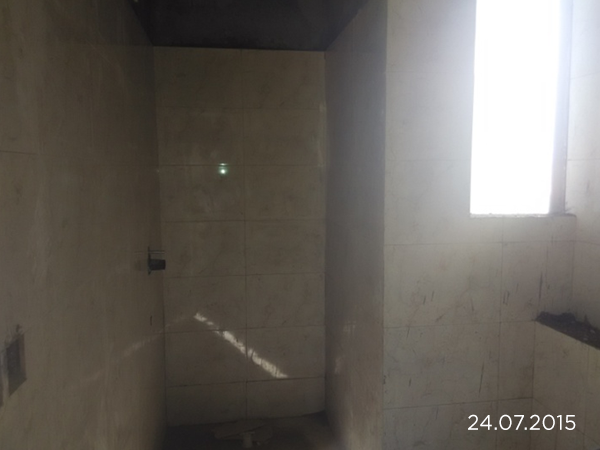
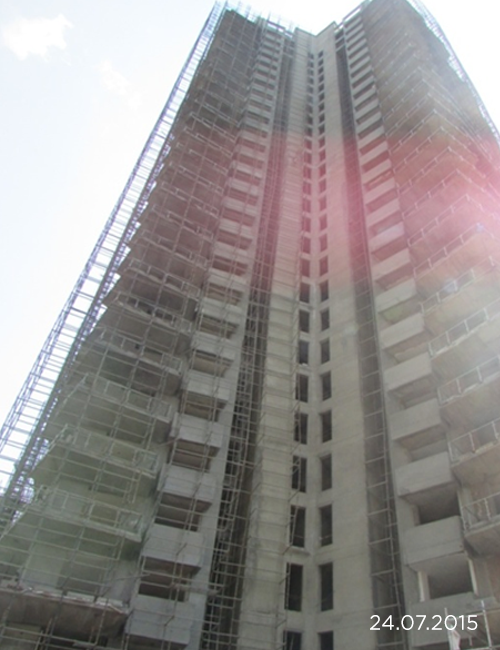
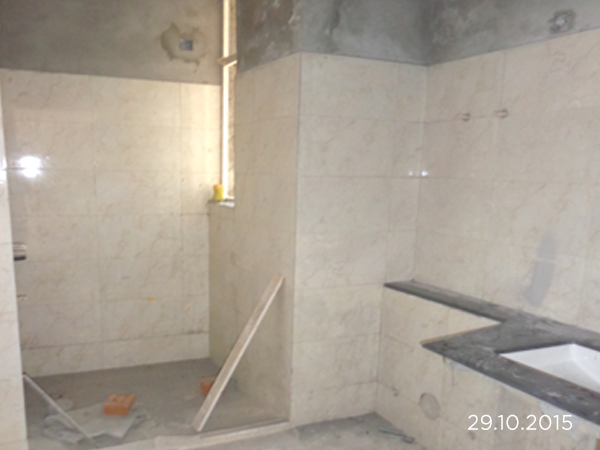
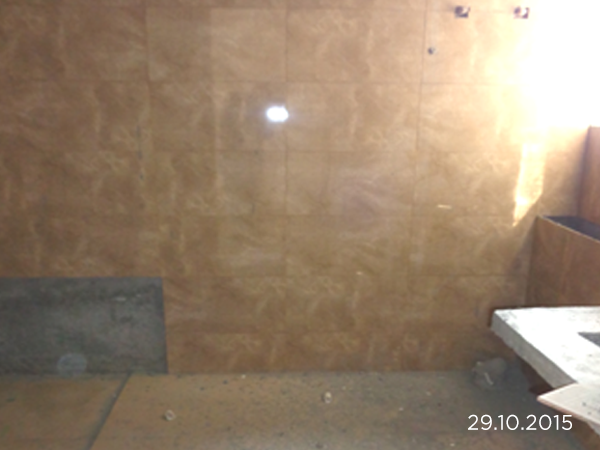
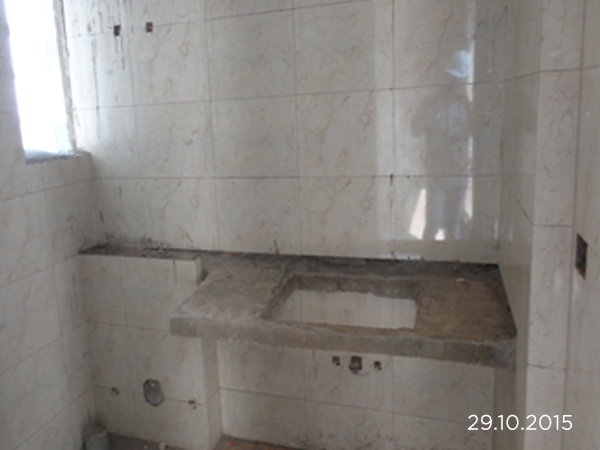
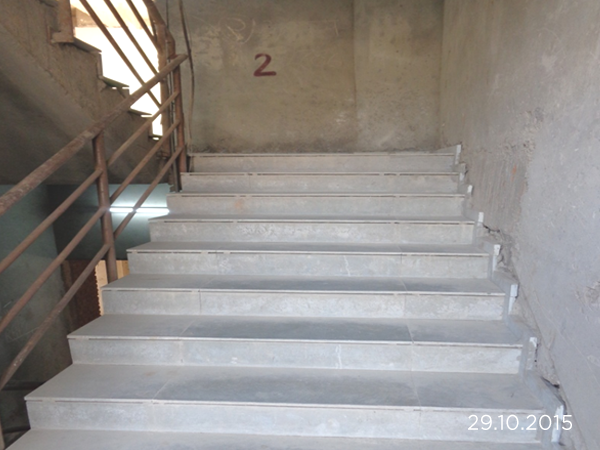
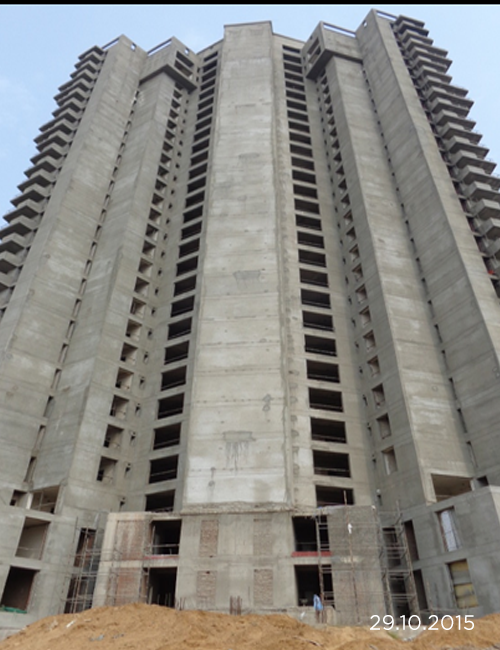
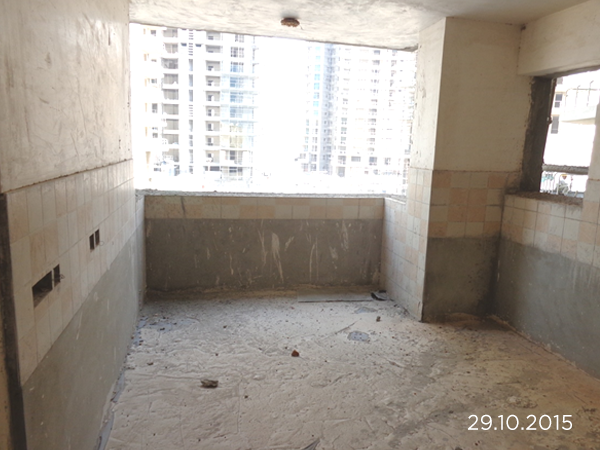
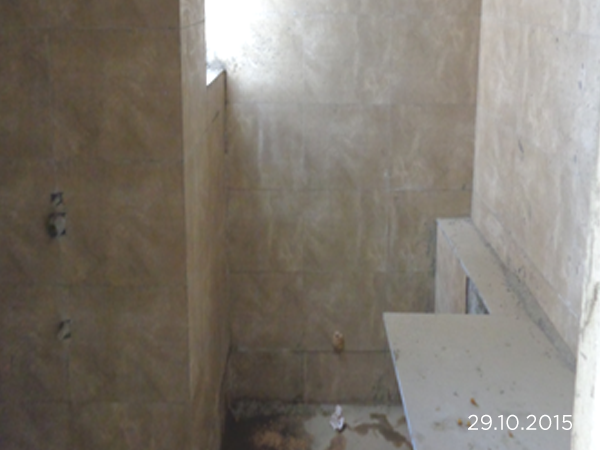
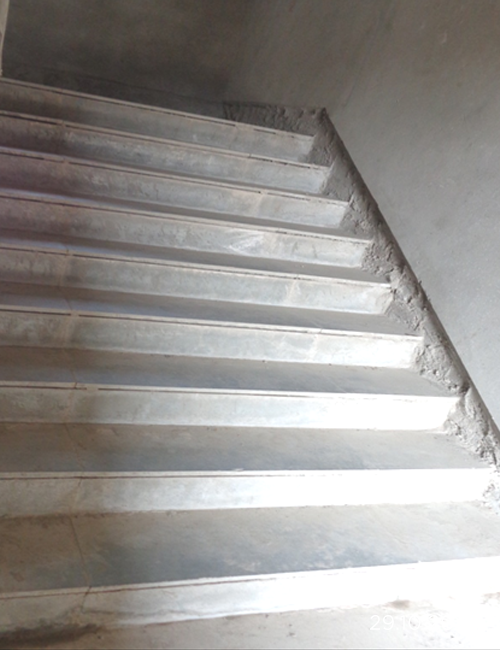
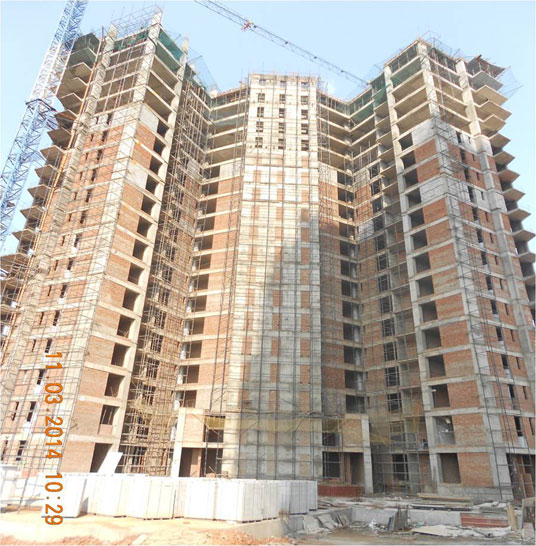
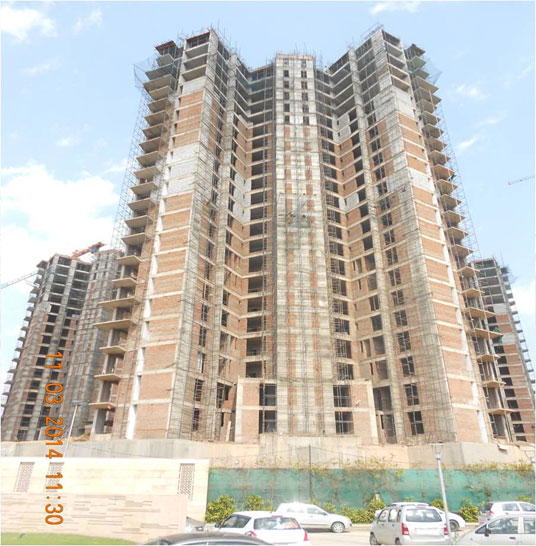
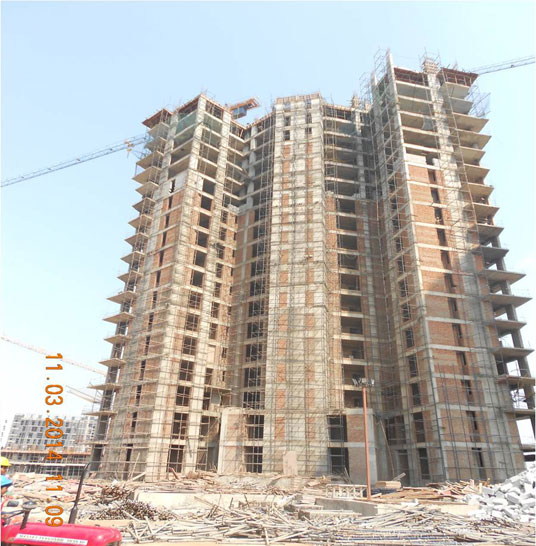
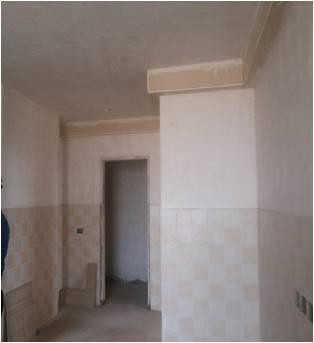
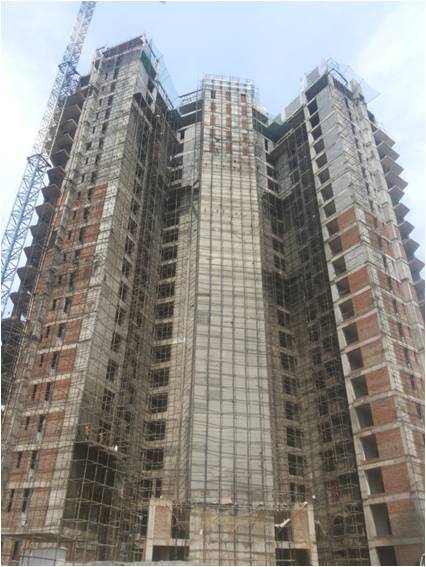
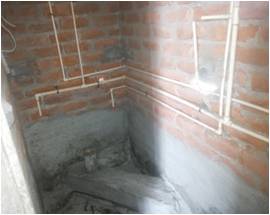
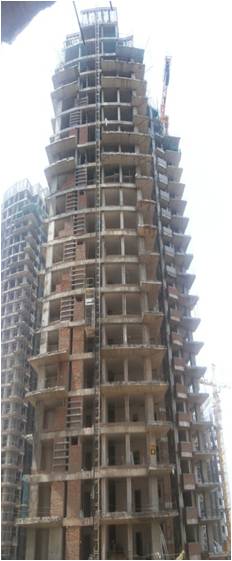
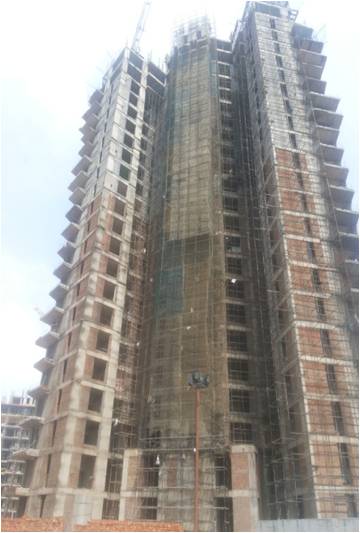
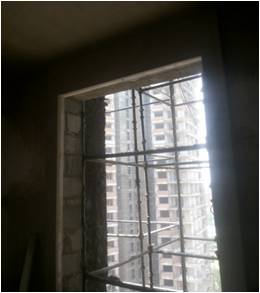
Tower A


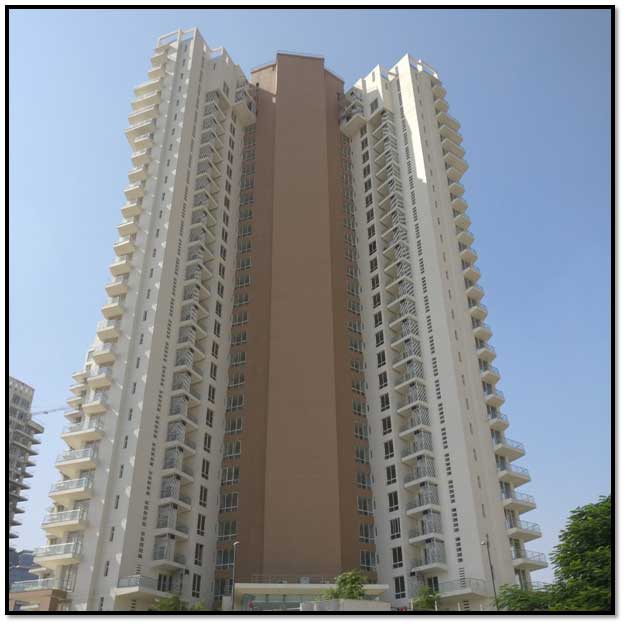
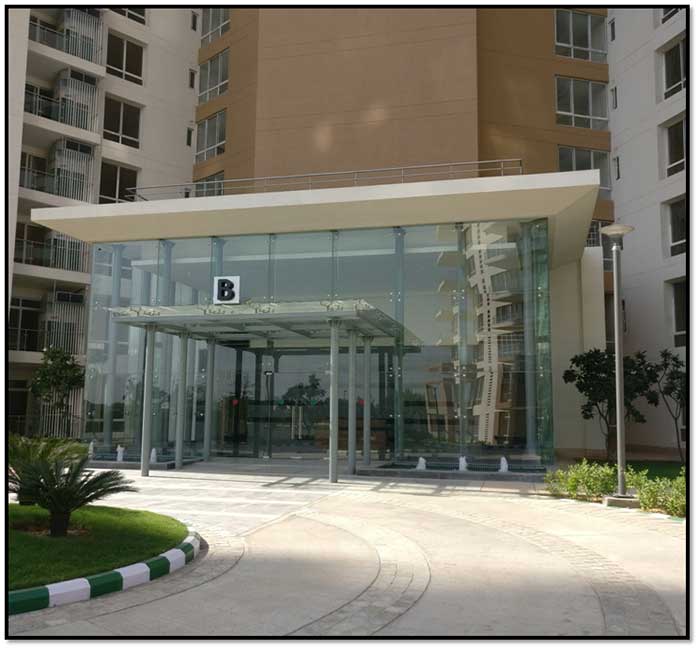
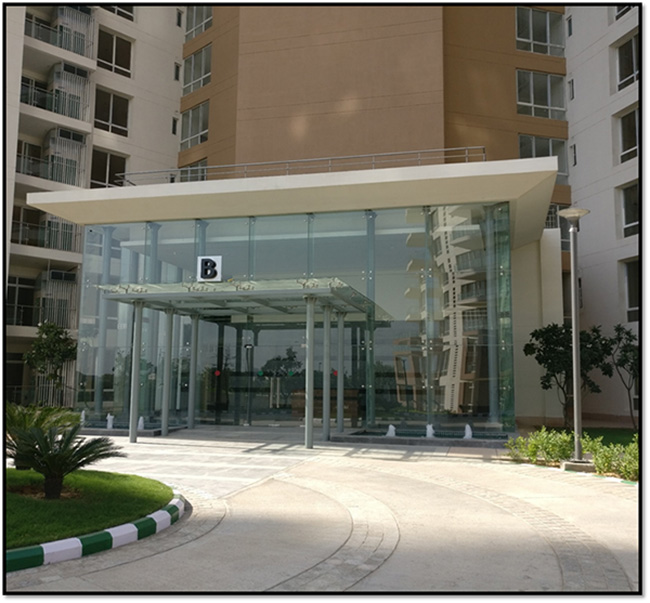
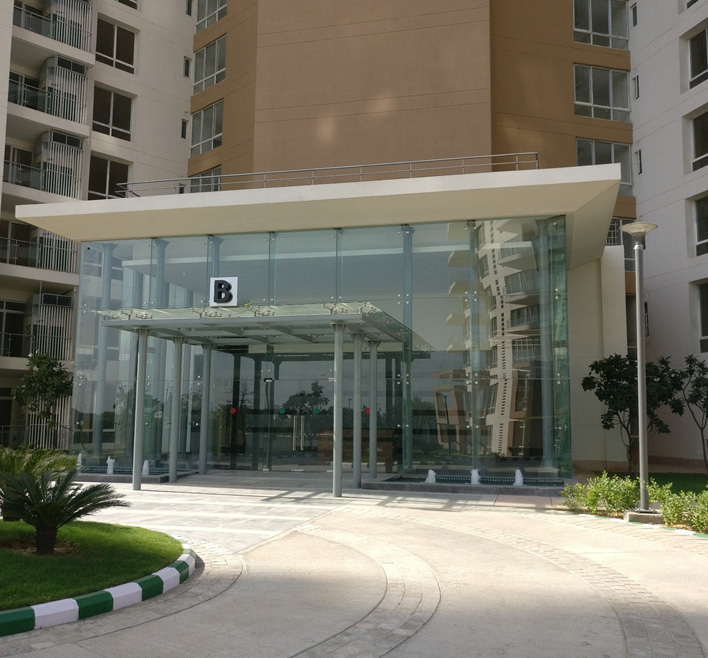
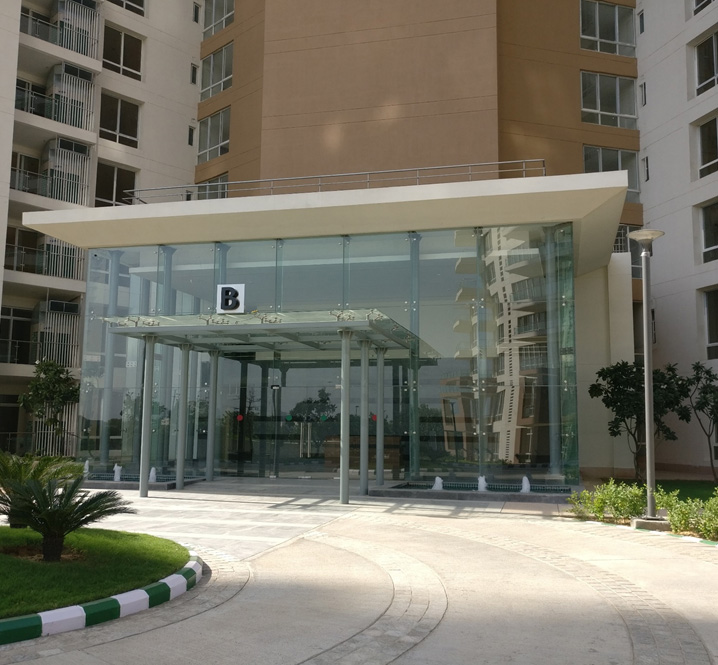
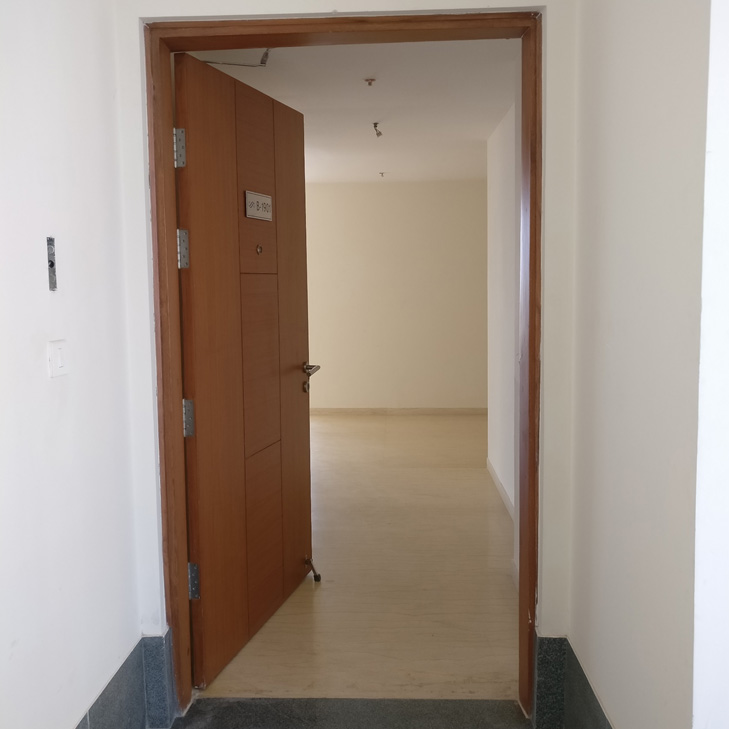
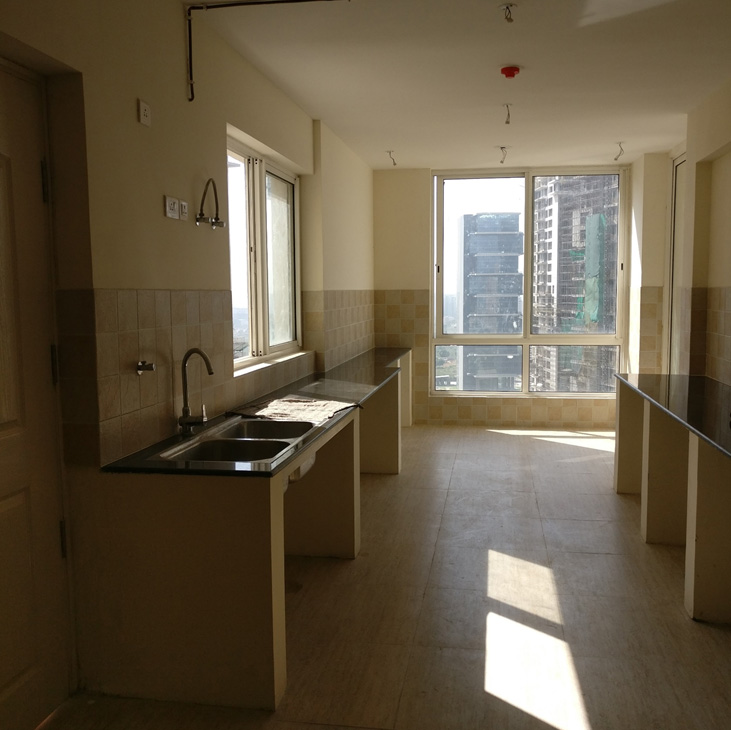
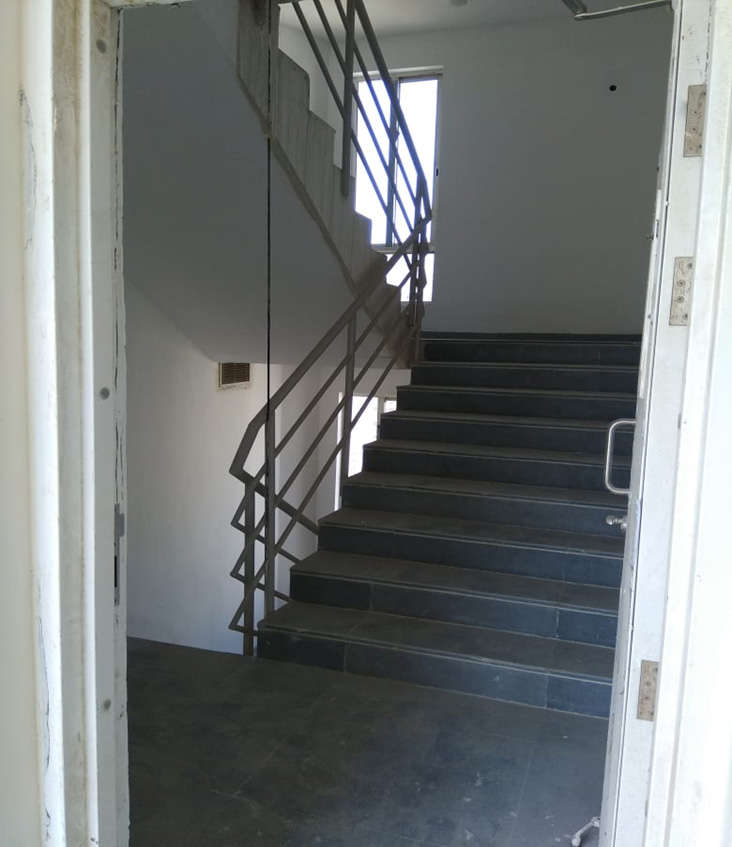
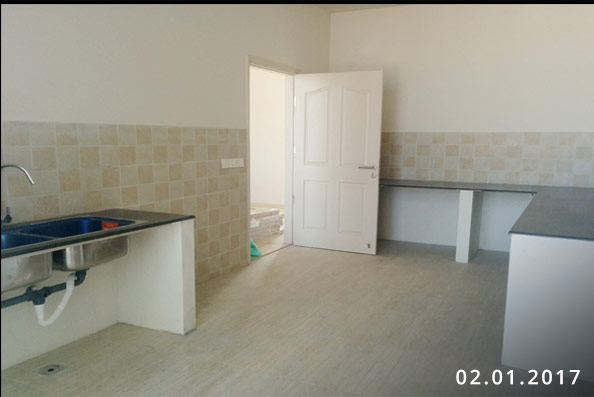
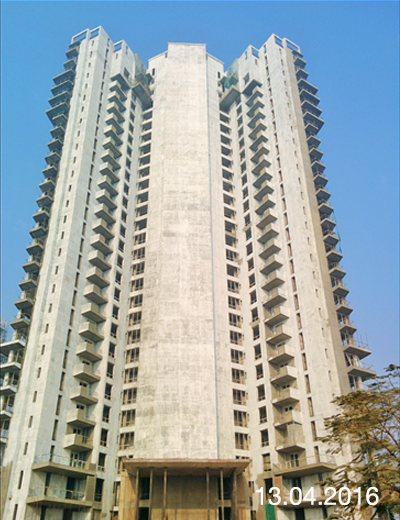
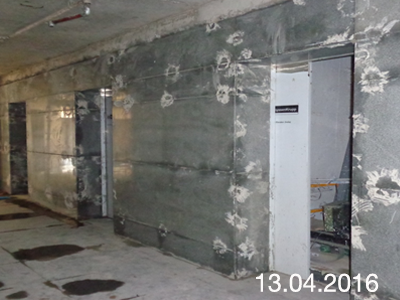
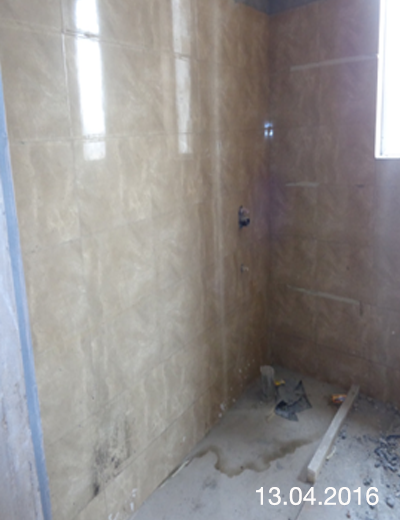
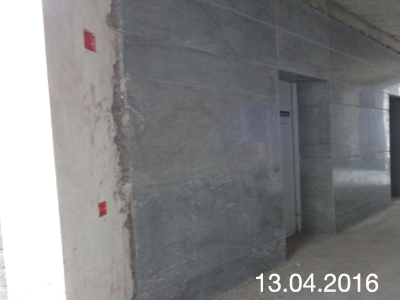
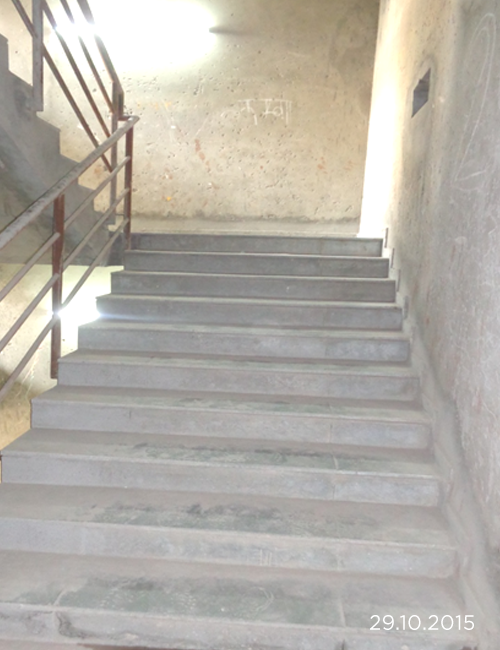
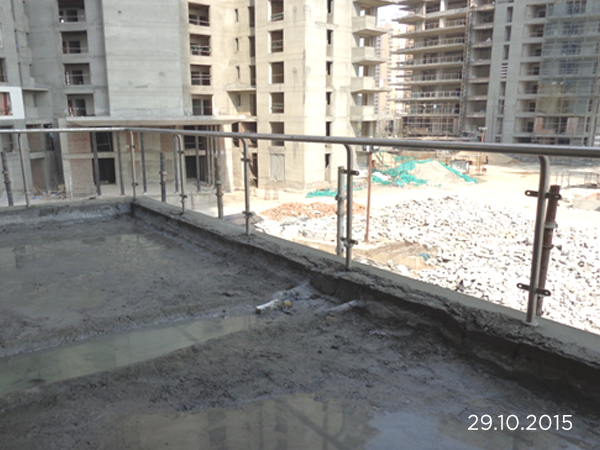
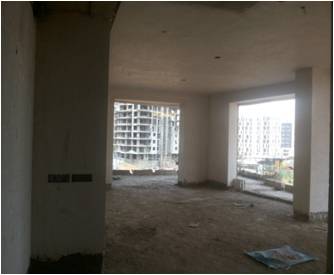
Tower B


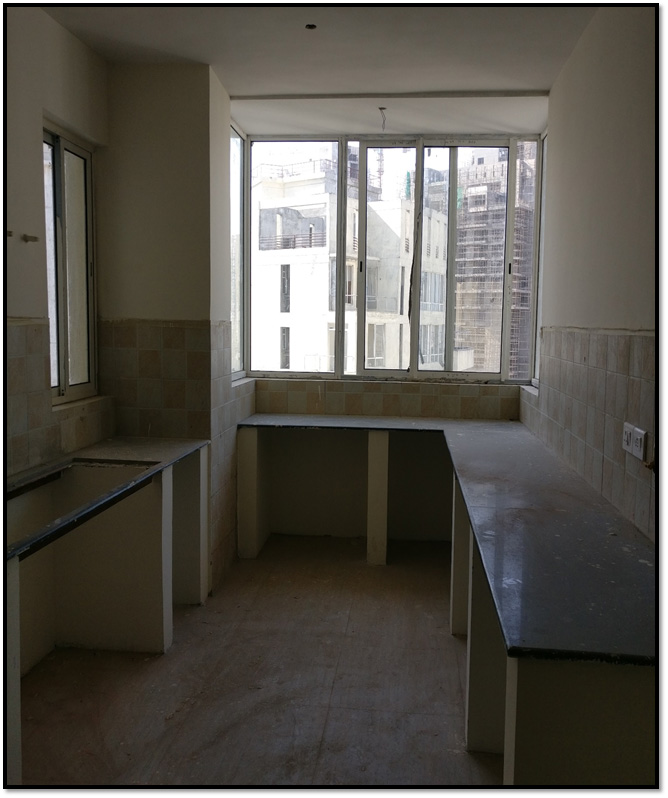
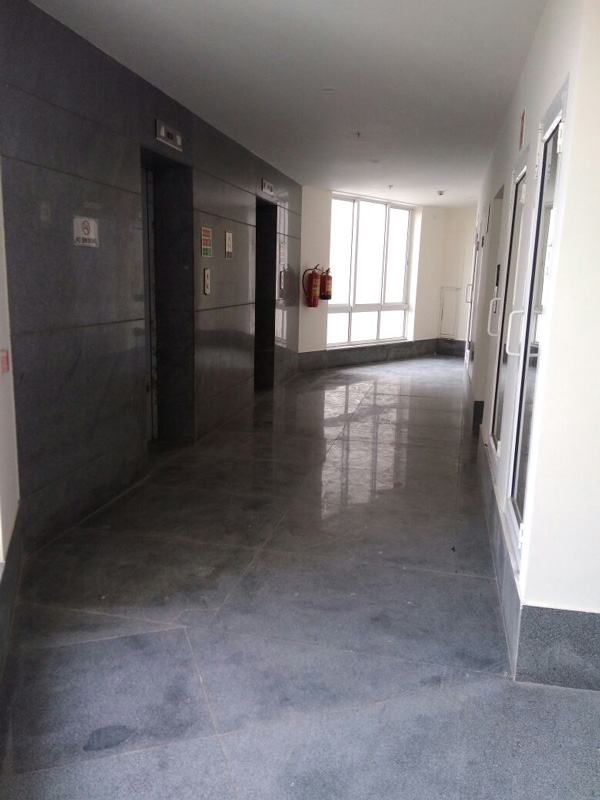
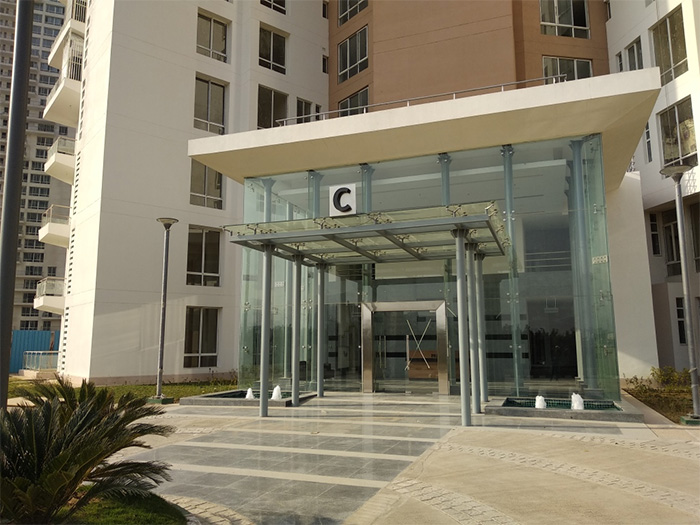
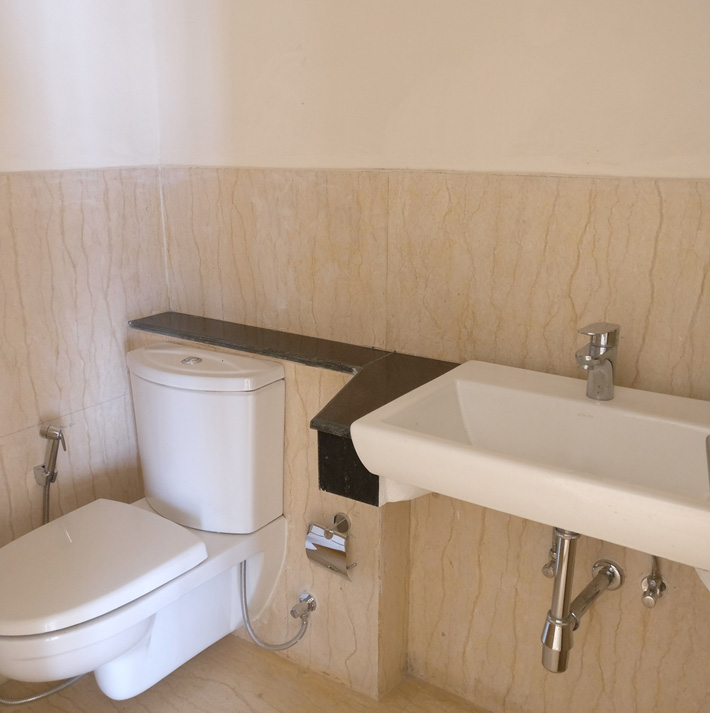
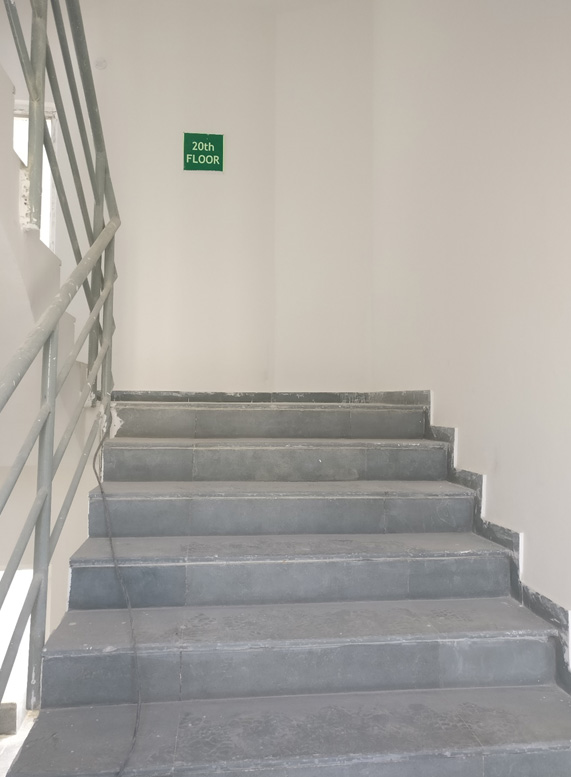
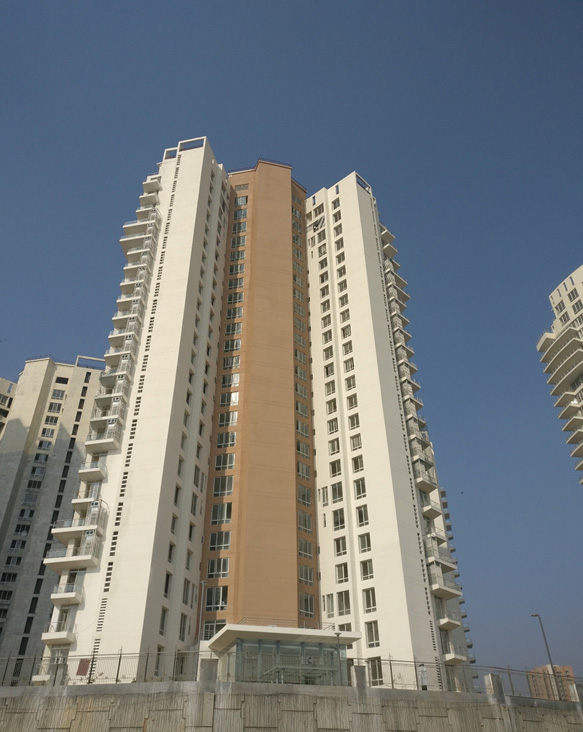
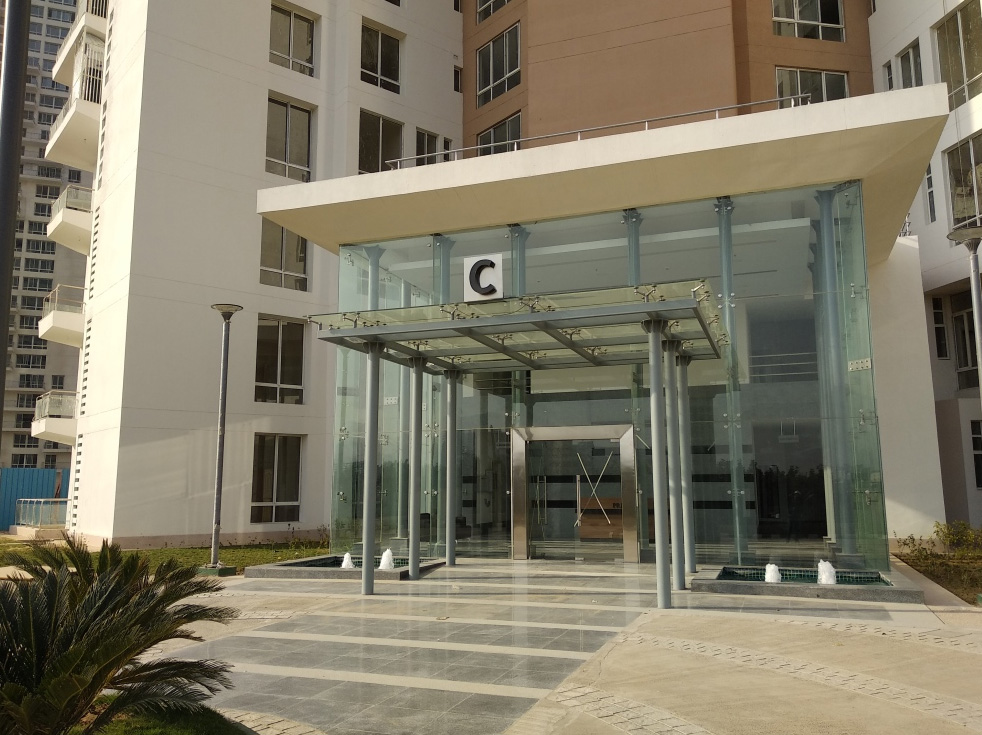
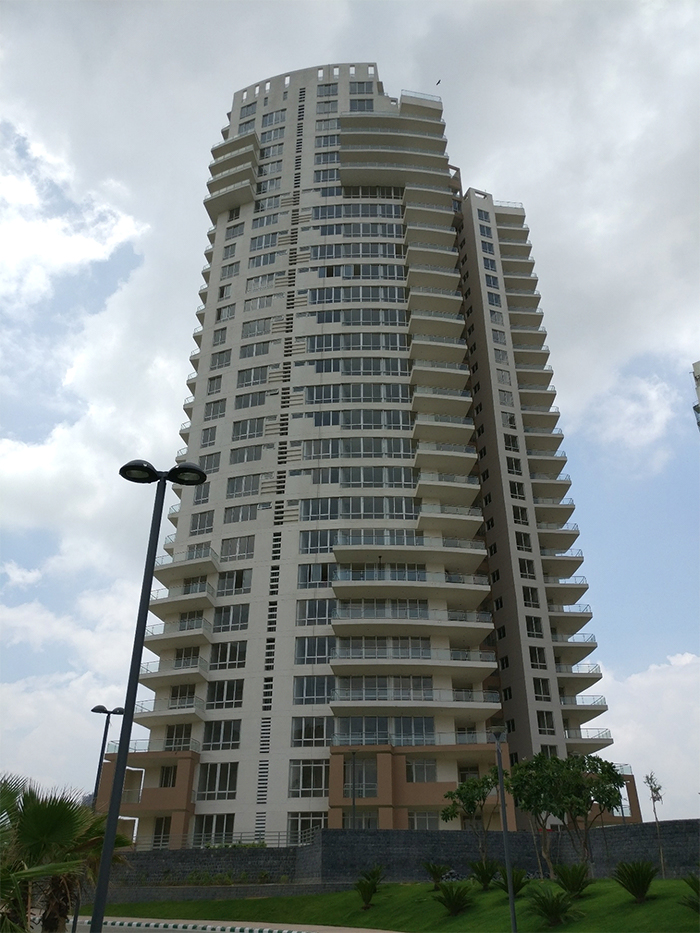
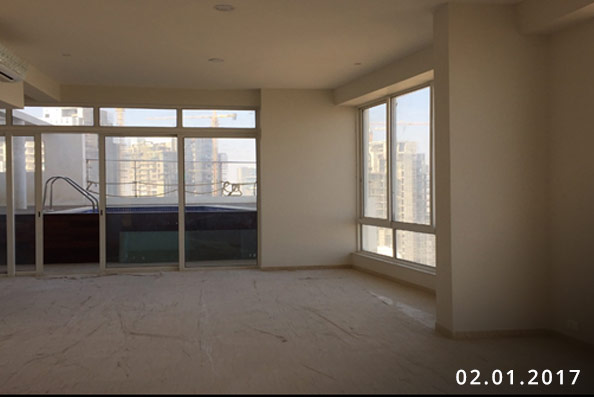
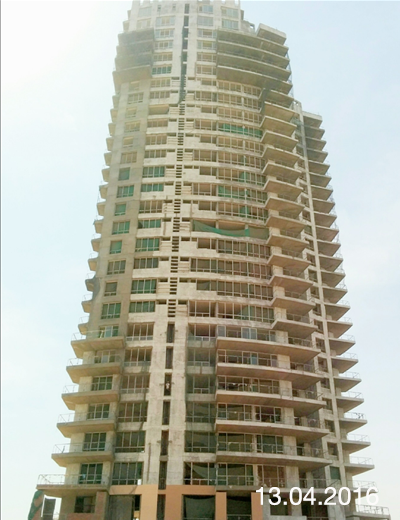
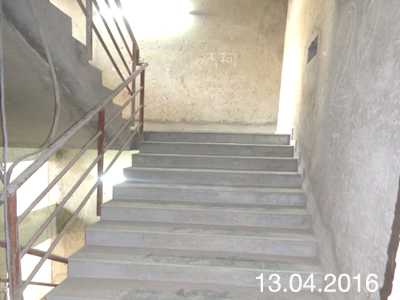
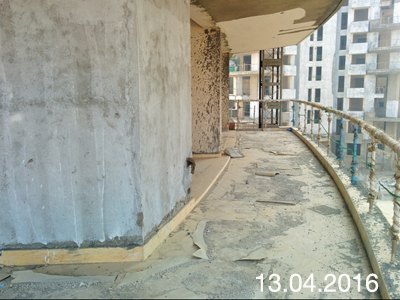
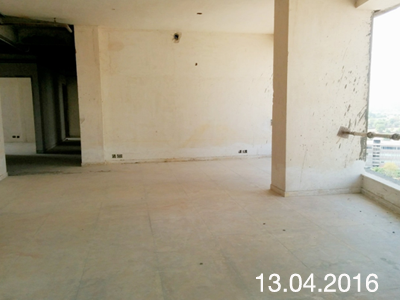
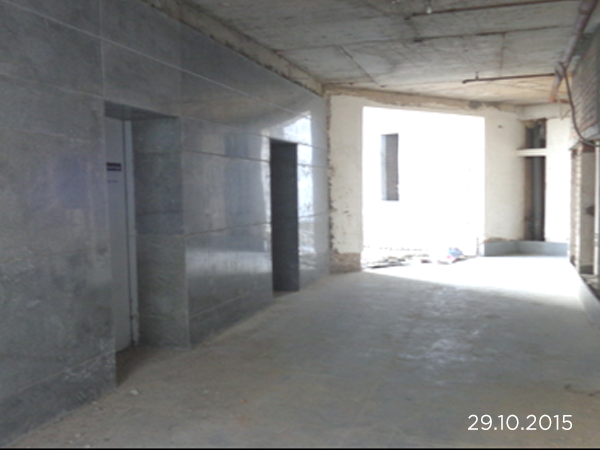
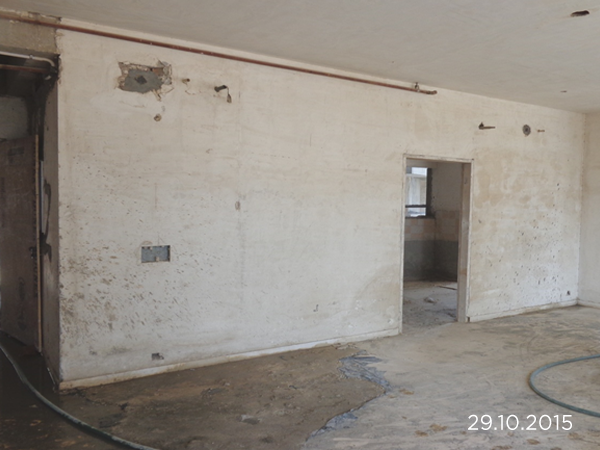
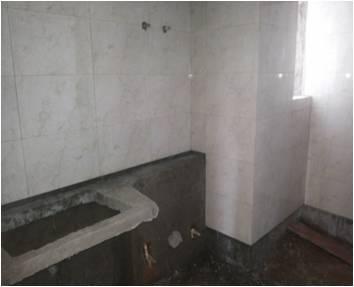
Tower C
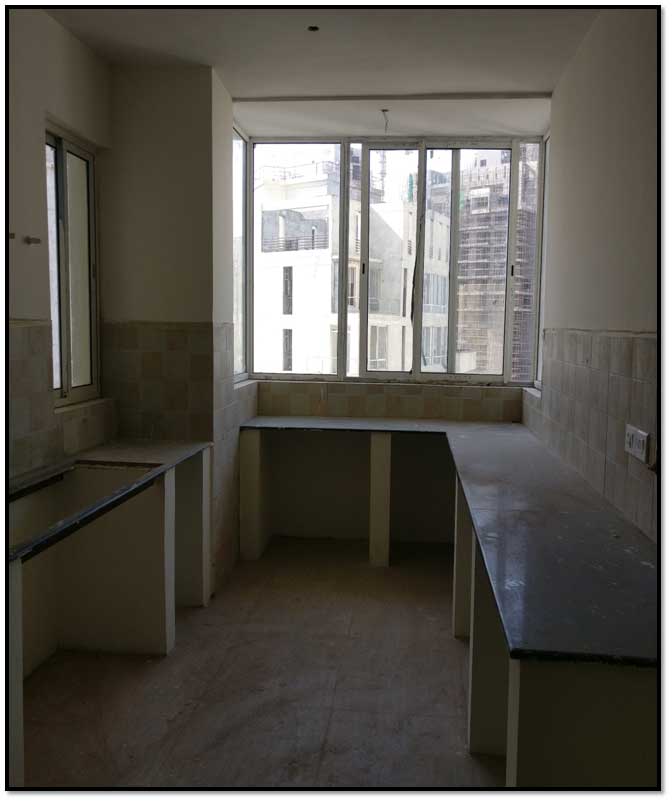


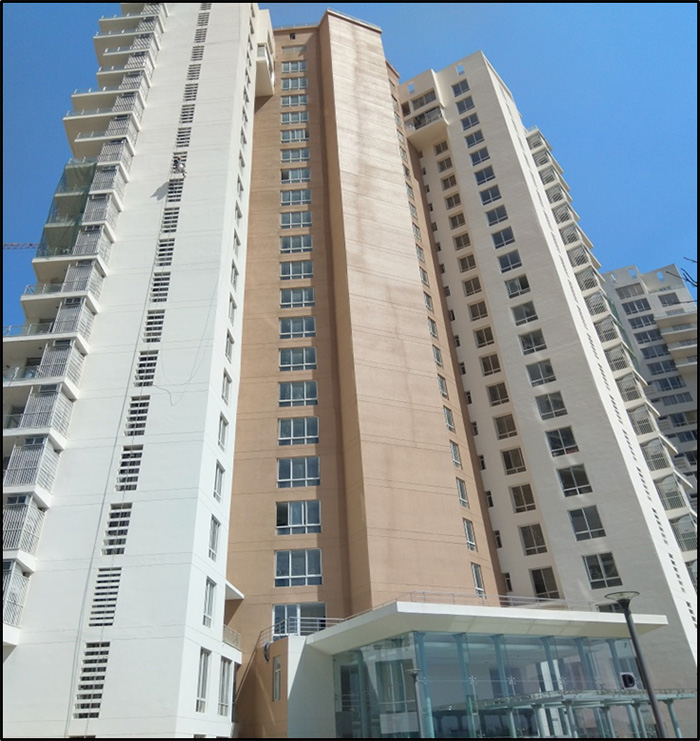
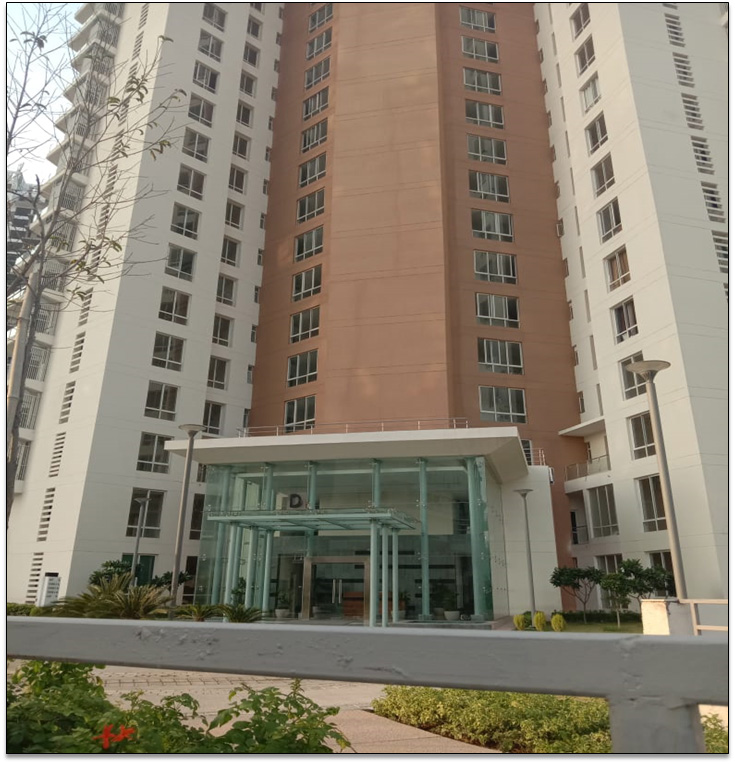
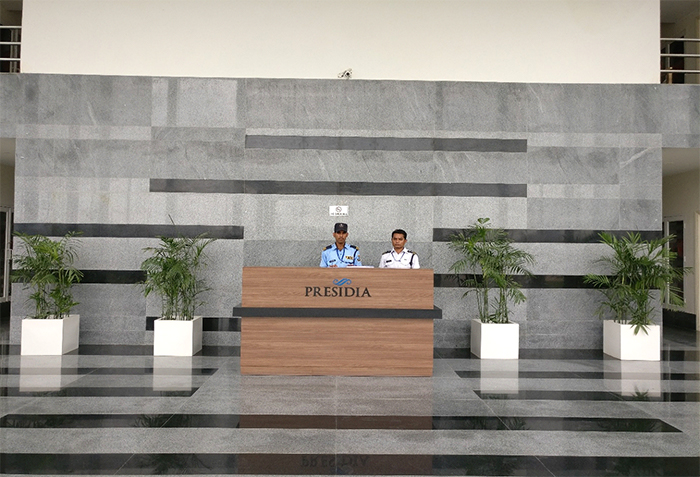
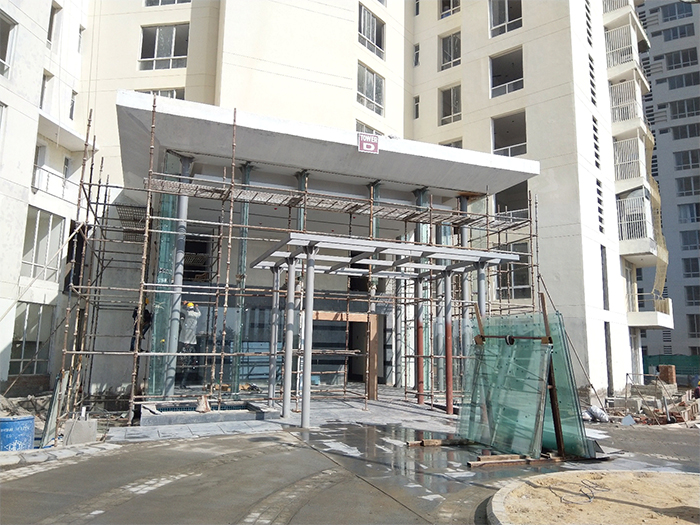
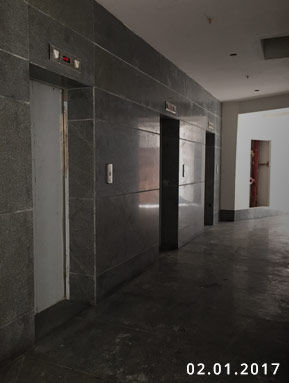
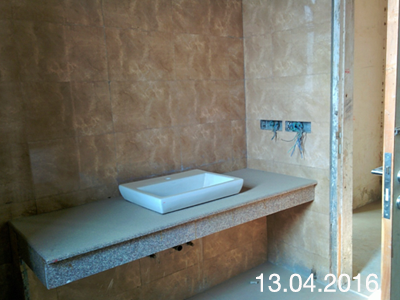
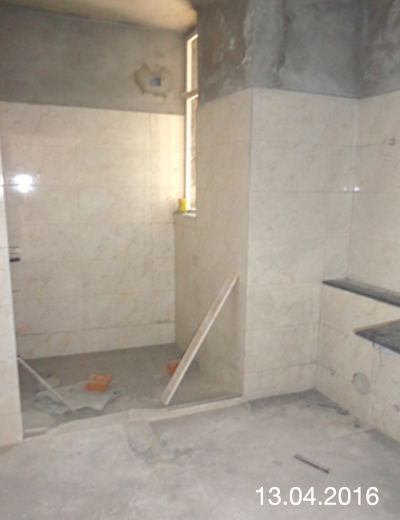
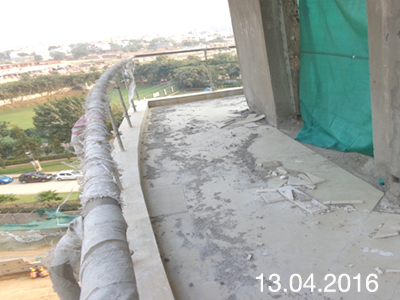
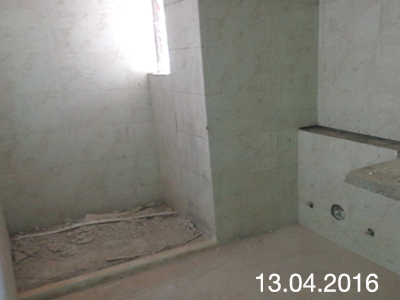
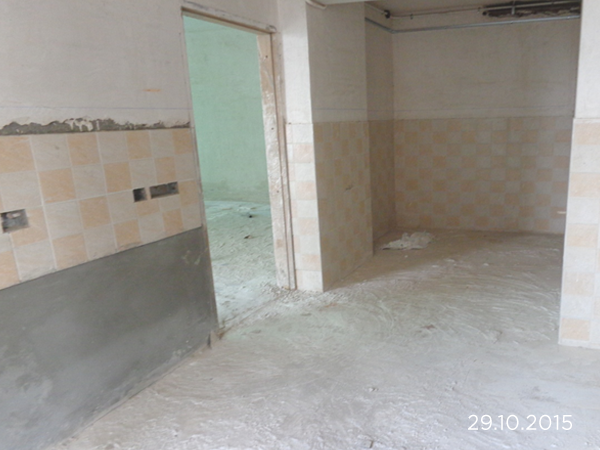
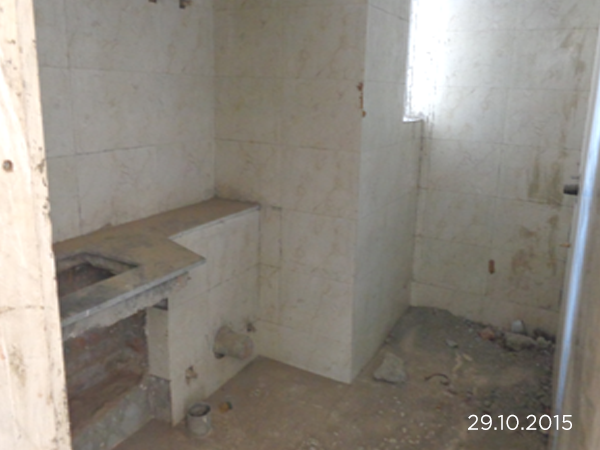
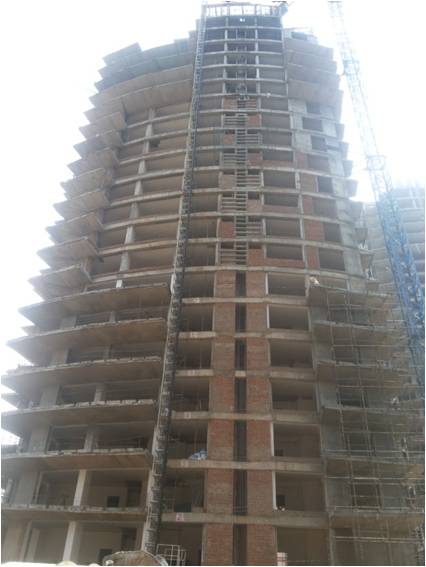
Tower D


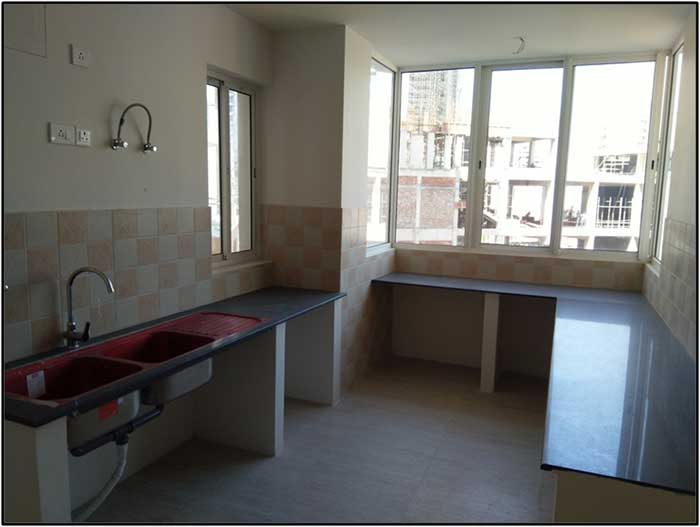


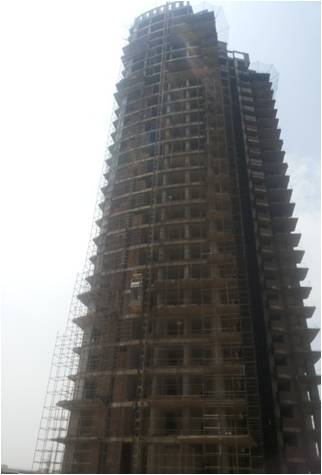
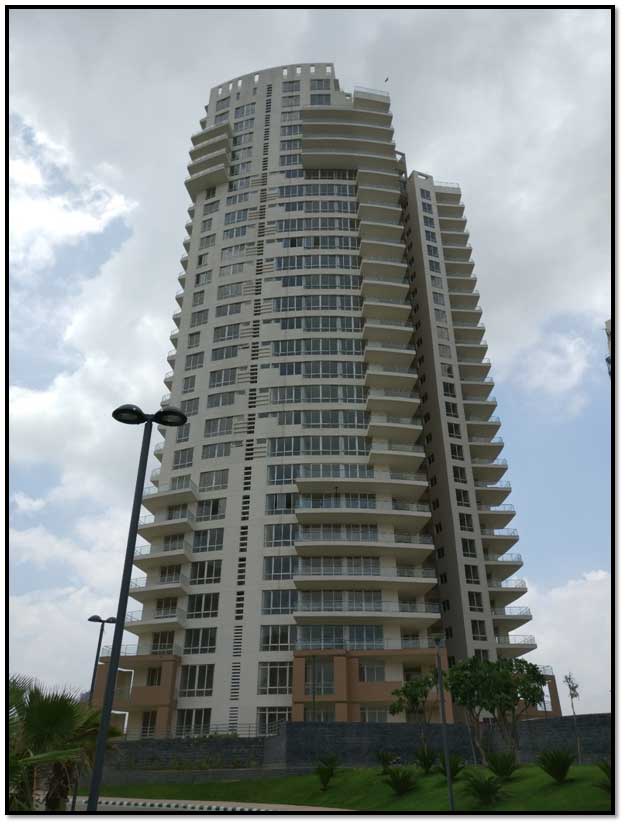
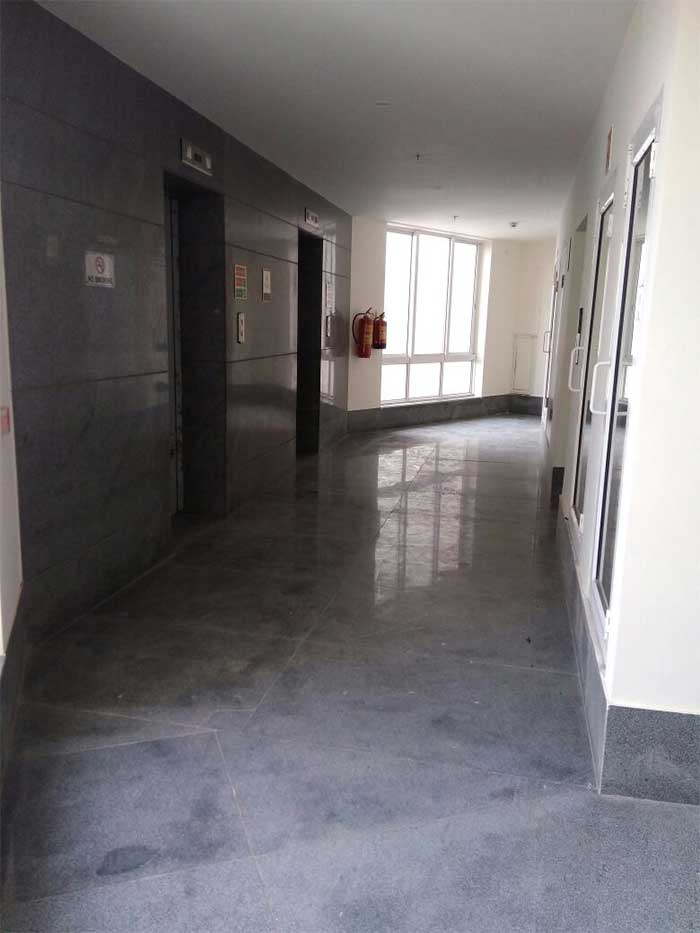
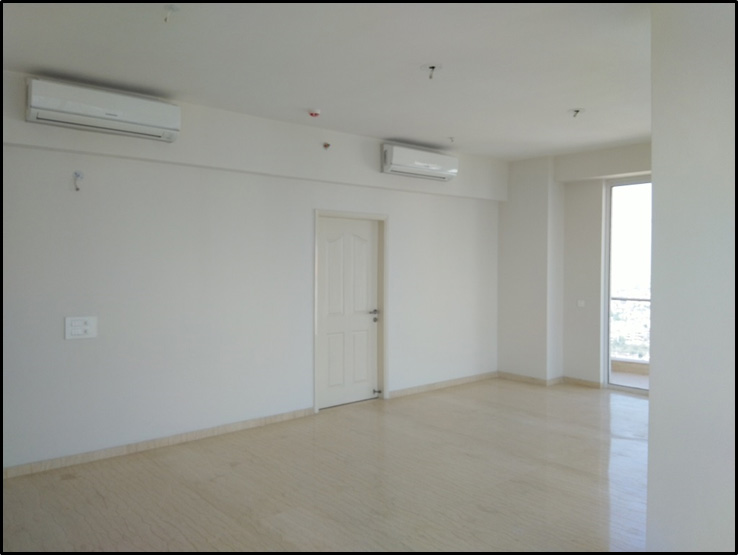
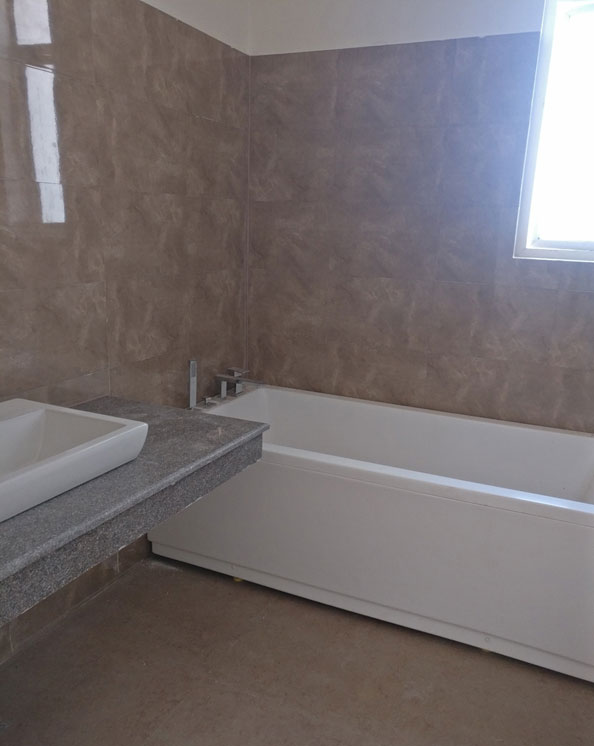
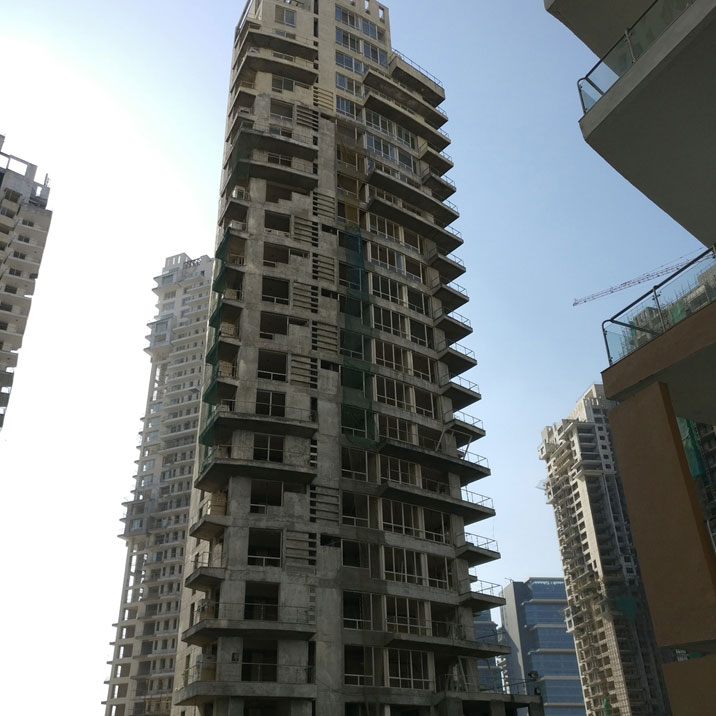
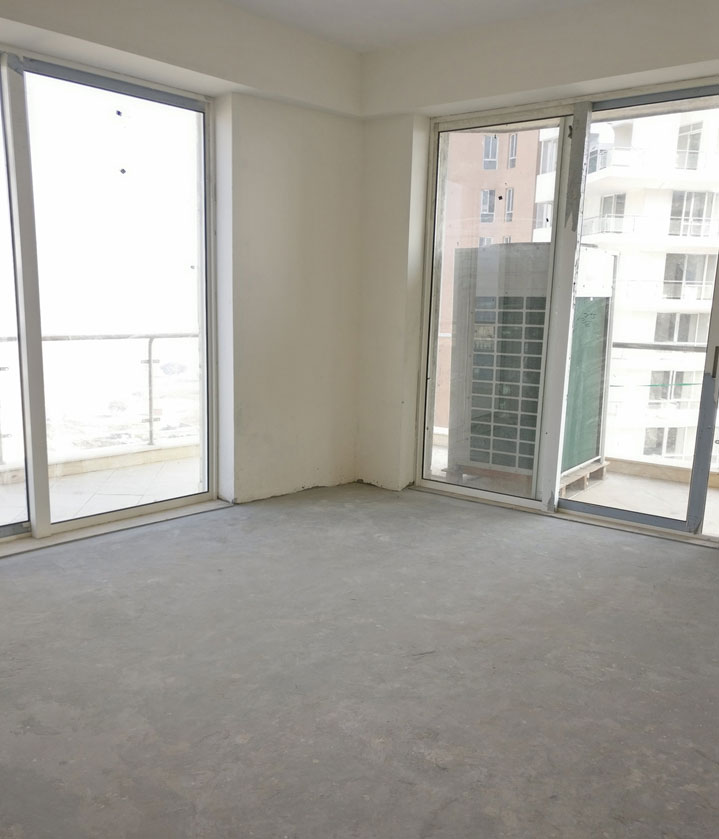
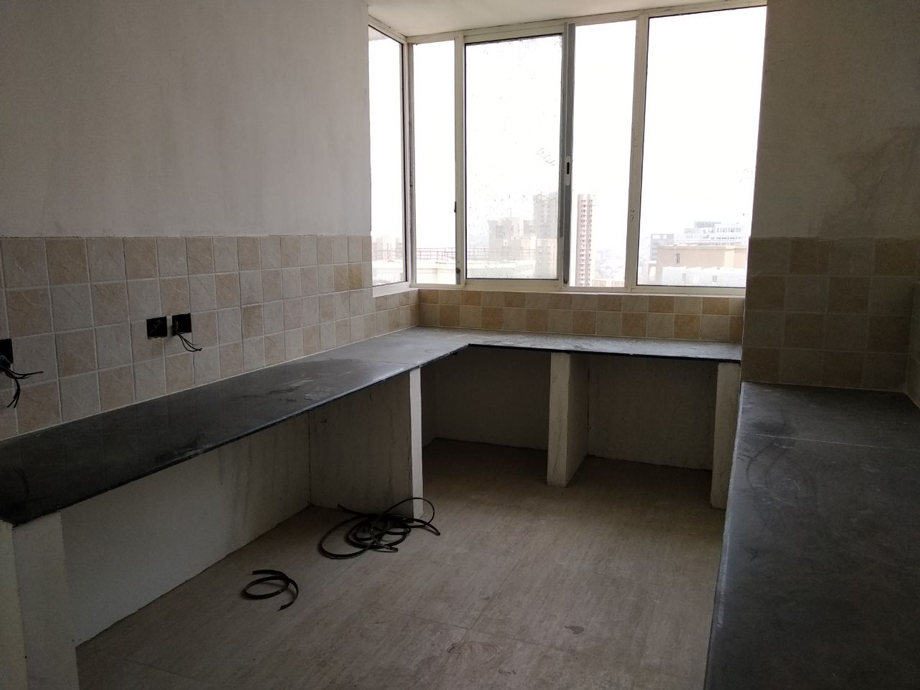
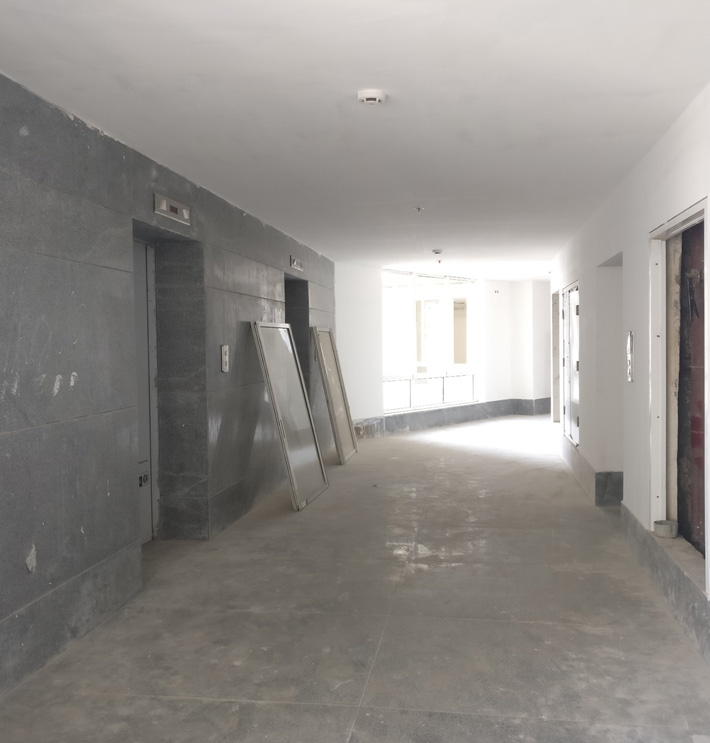
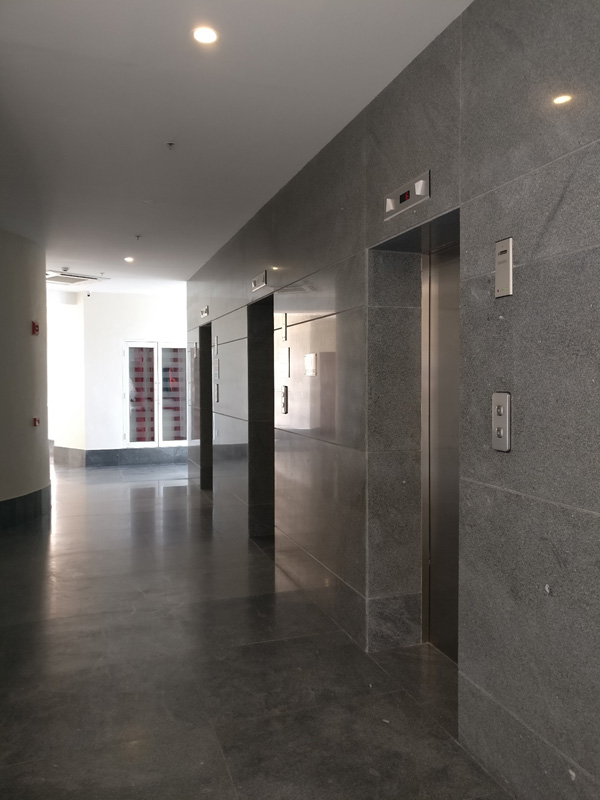
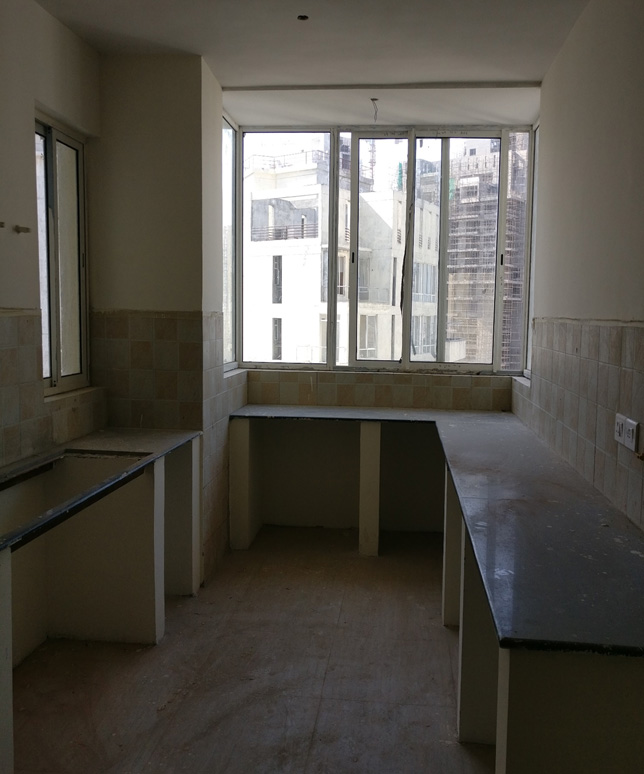
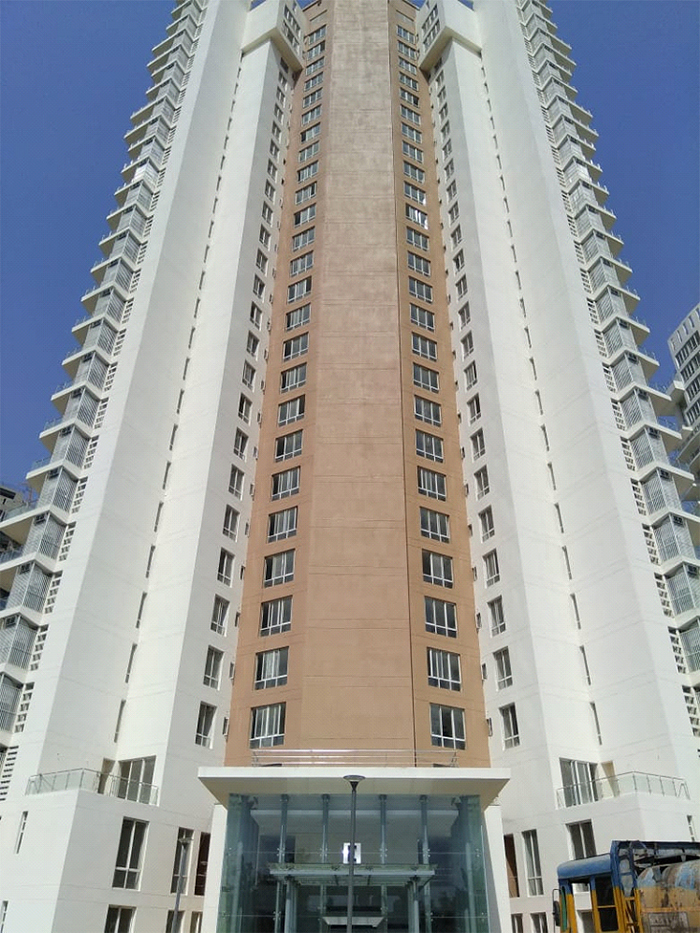
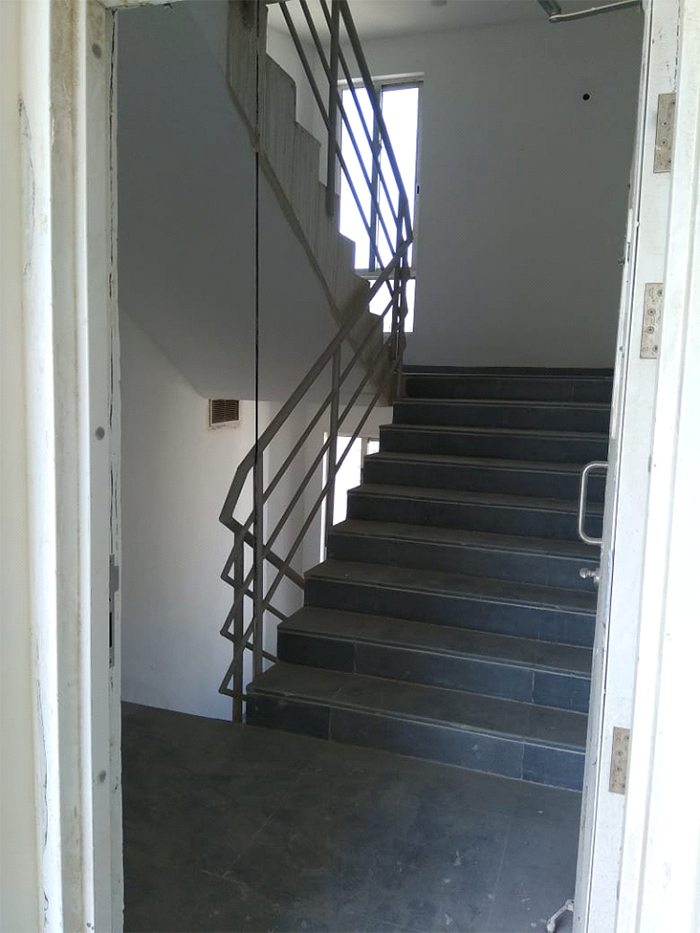
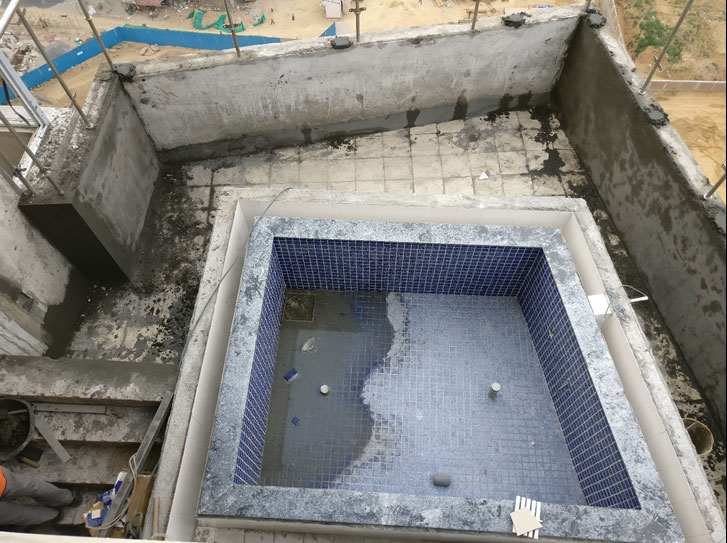
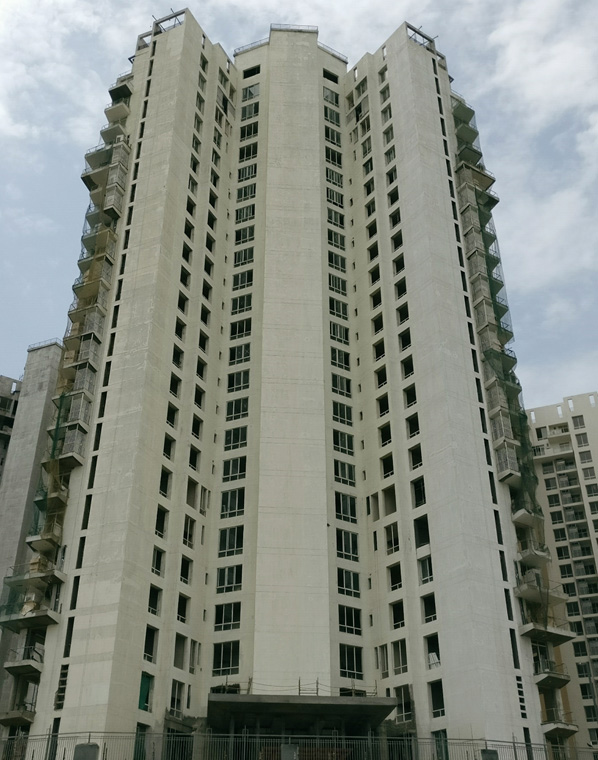
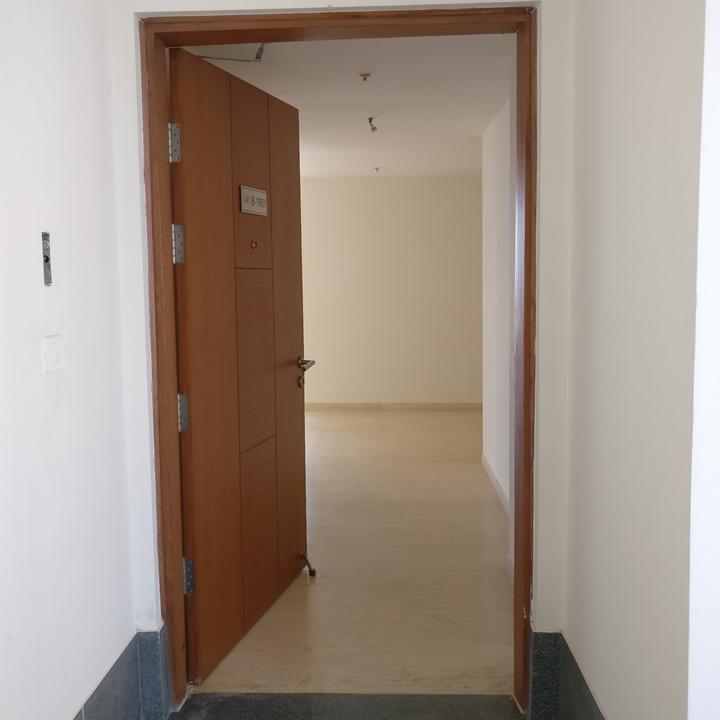
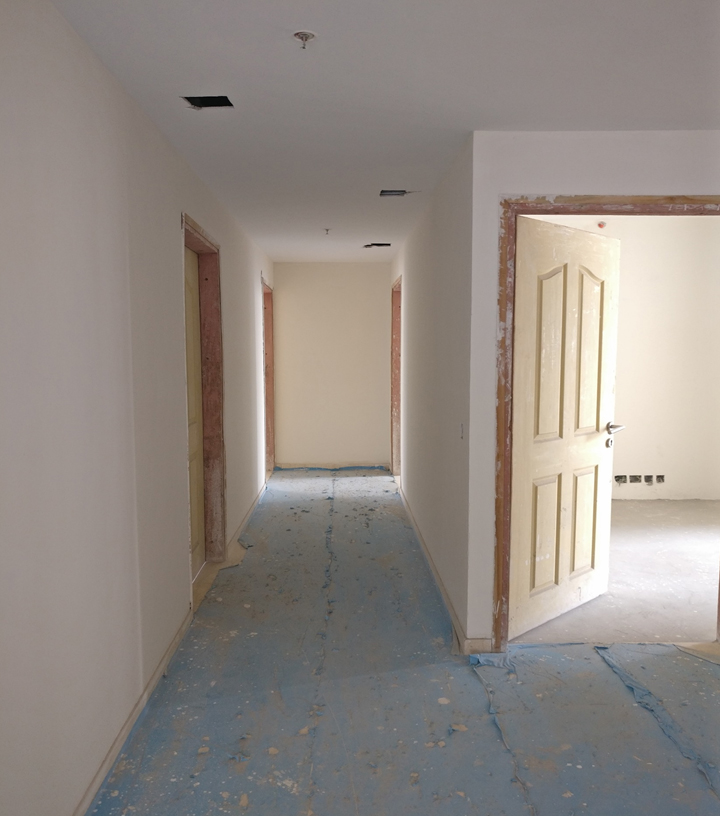
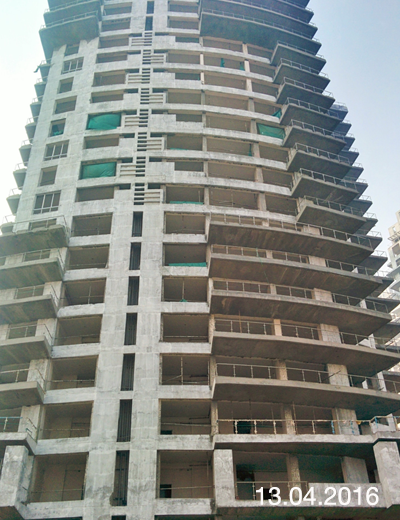
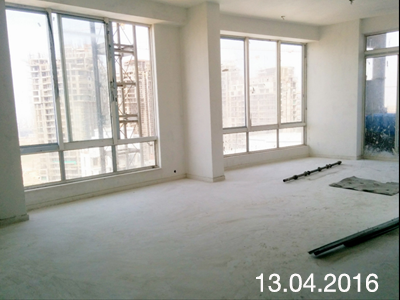
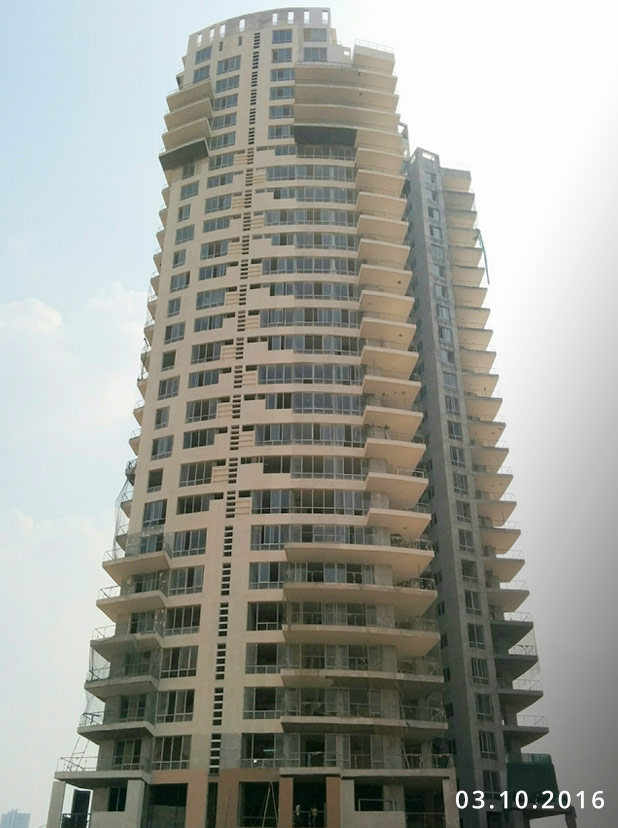
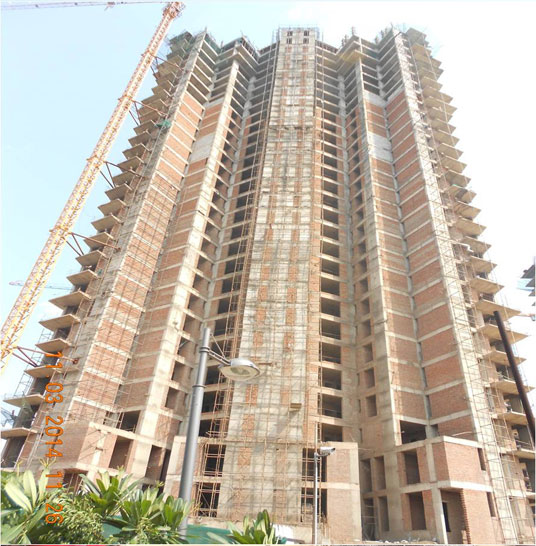
Tower A


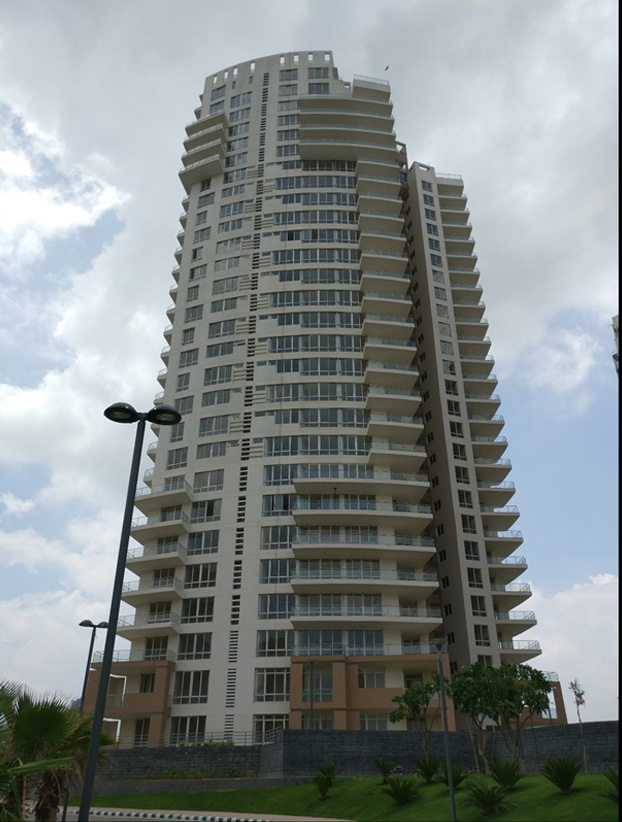
Tower B


Tower C


Tower D


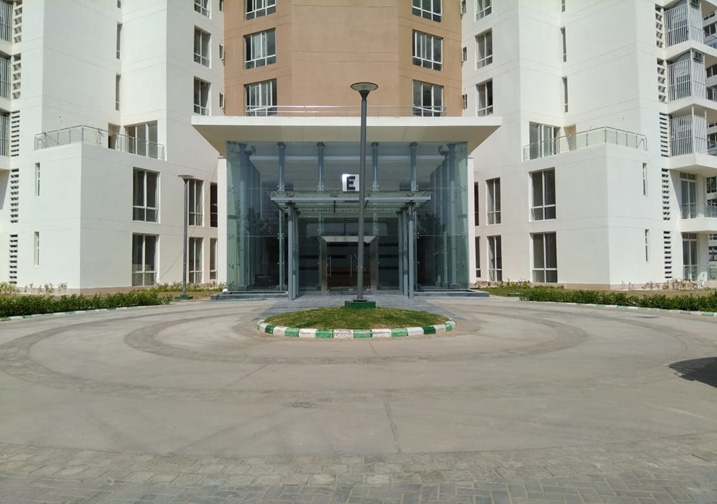
Tower E
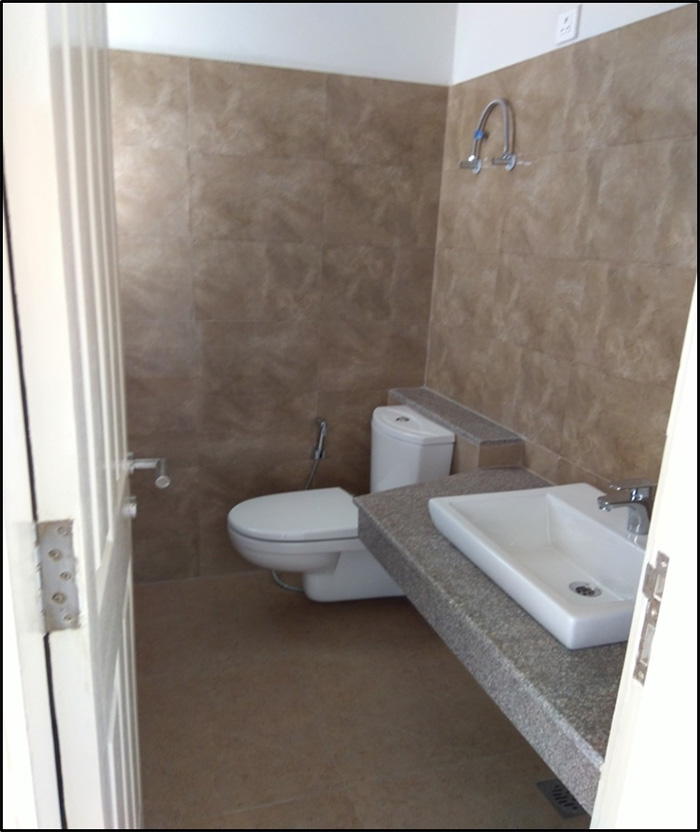


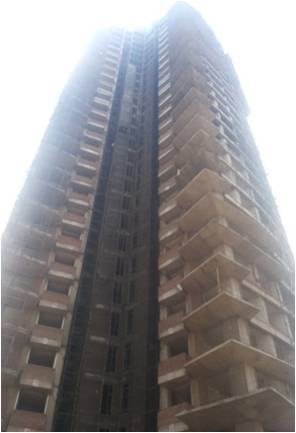
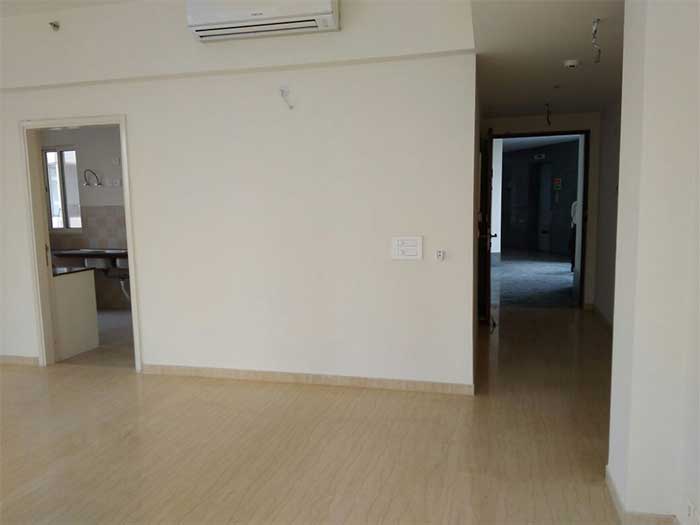
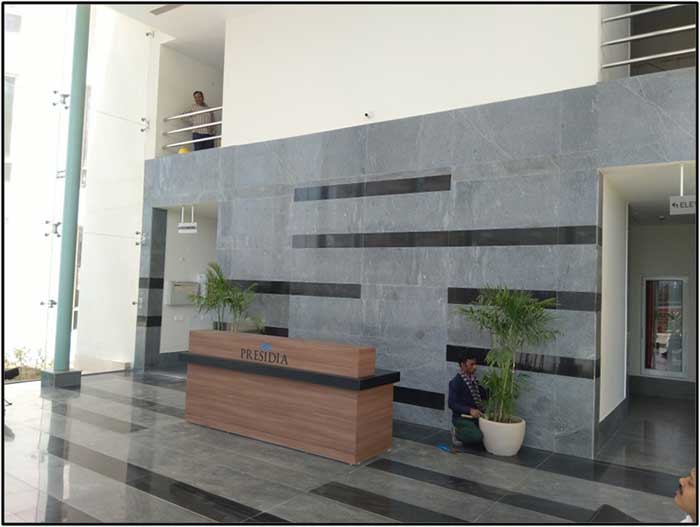
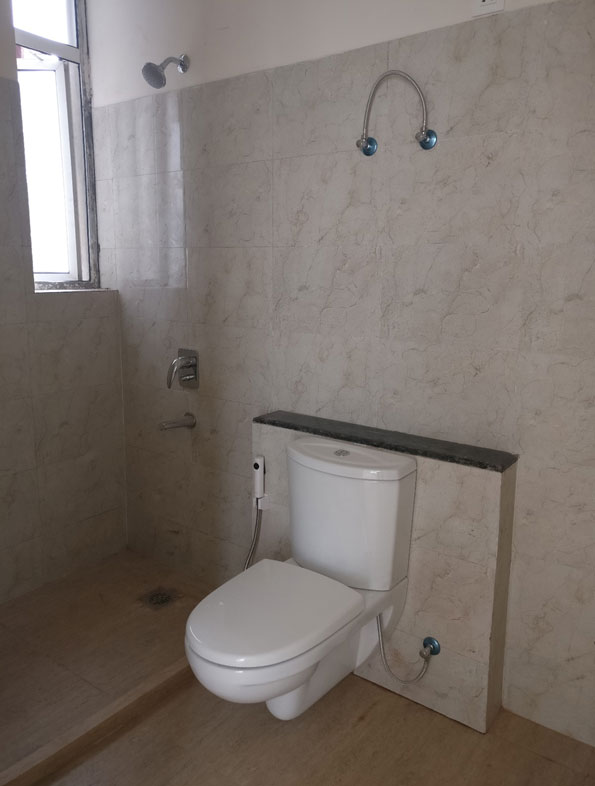
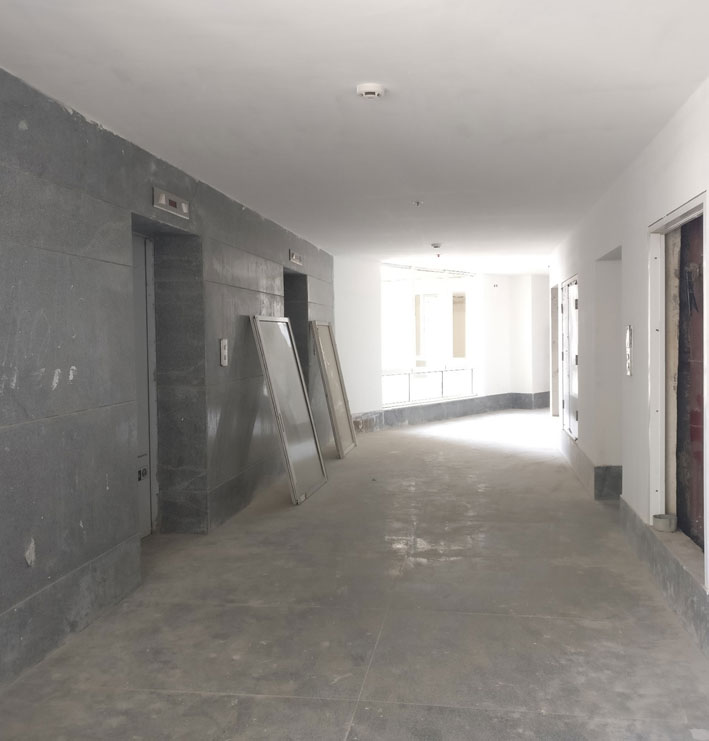
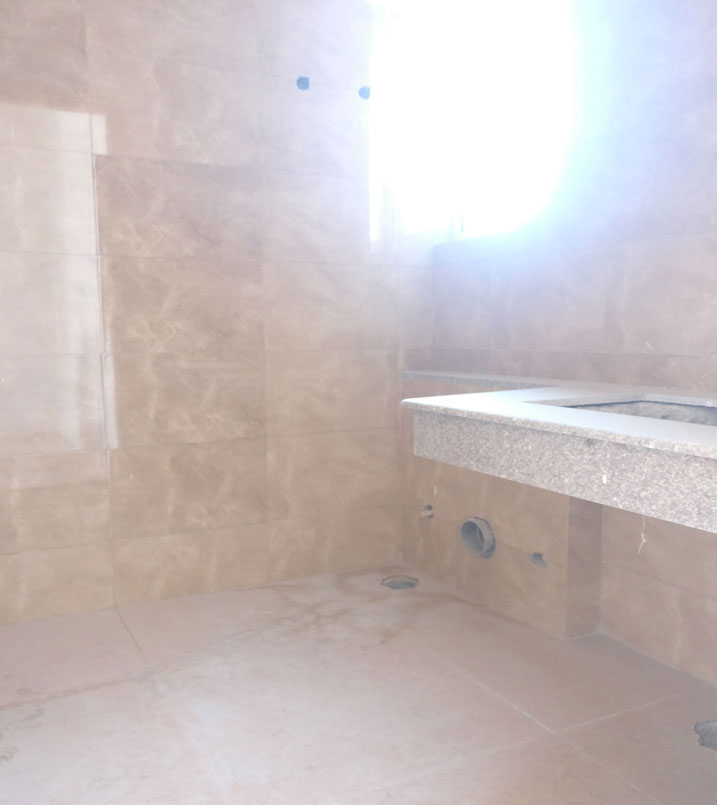
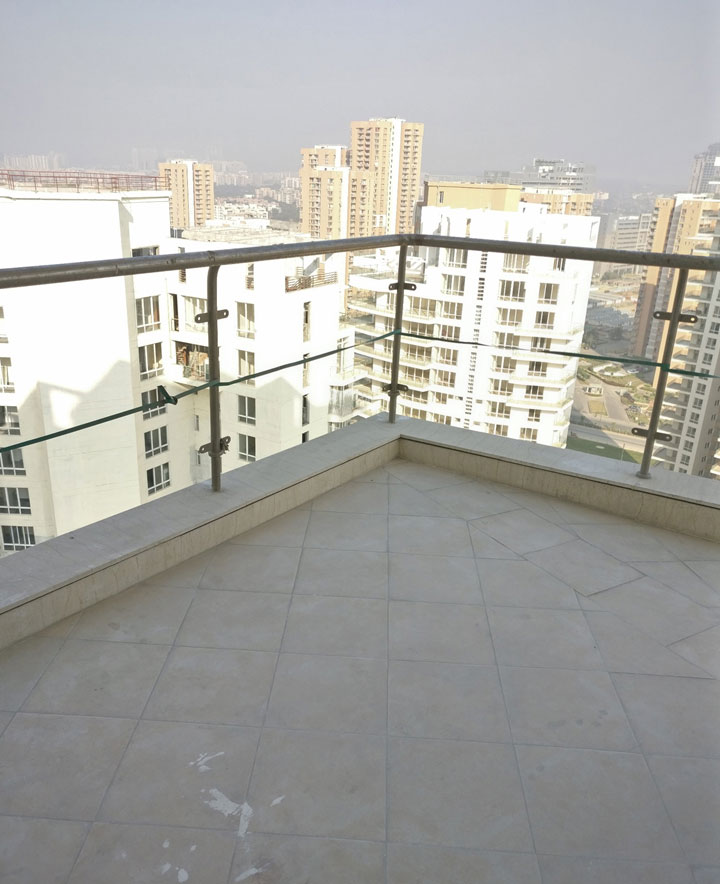
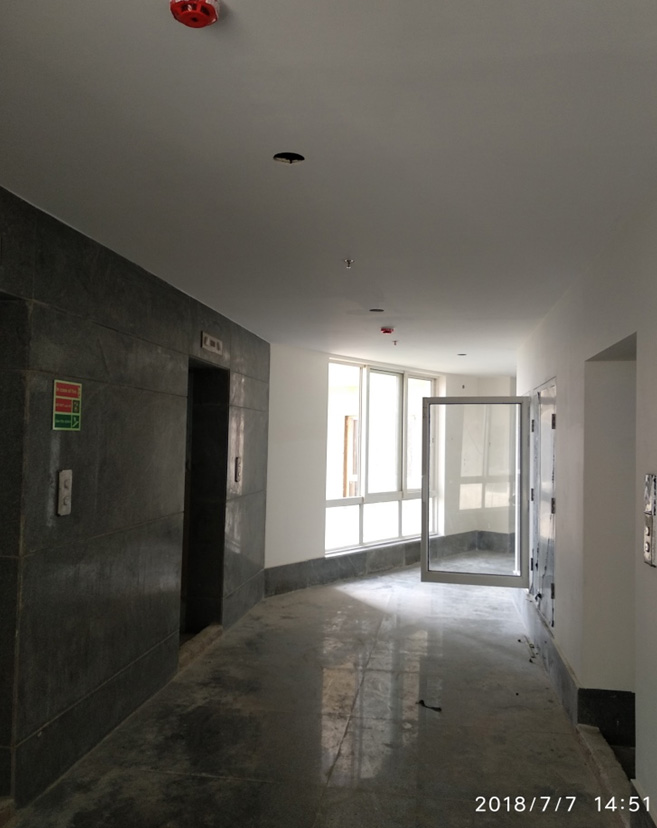
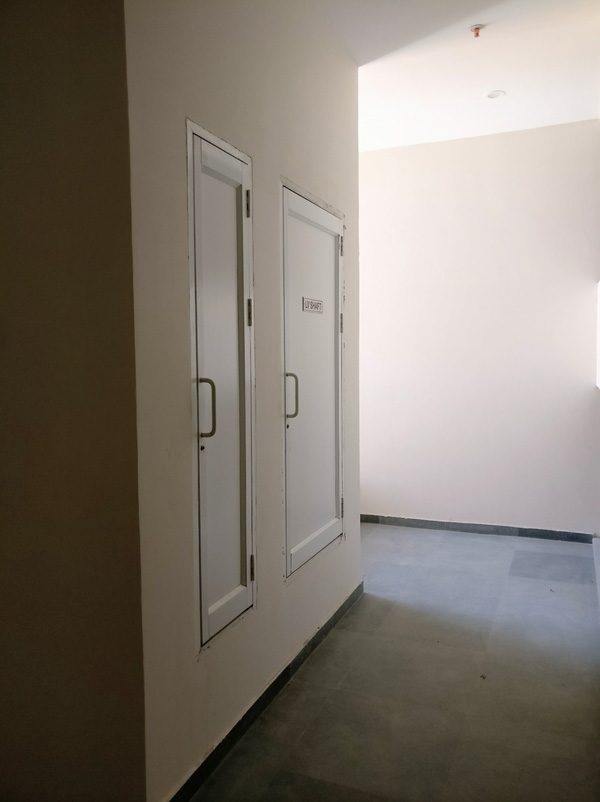
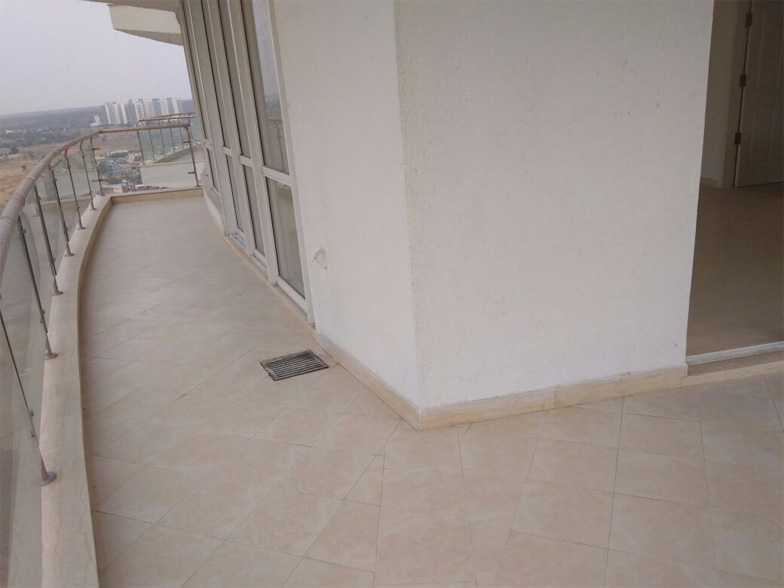
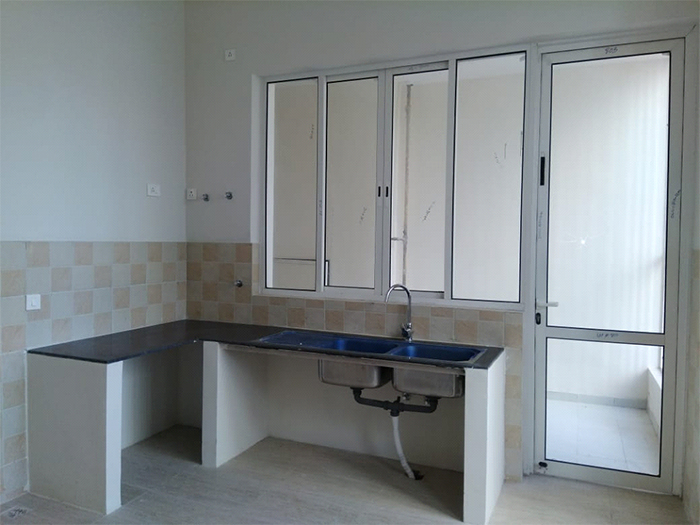
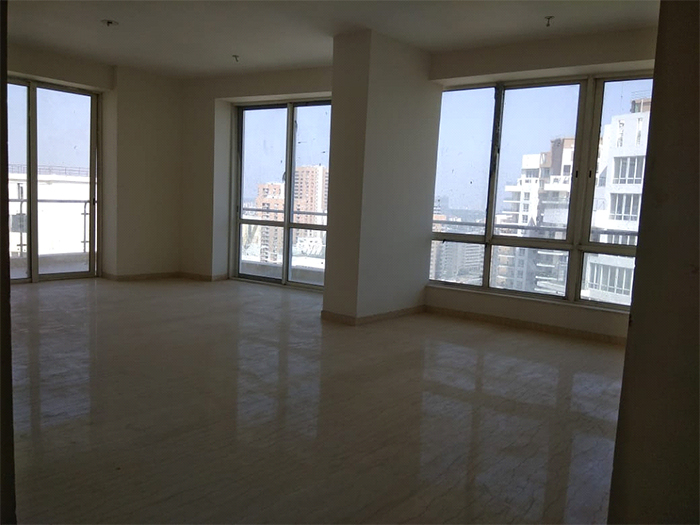
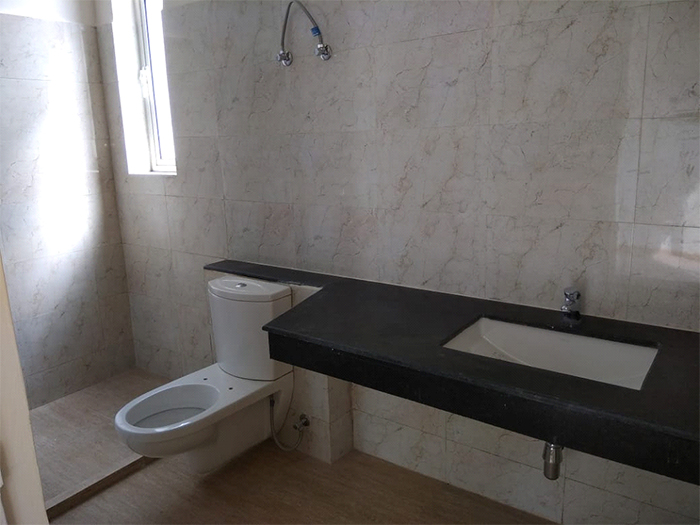
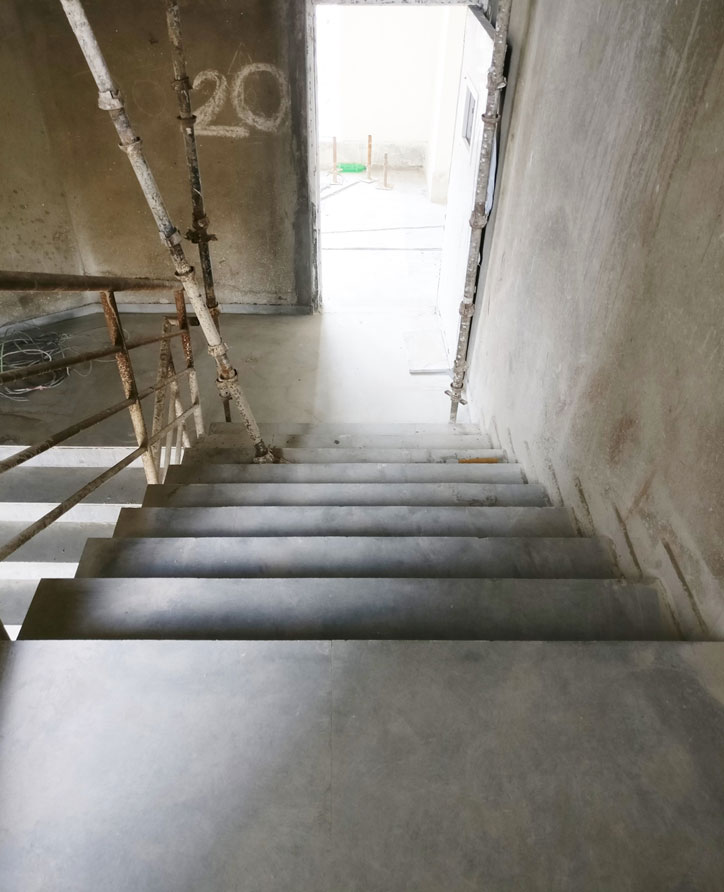
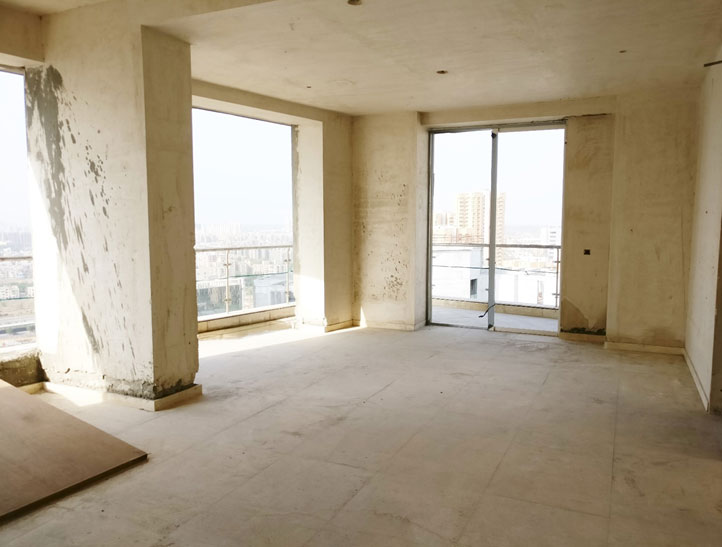
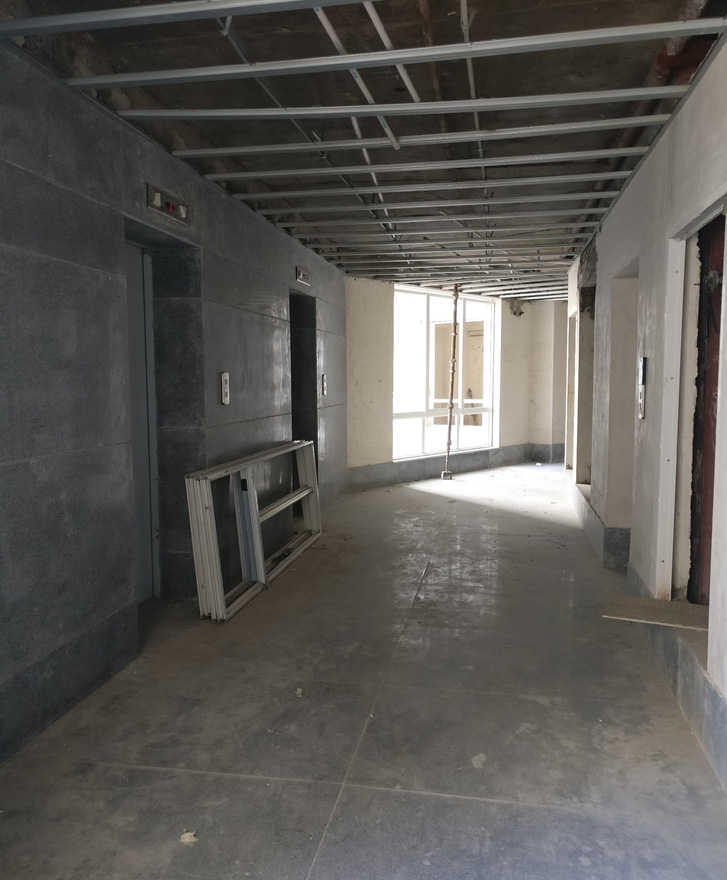
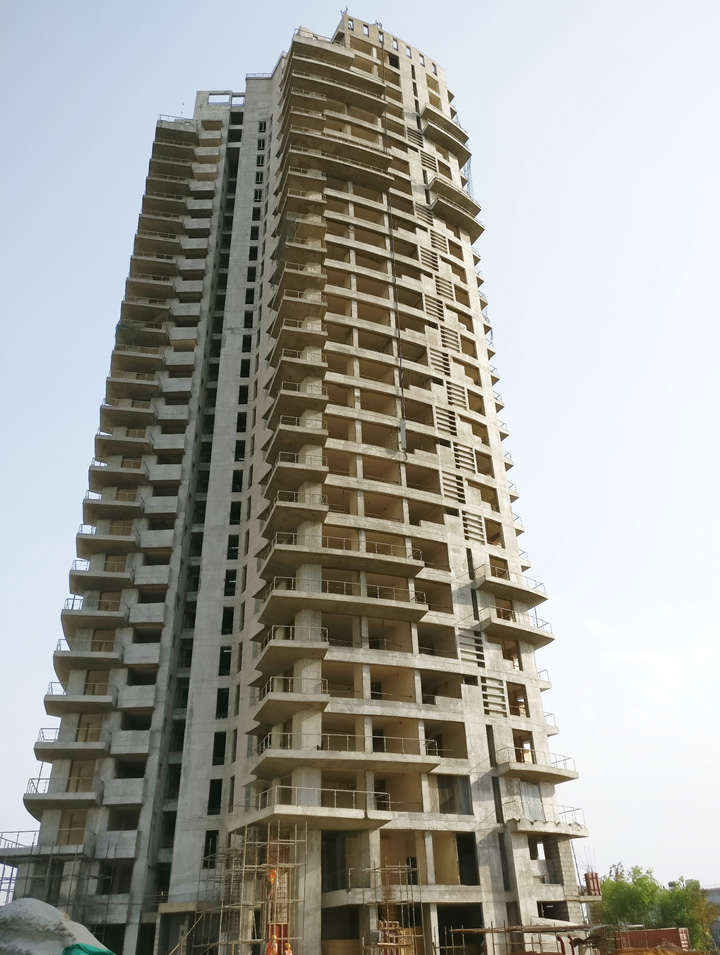
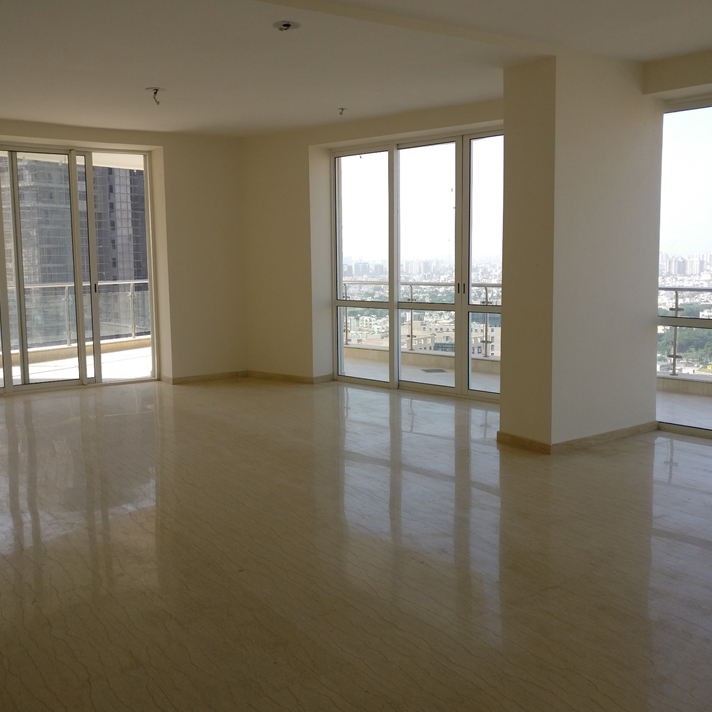
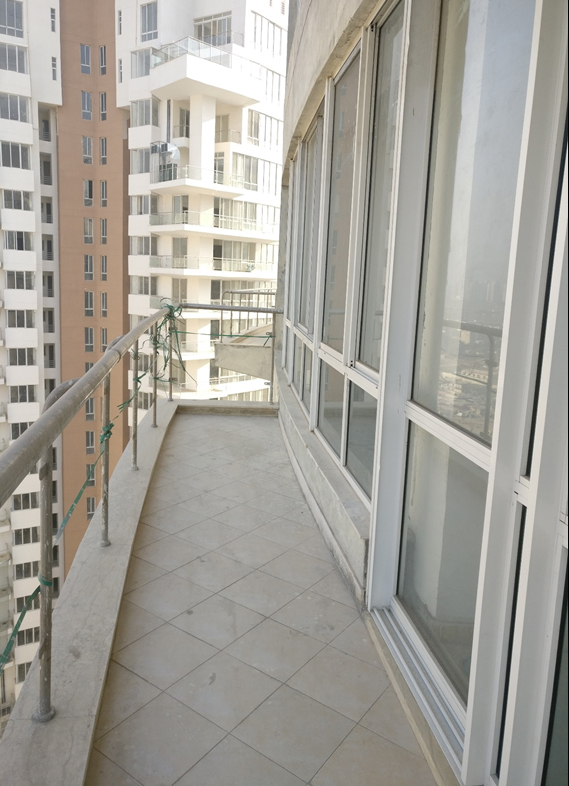
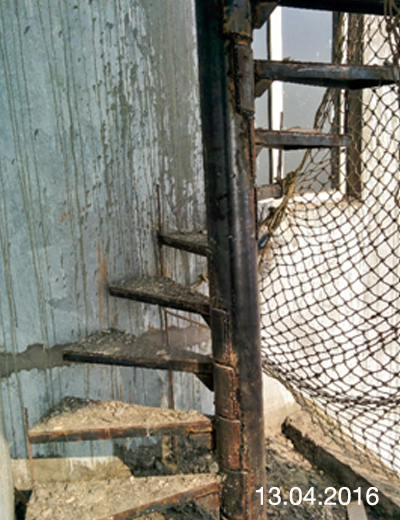
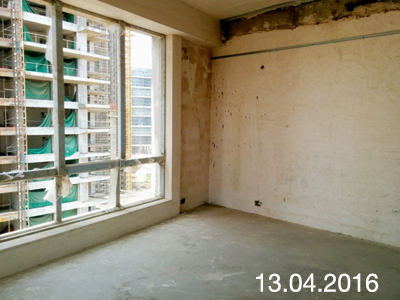
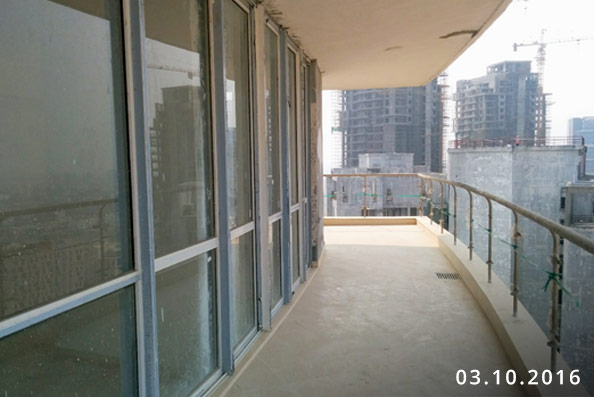
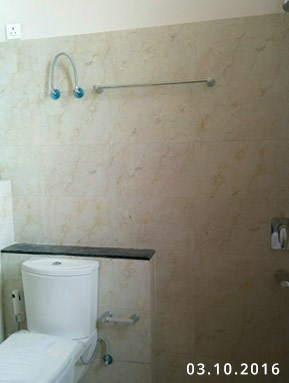
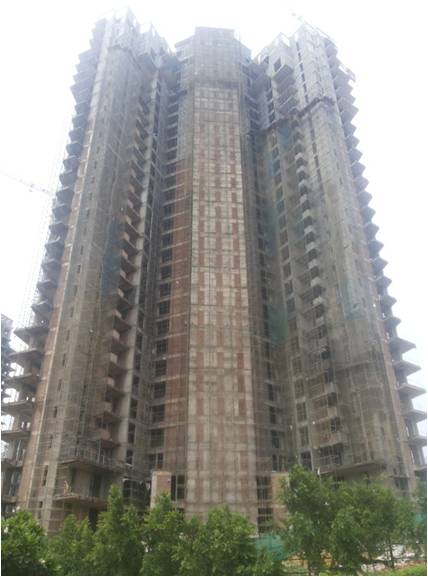
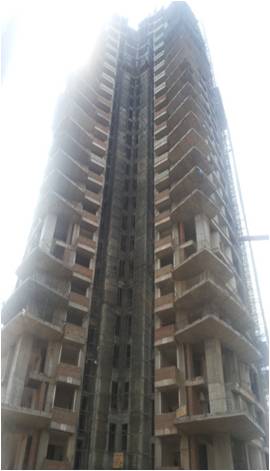
Tower A
Tower B
Tower C
Tower D
Tower E
- January to March
- April to June
- July to September
- Oct To Dec
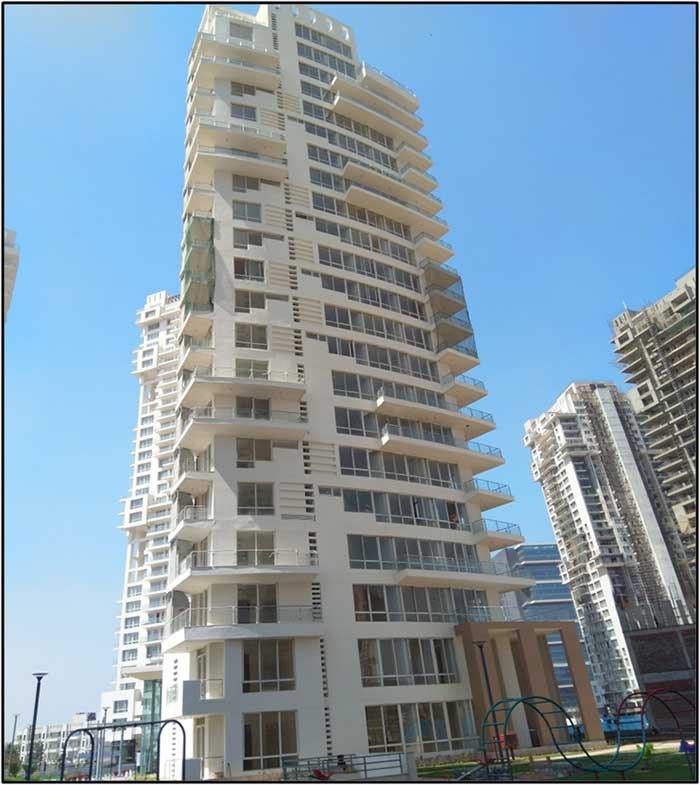
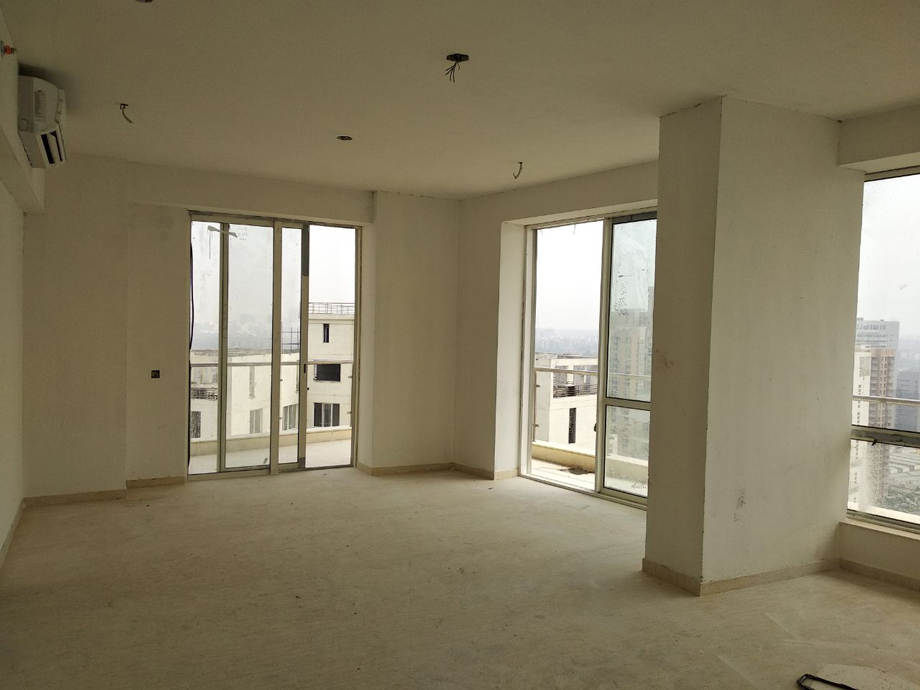
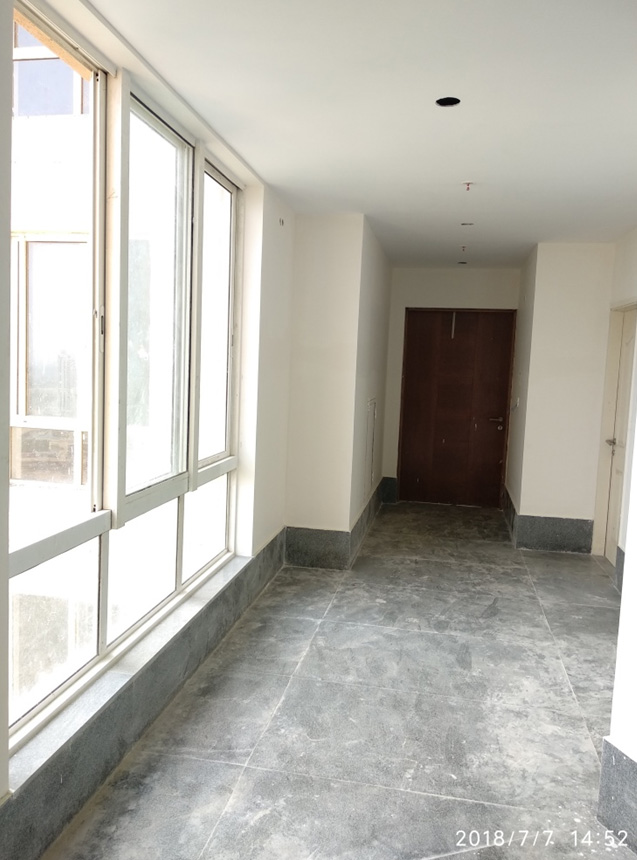
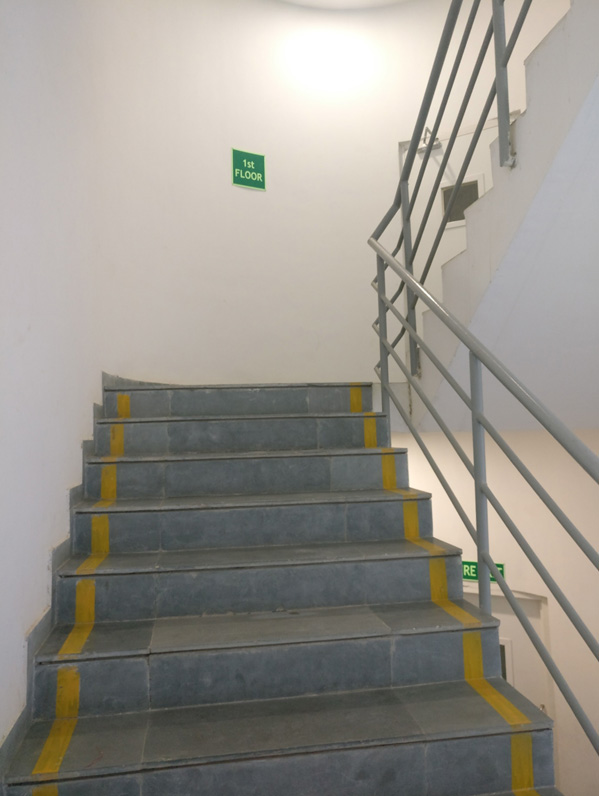
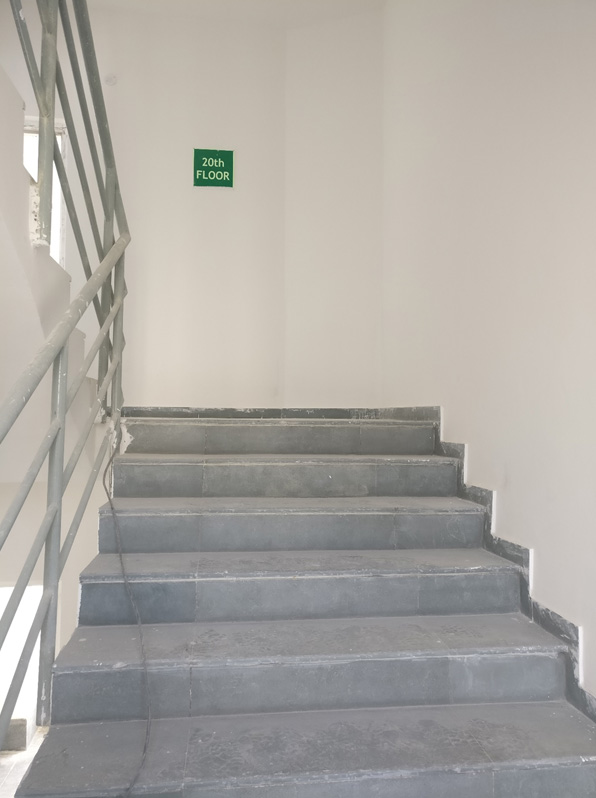
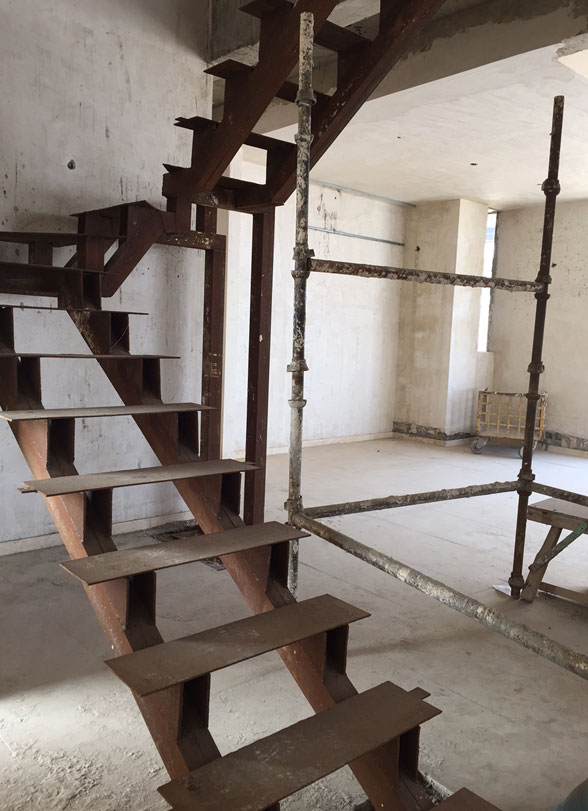
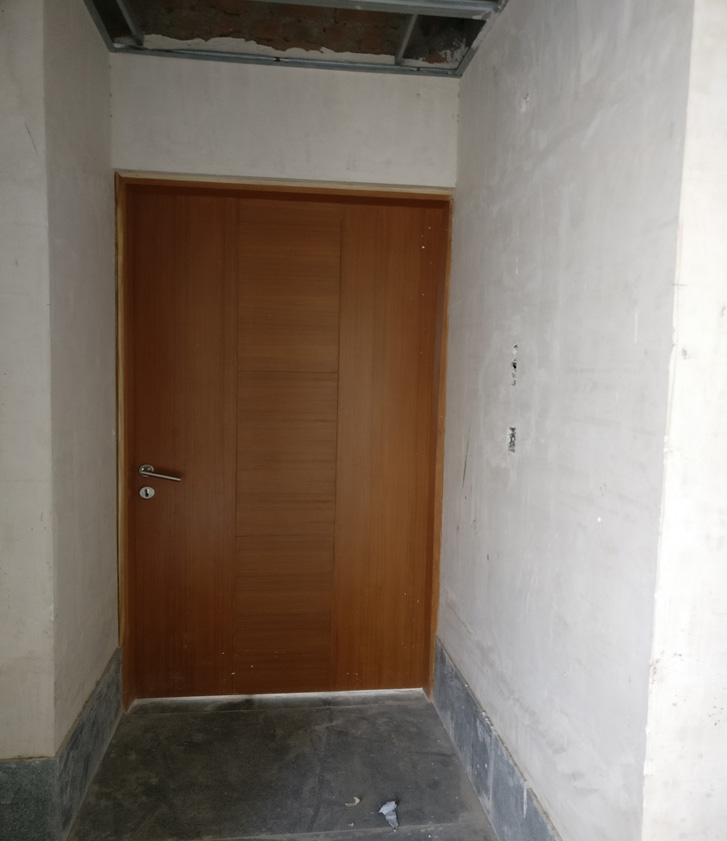
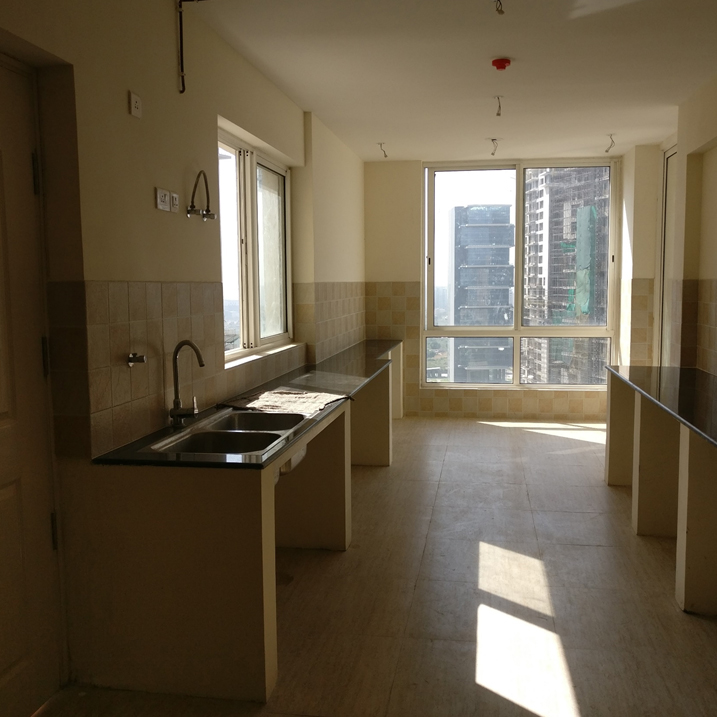
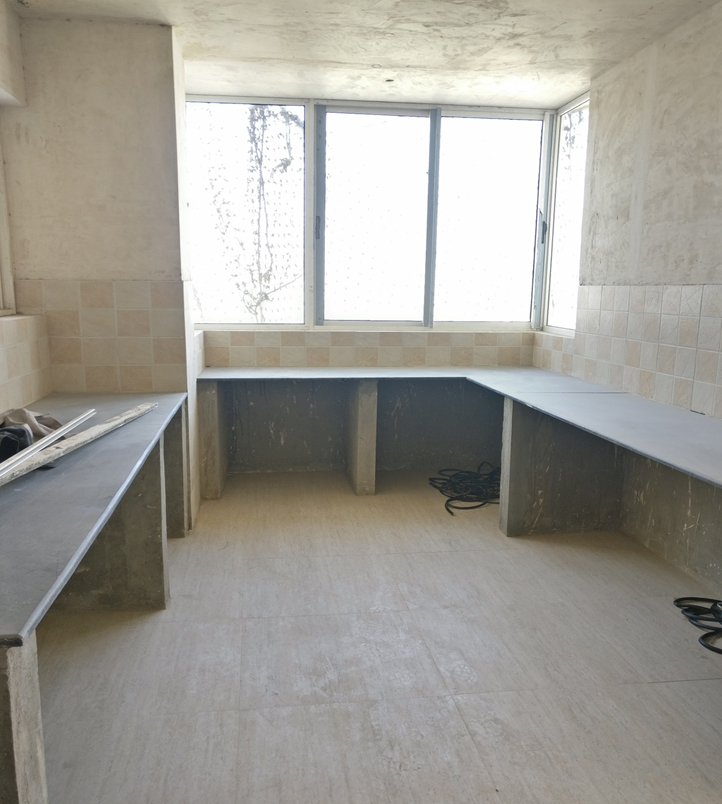
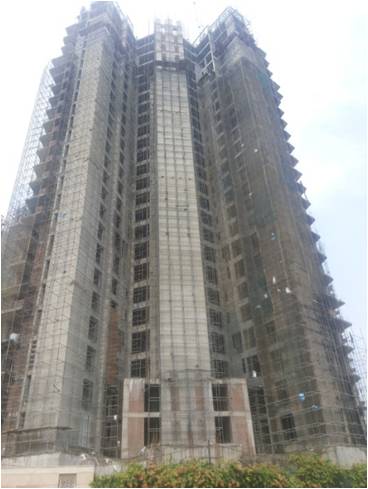
Tower A

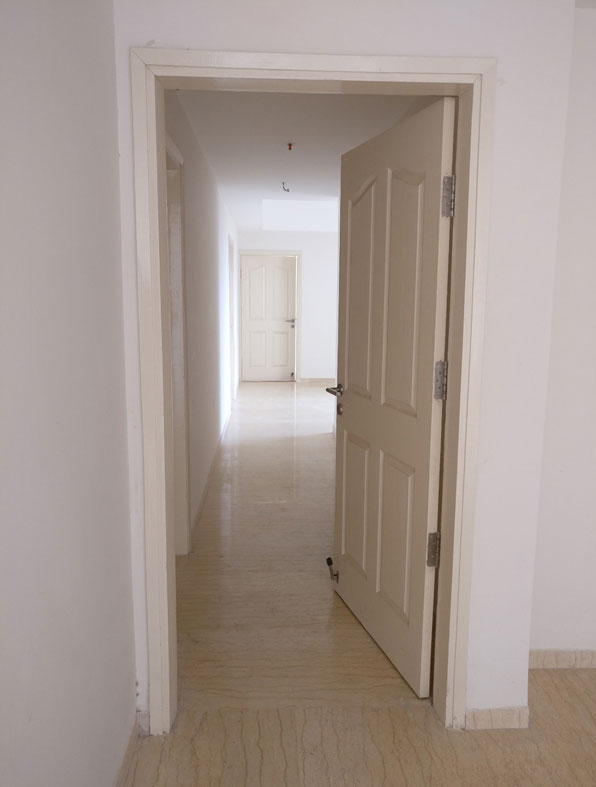


Tower B


Tower C


Tower D
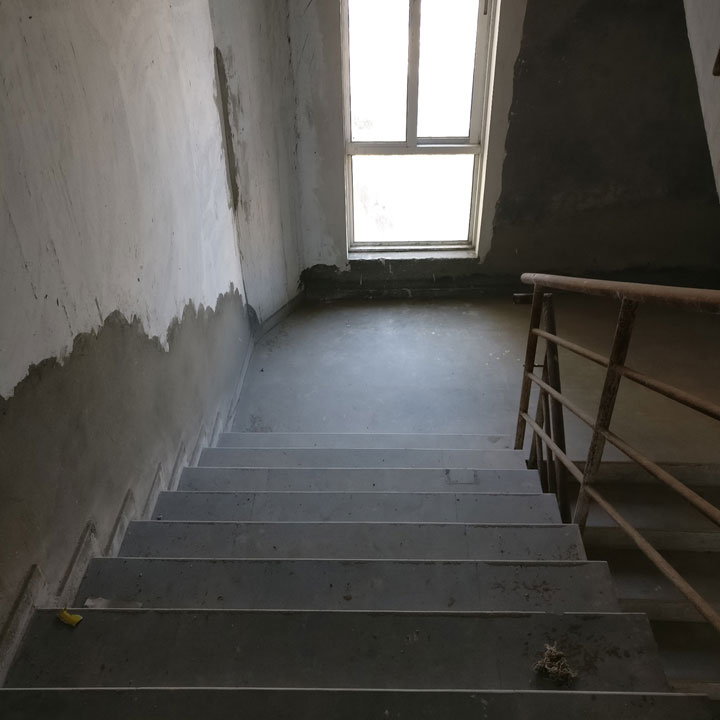

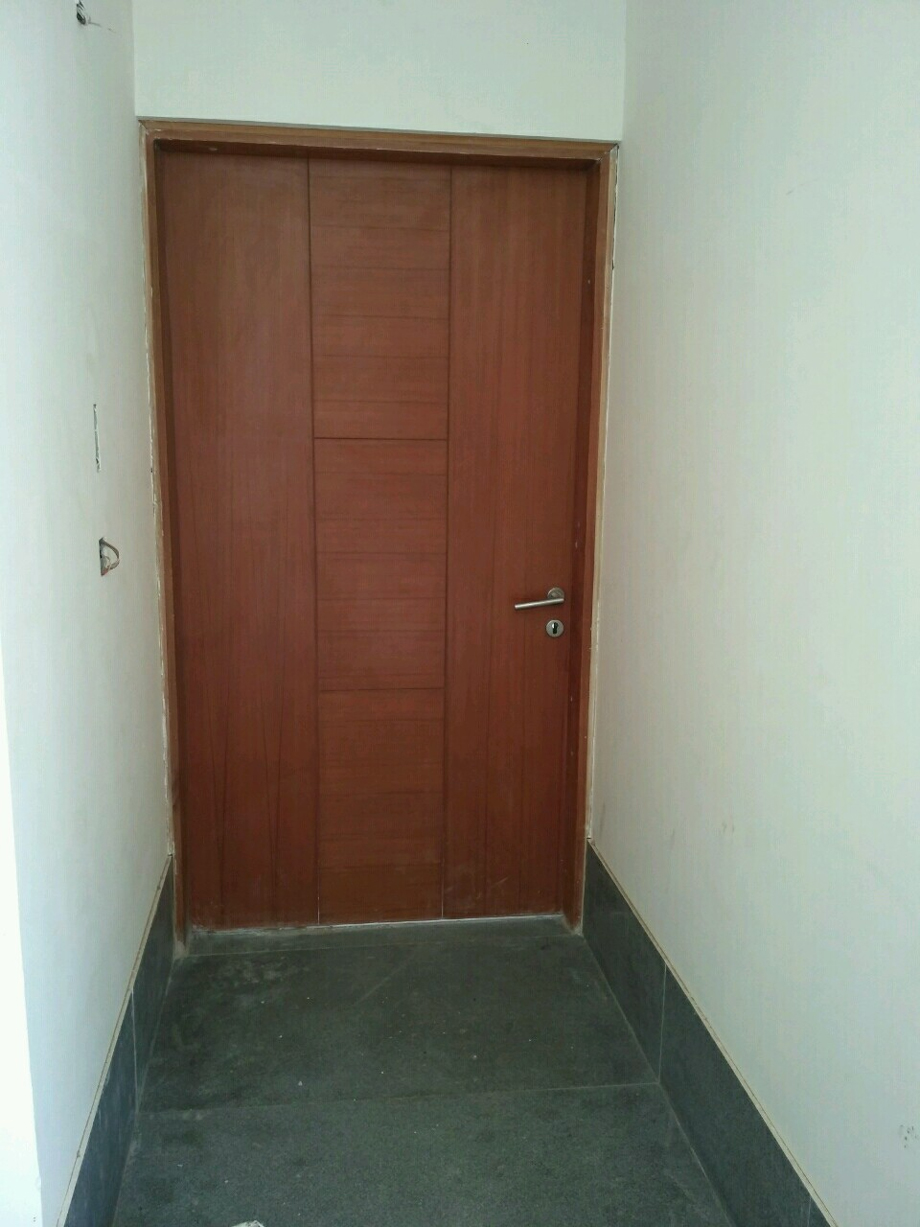


Tower E


Tower A


Tower B


Tower C


Tower D


Tower E


Tower A


Tower B


Tower C


Tower D


Tower E


Tower A


Tower B


Tower C


Tower D


Tower E


- January to March
- April to June
- July to September
- October to December
Tower A


Tower B


Tower C


Tower D


Tower E


Tower A


Tower B


Tower C


Tower D


Tower E


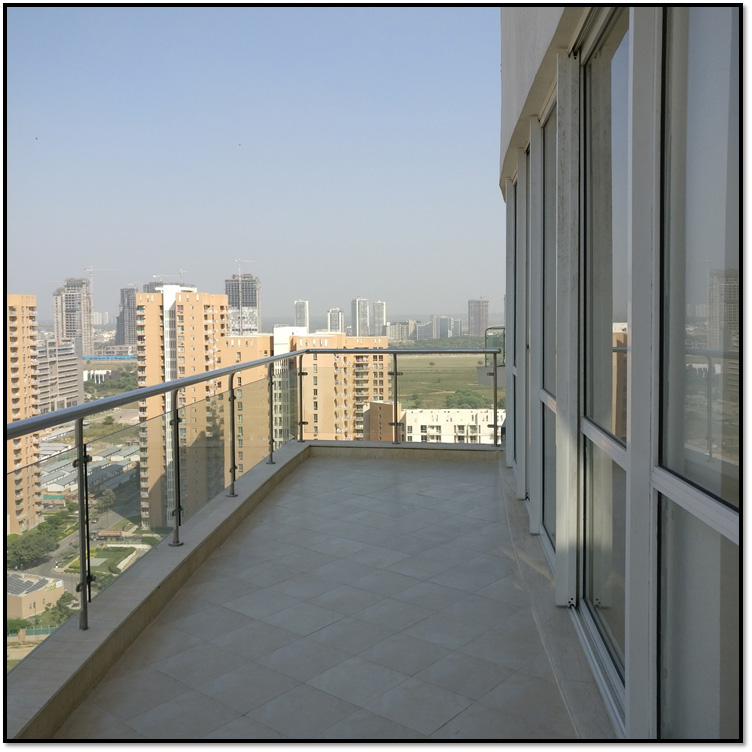
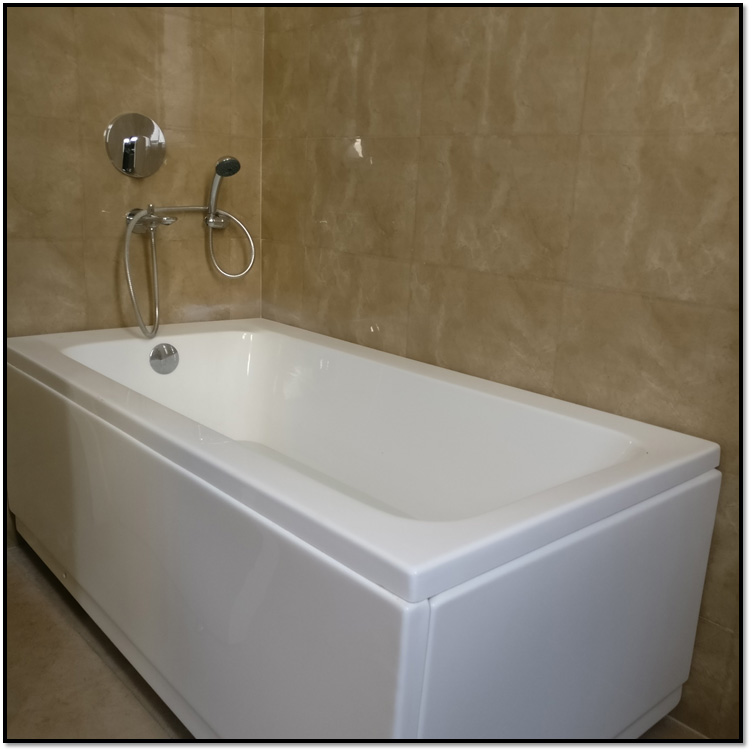
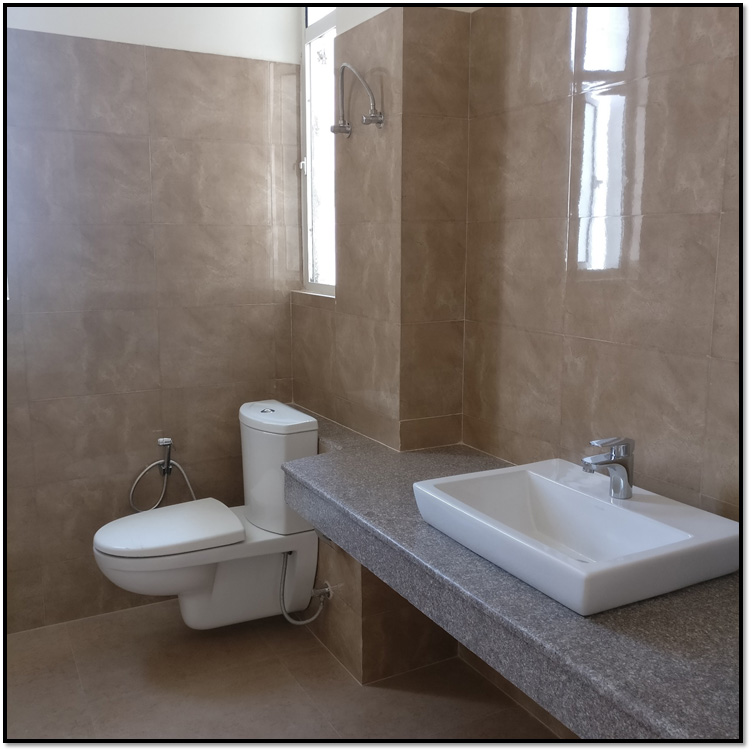
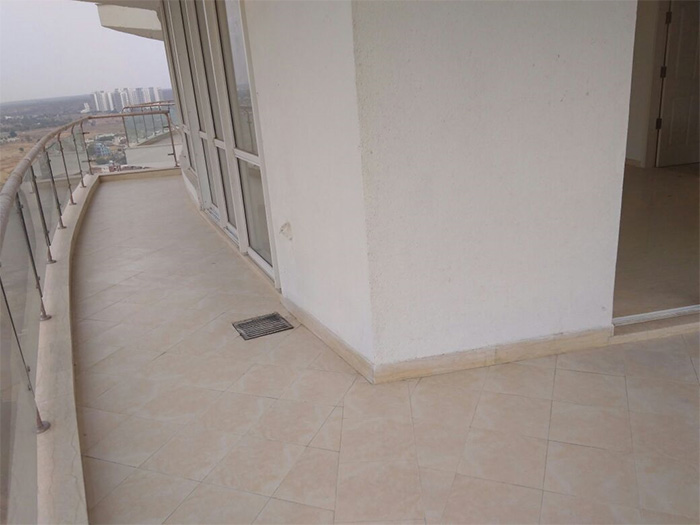
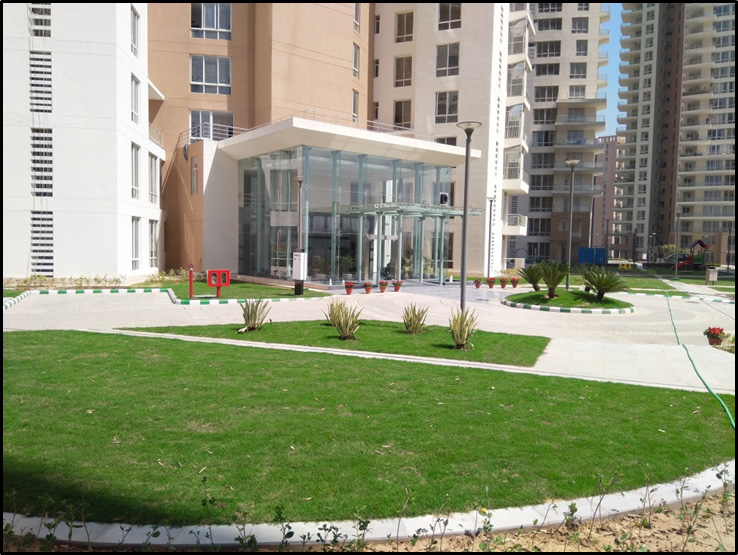
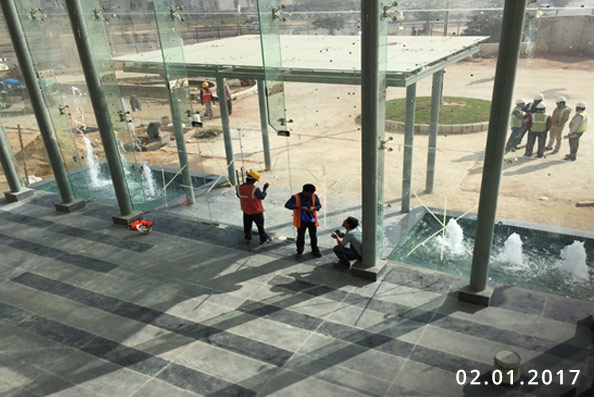
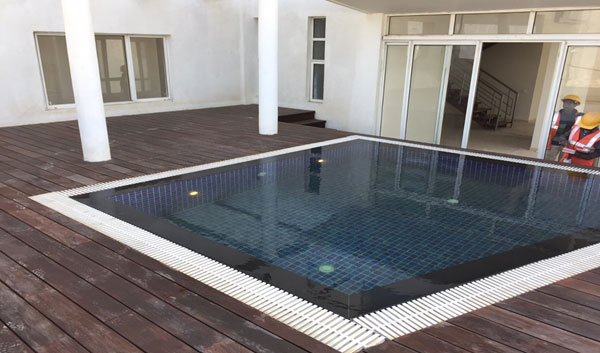
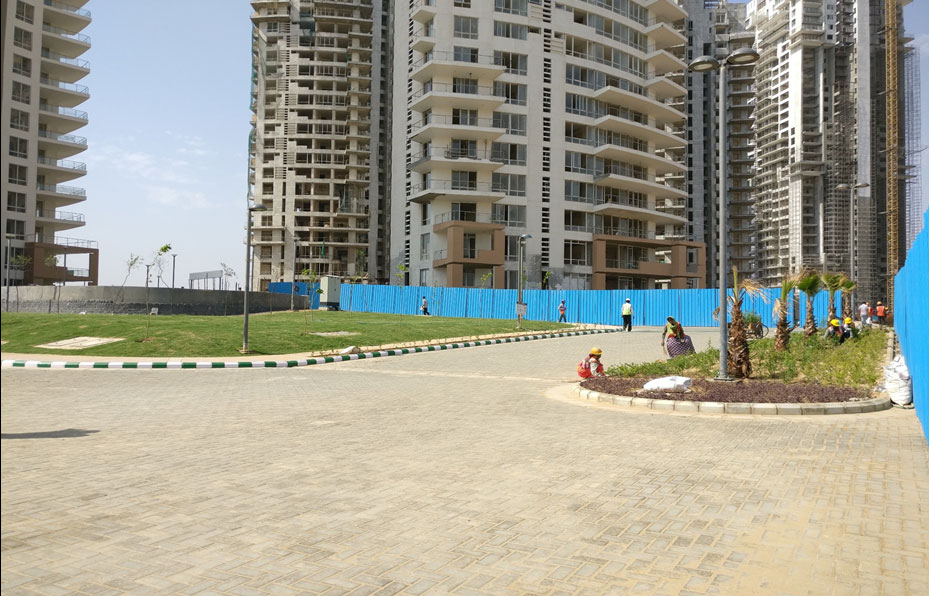
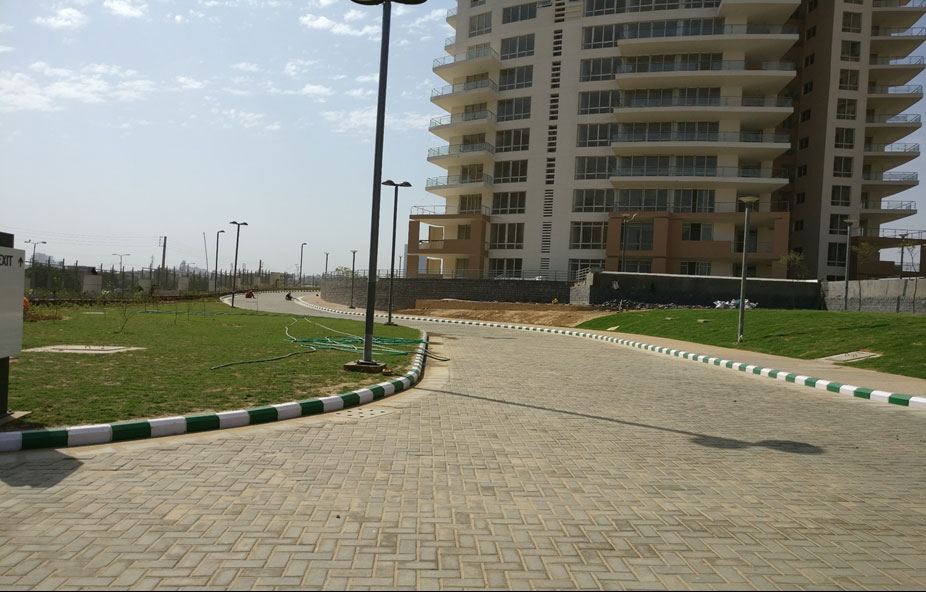
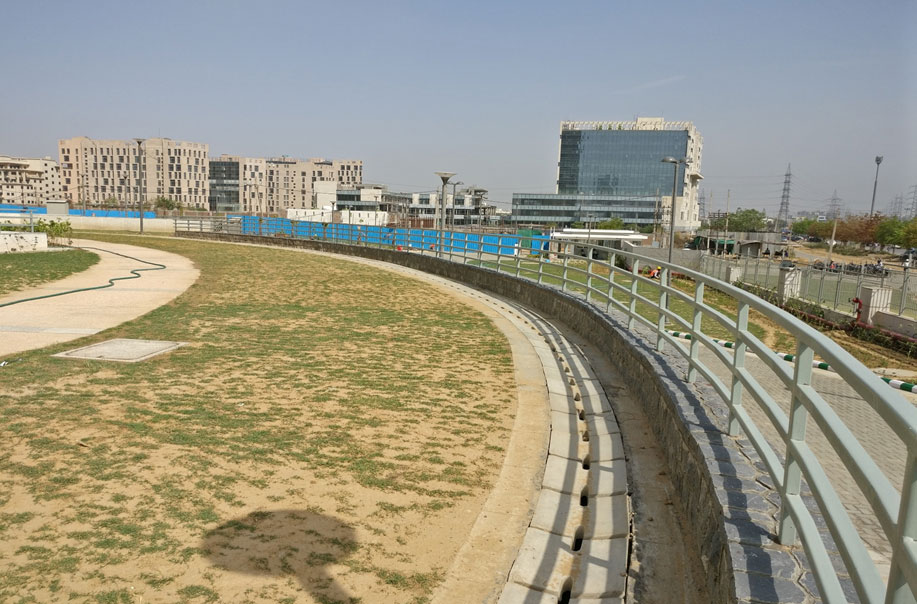
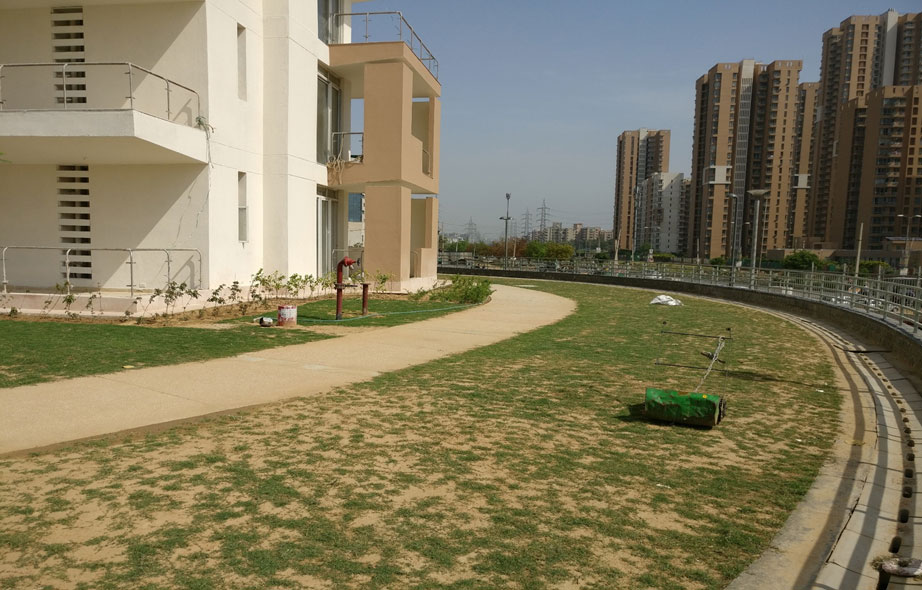
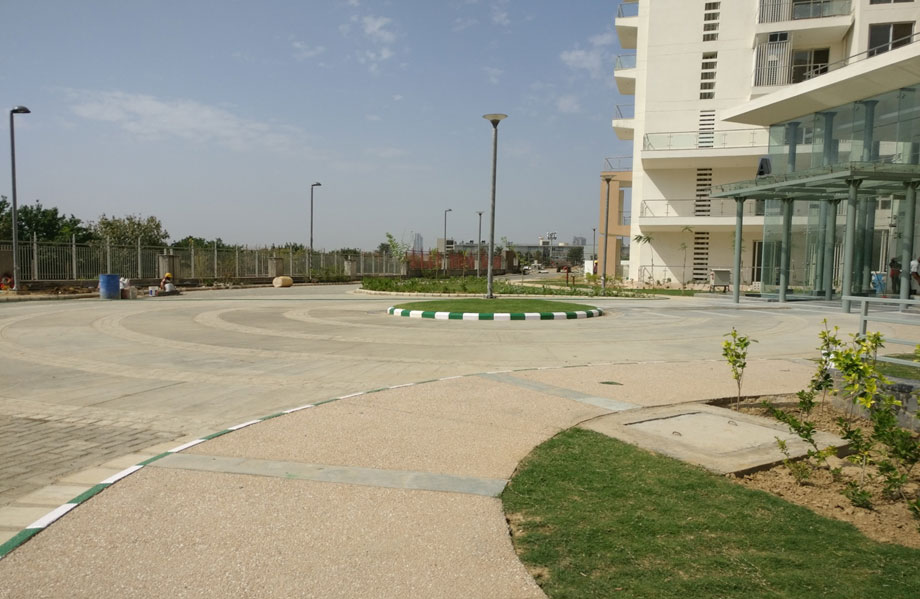
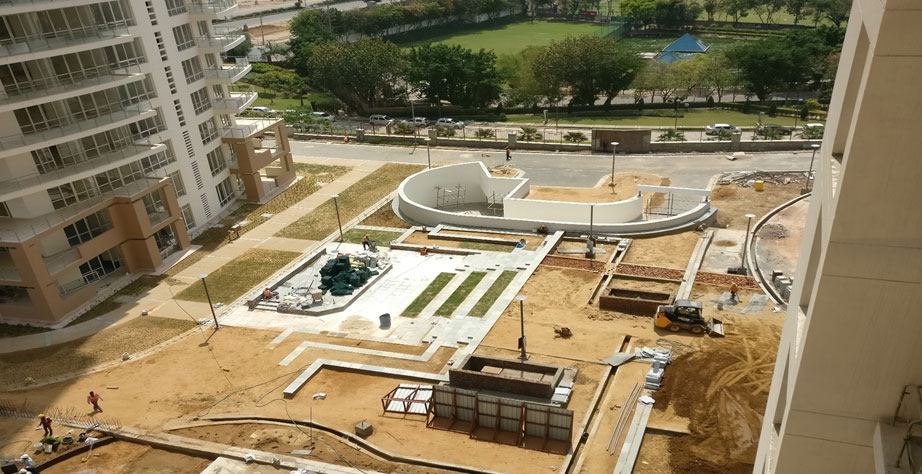
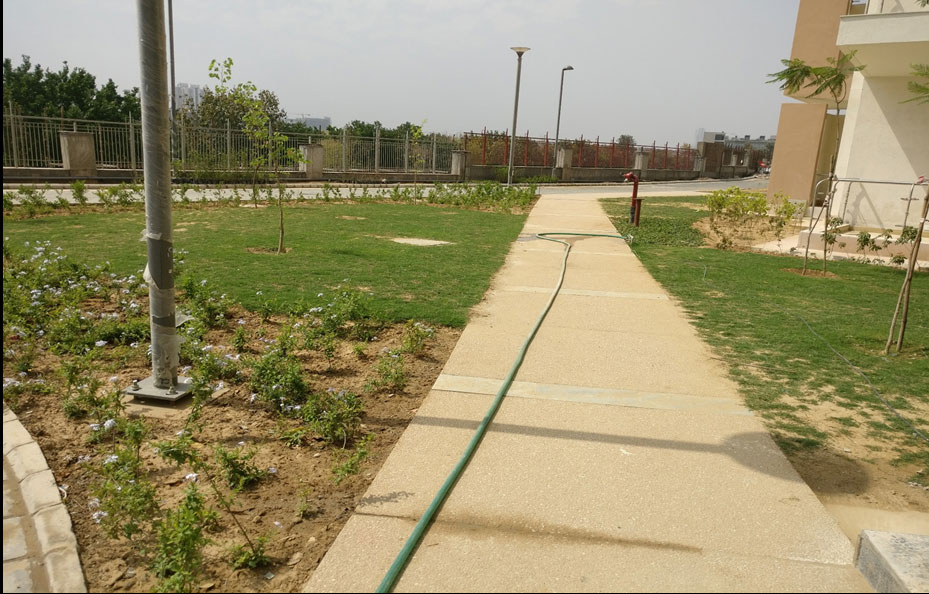
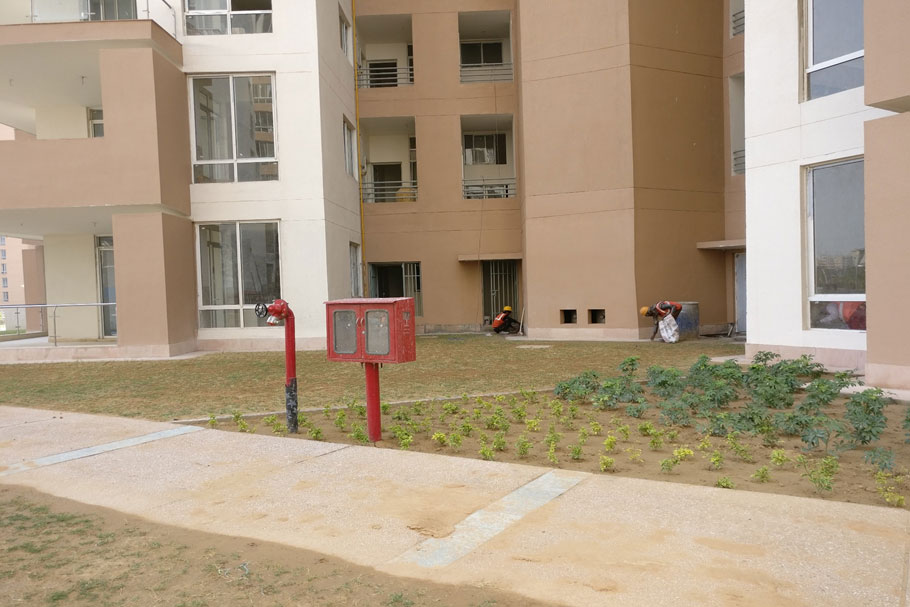
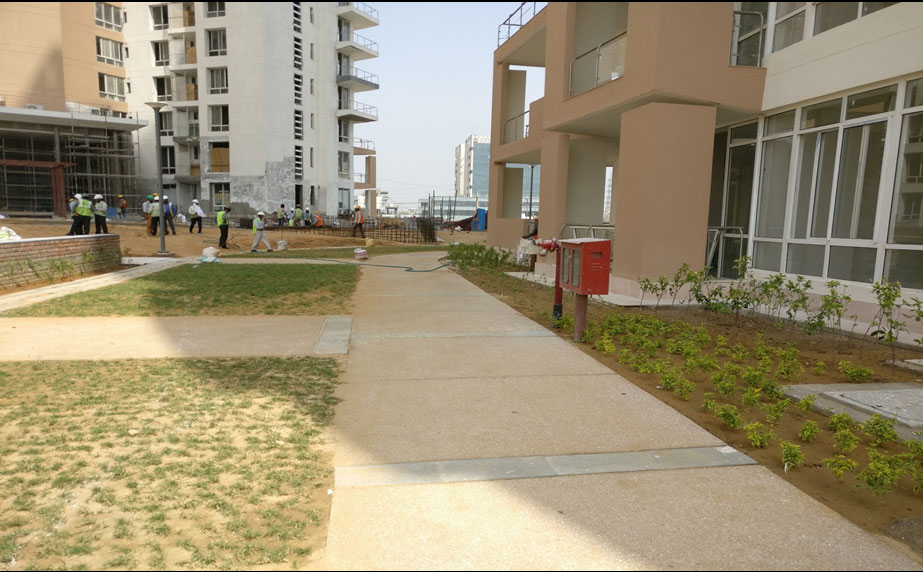
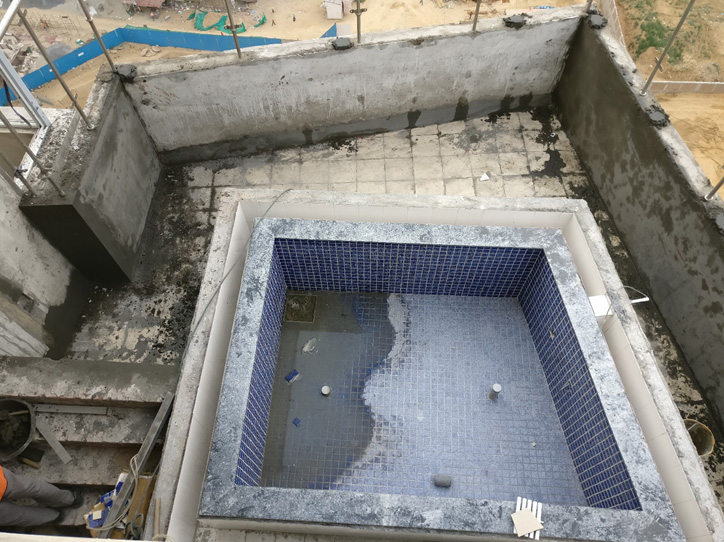
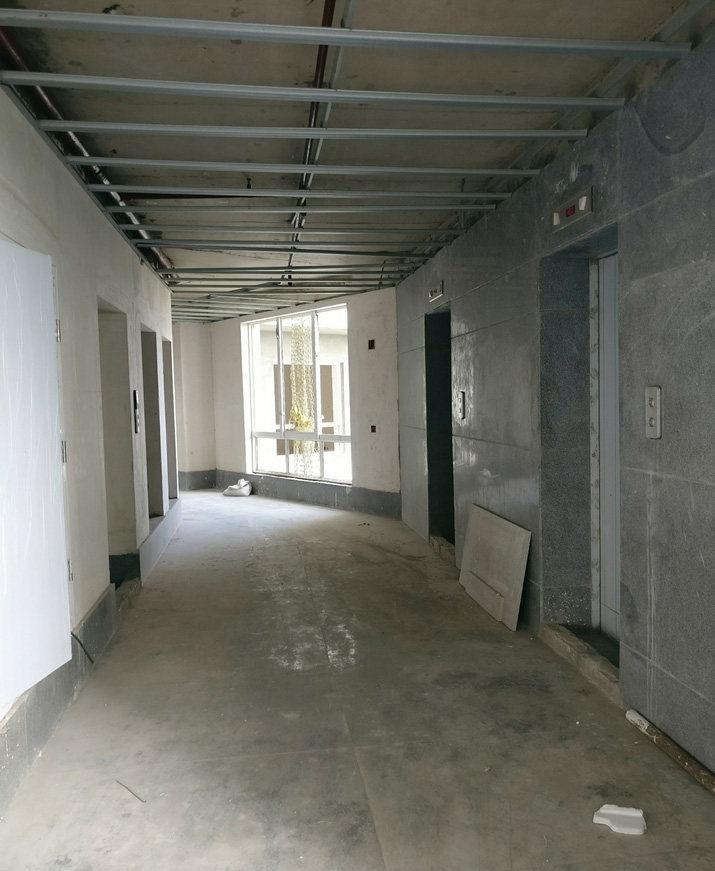
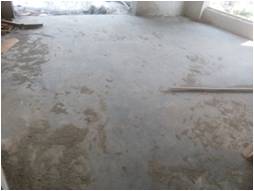
Landscape

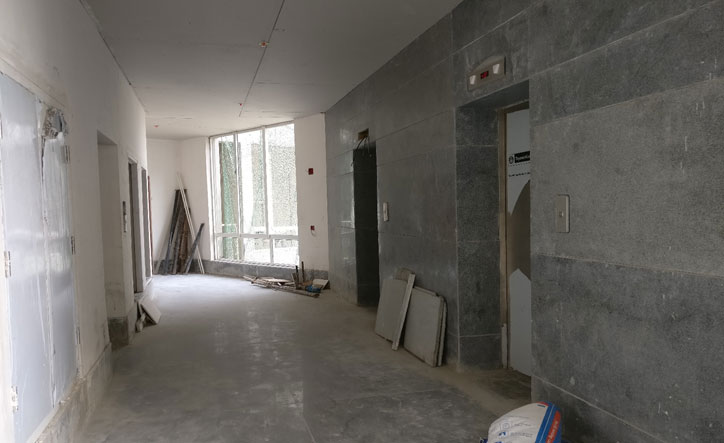
Tower A


Tower B


Tower C


Tower D


Tower E


Tower A


Tower B


Tower C


Tower D


Tower E


- January to March
- April to June
- July to September
- October to December
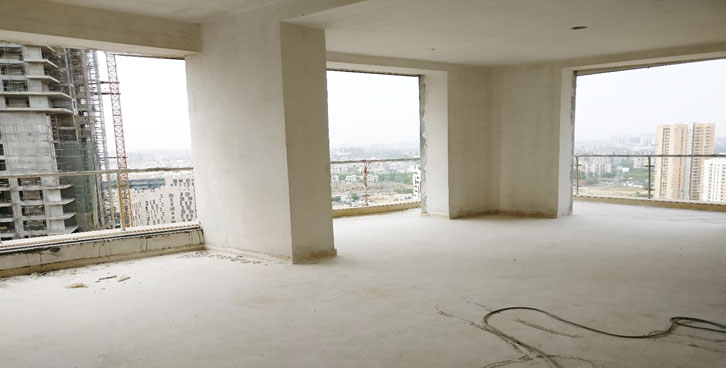
Tower A


Tower B


Tower C


Tower D


Tower E


Tower A


Tower B


Tower C


Tower D


Tower E


Tower A


Tower B


Tower C

Tower D


Tower A


Tower B


Tower C


Tower D

Tower E


- January to June
- July to December
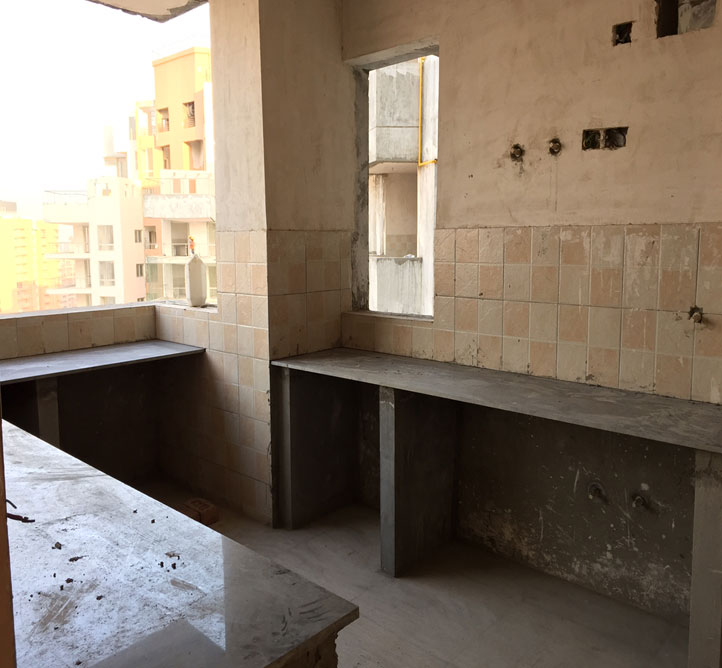
Tower A

Tower B


Tower C

Tower D


Tower E

Tower A
Tower B


Tower C

Tower D


Tower E

- January to June
- July to December
Tower A

Tower B
Tower C
Tower D
Tower E
Tower A


Tower B
Tower C


Tower D


Tower E